


Using Cognito to add authentication to a serverless app
In the previous chapter we looked at the basics of adding authentication to a serverless app. In this chapter we look at how to use Amazon Cognito to add authentication to a serverless API. We’ll also look at how to connect to this API using AWS Amplify in a React.js app.
To understand this better we’ll be referencing an example SST application on GitHub that’s been created for this guide.
https://github.com/serverless-stack/serverless-stack/tree/master/examples/react-app-auth-cognito
This example SST app has a couple of key parts:
- The
stacks/directory: This contains the code that describes the infrastructure of your serverless app. It works by leveraging AWS CDK to create the infrastructure. This includes our API, our Cognito services, and our frontend static site. - The
src/directory: This is where the application code resides. The code that will run when your API is called. - The
frontend/directory: This is where our frontend React.js application is. It’ll be connecting to our APIs.
It also comes with a configuration file, sst.json, which contains the environment configuration information. Here is what it looks like:
{
   "name":"react-app-auth-cognito",
   "stage":"dev",
   "region":"us-east-1",
   "lint":true
}
The configuration above implies that the app will be deployed to the development environment called dev in the us-east-1 region.
Let’s start with looking at how to add Cognito User Pool to our app.
How to Add Cognito
In the previous chapter we talked about the various parts of Cognito (User Pools and Identity Pools).
SST makes it easy to add these to your application. In stacks/MyStack.js you’ll notice.
// Create a Cognito User Pool to manage auth
const auth = new sst.Auth(this, "Auth", {
  cognito: {
    userPool: {
      // Users will login using their email and password
      signInAliases: { email: true, phone: true },
    },
  },
});
This is using the SST Auth construct to create a Cognito User Pool and an Identity Pool.
Aliases
In this case we are allowing users to login with their email and phone number as their username.
You can also optionally allow users to create a username and login using that.
const auth = new sst.Auth(this, "Auth", {
  cognito: {
    userPool: {
      signInAliases: {
        email: true,
        phone: true,
        username: true,
        preferredUsername: true,
      },
    },
  },
});
Social Logins
In this example we are not setting up any social logins. We’ll do that in an upcoming chapter. But for a quick look, here’s roughly what adding other social login providers will look like:
new Auth(this, "Auth", {
  facebook: { appId: "419718329085014" },
  apple: { servicesId: "com.myapp.client" },
  amazon: { appId: "amzn1.application.24ebe4ee4aef41e5acff038aee2ee65f" },
  google: {
    clientId: "38017095028-abcdjaaaidbgt3kfhuoh3n5ts08vodt3.apps.googleusercontent.com",
  },
});
Cognito Triggers
You also might want to trigger (before and after authentication) some actions. The Cognito Triggers allow you to define Lambda functions that get executed for specific events.
new Auth(this, "Auth", {
  cognito: {
    triggers: {
      preAuthentication: "src/preAuthentication.main",
      postAuthentication: "src/postAuthentication.main",
    },
  },
});
Adding an API
Now let’s look at how we can use Cognito to secure our API. In stacks/MyStack.js of our example, you’ll notice our SST Api definition.
// Create an HTTP API
const api = new sst.Api(this, "Api", {
  // Secure it with IAM Auth
  defaultAuthorizationType: sst.ApiAuthorizationType.AWS_IAM,
  routes: {
    "GET /private": "src/private.handler",
    // Make an endpoint public
    "GET /public": {
      function: "src/public.handler",
      authorizationType: sst.ApiAuthorizationType.NONE,
    },
  },
});

// Allow authenticated users to invoke the API
auth.attachPermissionsForAuthUsers([api]);
We are going to create a simple API that generates random numbers. It’ll have a public and a private route. While anyone can generate a random number on the public route, only logged-in users can generate random numbers from the private route.
Notice the defaultAuthorizationType: sst.ApiAuthorizationType.AWS_IAM. This is to ensure that by default you are setting the authorization to allow only users with a valid AWS_IAM permission to access your routes.
You’ll also notice that we set the authorizationType to NONE in the public route, overriding the default behavior described earlier.
Finally, auth.attachPermissionsForAuthUsers([api]) tells AWS that the authenticated users to our Cognito User Pool can access the API that we just defined.
Adding Lambda functions
Next, let’s quickly look at the Lambda functions that’ll be powering our API. Inside the src/ directory we have a couple of files that generate random numbers for us.
For example, here’s what src/private.js looks like.
export async function handler() {
  const rand = Math.floor(Math.random() * 10);

  return {
    statusCode: 200,
    headers: { "Content-Type": "text/json" },
    body: JSON.stringify({ message: `Private Random Number: ${rand}` }),
  };
}
Adding a React Static Site
We can now turn our attention to the frontend part of our application. In stacks/MyStack.js take a look at the SST ReactStaticSite definition.
// Deploy our React app
const site = new sst.ReactStaticSite(this, "ReactSite", {
  path: "frontend",
  // Pass in our environment variables
  environment: {
    REACT_APP_API_URL: api.url,
    REACT_APP_REGION: scope.region,
    REACT_APP_USER_POOL_ID: auth.cognitoUserPool.userPoolId,
    REACT_APP_IDENTITY_POOL_ID: auth.cognitoCfnIdentityPool.ref,
    REACT_APP_USER_POOL_CLIENT_ID:
      auth.cognitoUserPoolClient.userPoolClientId,
  },
});
The key here is that we are setting the outputs from our backend as environment variables in React. Specifically, we are passing in the:
- API endpoint
- Region of our serverless app
- Id of our Cognito User Pool
- Id of our Cognito Identity Pool
- And the Id of the Cognito User Pool client
You can check out the rest of stacks/MyStack.js for reference.
Now we are ready to create our React app.
Creating a React app
In this example we are using Create React App. The only difference is that we are using @serverless-stack/static-site-env CLI to load the environment variables from our SST app.
You’ll notice this in the frontend/package.json.
"scripts": {
  "start": "sst-env -- react-scripts start",
  "build": "react-scripts build",
  "test": "react-scripts test",
  "eject": "react-scripts eject"
}
We are also using Bootstrap, React Bootstrap, and React Router in this example but we are not going into them in detail here.
However, we’ll look at how we use AWS Amplify to connect to the API that we defined above.
Configure AWS Amplify
To start with, we’ll configure it in frontend/src/index.js.
// Init Amplify
Amplify.configure({
  Auth: {
    mandatorySignIn: true,
    region: process.env.REACT_APP_REGION,
    userPoolId: process.env.REACT_APP_USER_POOL_ID,
    identityPoolId: process.env.REACT_APP_IDENTITY_POOL_ID,
    userPoolWebClientId: process.env.REACT_APP_USER_POOL_CLIENT_ID,
  },
  API: {
    endpoints: [
      {
        name: "random-api",
        region: process.env.REACT_APP_REGION,
        endpoint: process.env.REACT_APP_API_URL,
      },
    ],
  },
});
You’ll notice that we are using the environment variables that we had set above.
Loading APIs
Our simple React app will be loading the two API routes that we had previously created. We have a component that renders the homepage of our app.
In frontend/src/components/Home.js you’ll notice that we are loading our random number generating APIs.
import React, { useState, useEffect } from "react";
import { API } from "aws-amplify";
import "./Home.css";

export default function Home({ isAuthenticated }) {
  const [publicMessage, setPublic] = useState(null);
  const [privateMessage, setPrivate] = useState(null);

  useEffect(() => {
    // Load our public and private API
    async function onLoad() {
      try {
        const response = await loadPublic();
        setPublic(response.message);
      } catch (e) {
        setPublic(false);
      }
      try {
        const response = await loadPrivate();
        setPrivate(response.message);
      } catch (e) {
        setPrivate(false);
      }
    }

    onLoad();
  }, [isAuthenticated]);

  function loadPublic() {
    return API.get("random-api", "/public");
  }

  function loadPrivate() {
    return API.get("random-api", "/private");
  }

  return (
    <div className="Home">
      <h3>{publicMessage}</h3>
      <h3>
        {privateMessage === false
          ? "Cannot load private message"
          : privateMessage}
      </h3>
    </div>
  );
}
This will show us if we are able to load our public or private API endpoints. We are using the API package from Amplify to make these calls. They use the current session to make authenticated requests.
For a user to be able to connect to a private endpoint they need to be authenticated, and before they can do that, they need to be able to sign up!
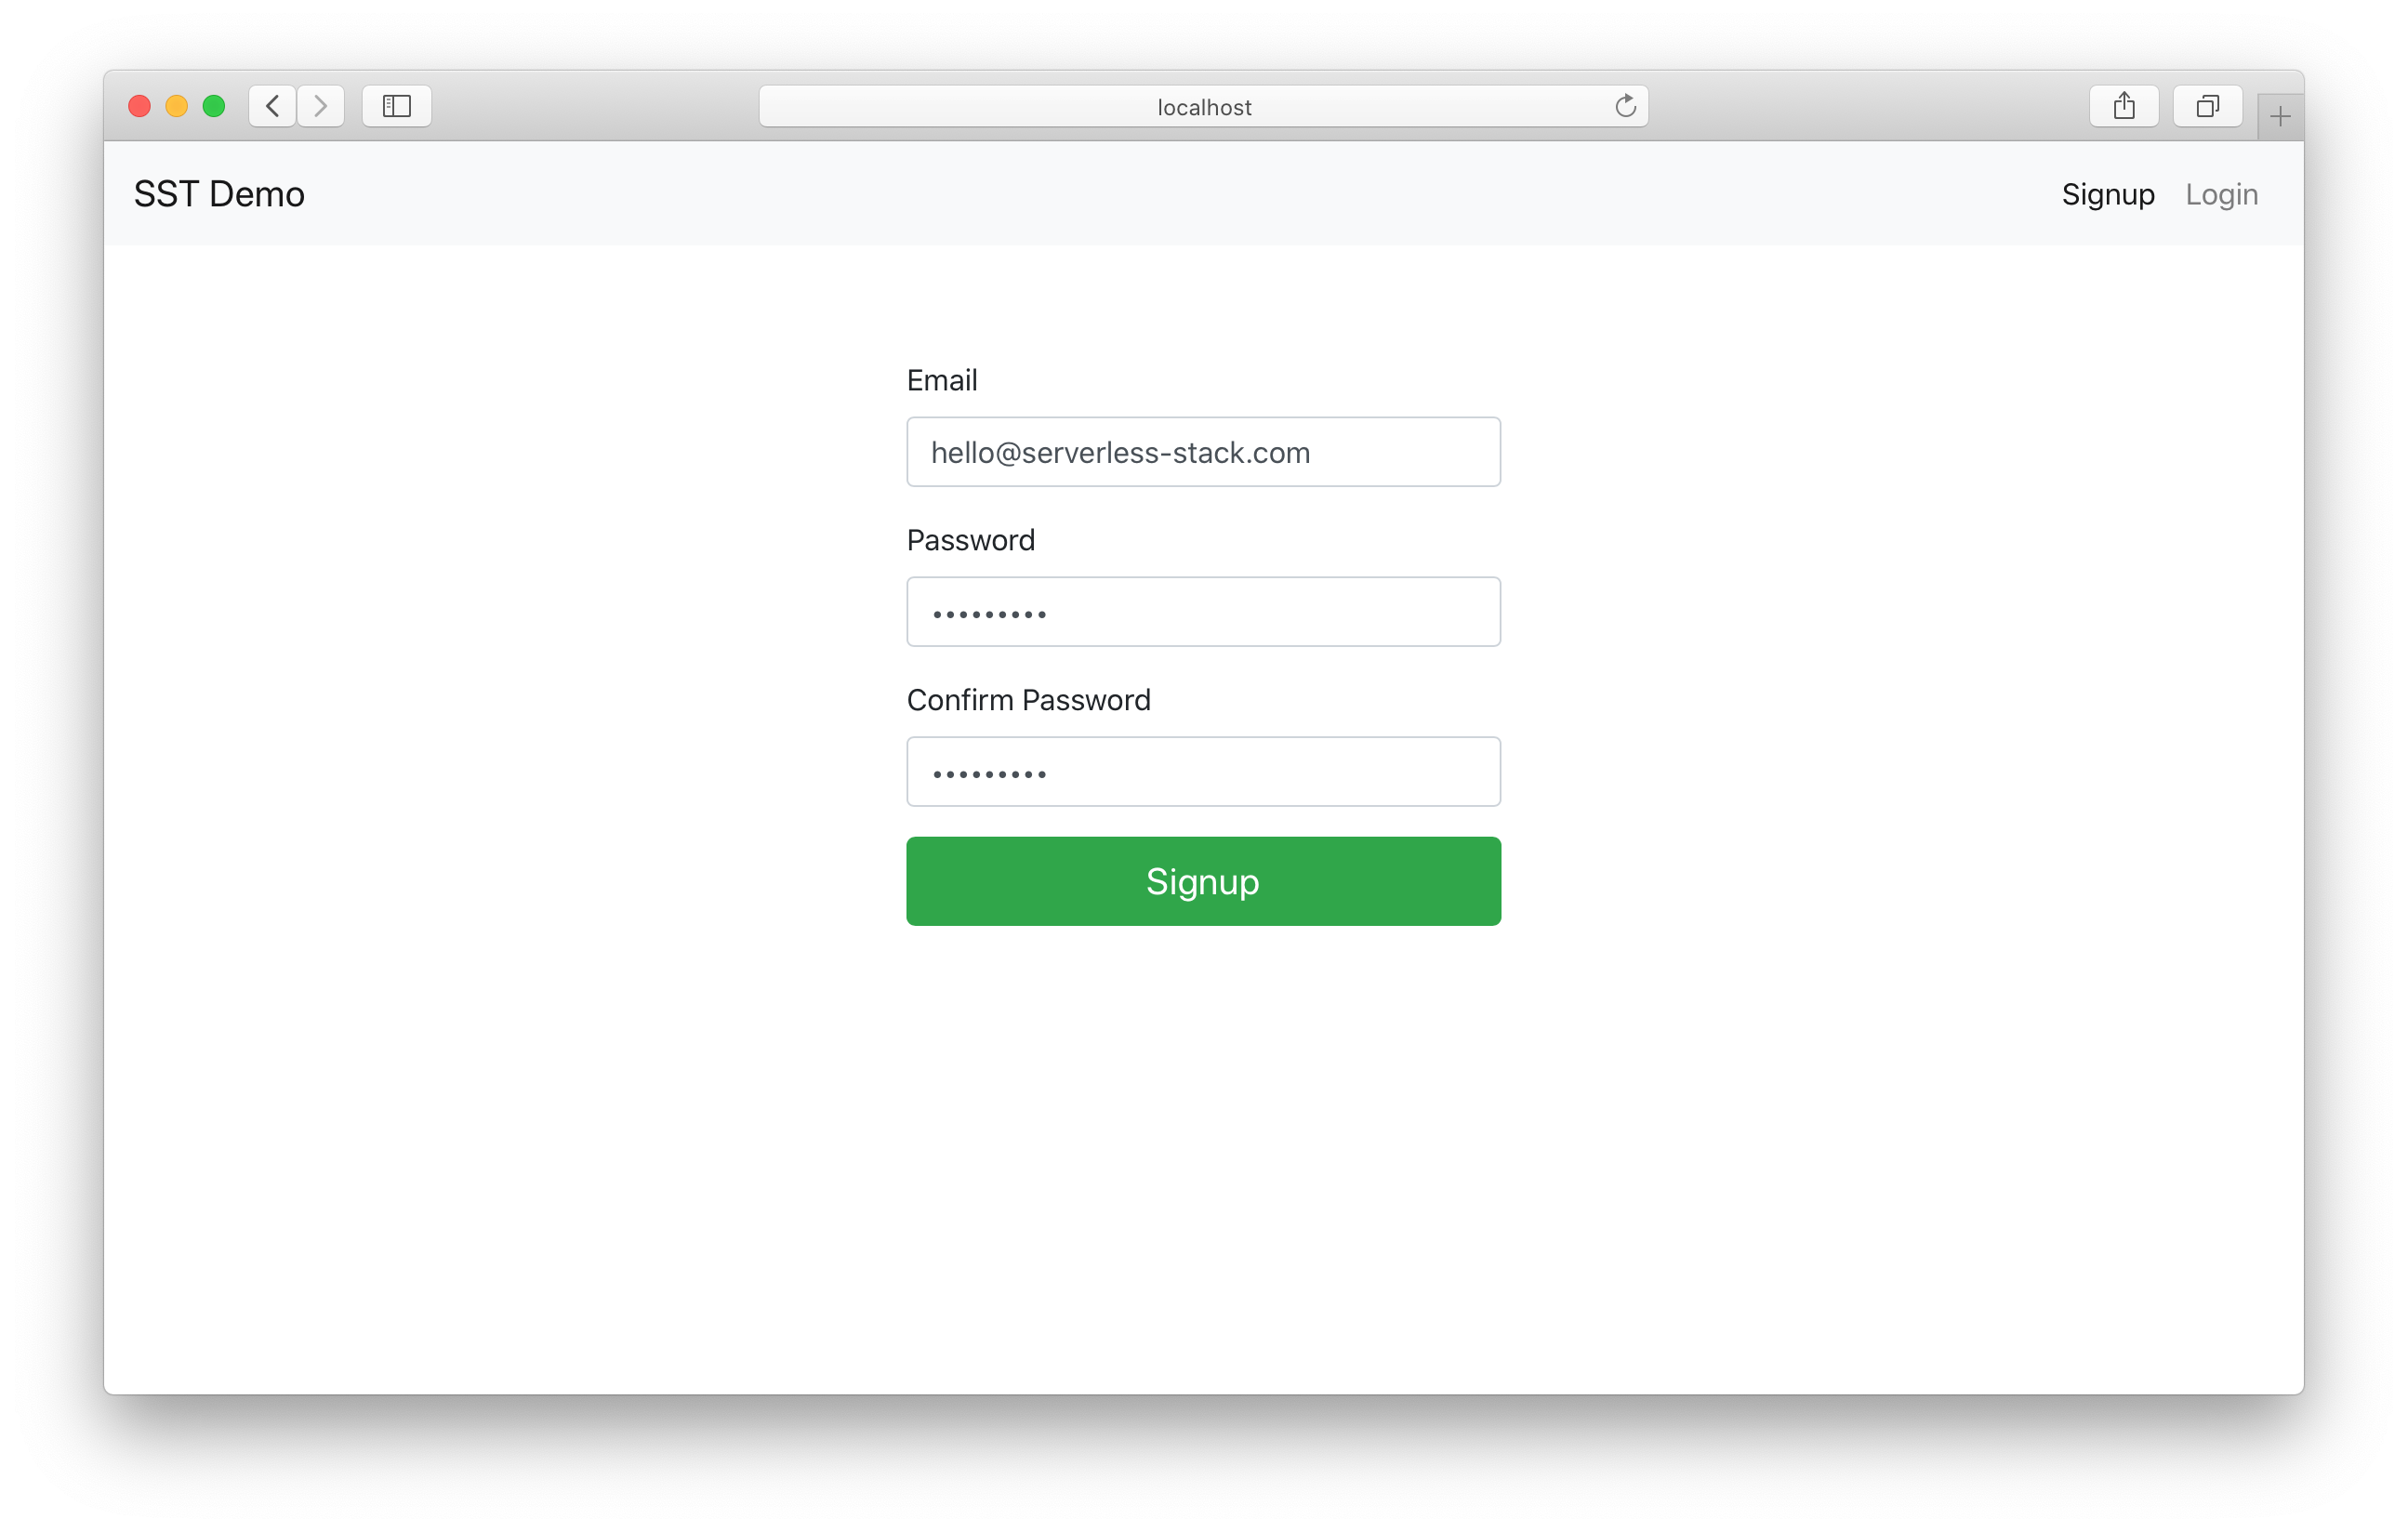
Handling Signups
To allow users to sign up for our application, let’s look at frontend/src/components/Signup.js.
First, we have a form that we’ve created using React Bootstrap.
function renderForm() {
  return (
    <Form onSubmit={handleSubmit}>
      <Form.Group controlId="email" size="lg">
        <Form.Label>Email</Form.Label>
        <Form.Control
          autoFocus
          type="email"
          value={fields.email}
          onChange={handleFieldChange}
        />
      </Form.Group>
      <Form.Group controlId="password" size="lg">
        <Form.Label>Password</Form.Label>
        <Form.Control
          type="password"
          value={fields.password}
          onChange={handleFieldChange}
        />
      </Form.Group>
      <Form.Group controlId="confirmPassword" size="lg">
        <Form.Label>Confirm Password</Form.Label>
        <Form.Control
          type="password"
          onChange={handleFieldChange}
          value={fields.confirmPassword}
        />
      </Form.Group>
      <Button
        block
        size="lg"
        type="submit"
        variant="success"
        disabled={isLoading || !validateForm()}
      >
        Signup
      </Button>
    </Form>
  );
}
Then when we submit this form, we use the Amplify Auth package to sign up the user.
async function handleSubmit(event) {
  event.preventDefault();

  setIsLoading(true);

  try {
    // Sign up the user
    const newUser = await Auth.signUp({
      username: fields.email,
      password: fields.password,
    });
    setIsLoading(false);
    setNewUser(newUser);
  } catch (e) {
    alert(e);
    setIsLoading(false);
  }
}
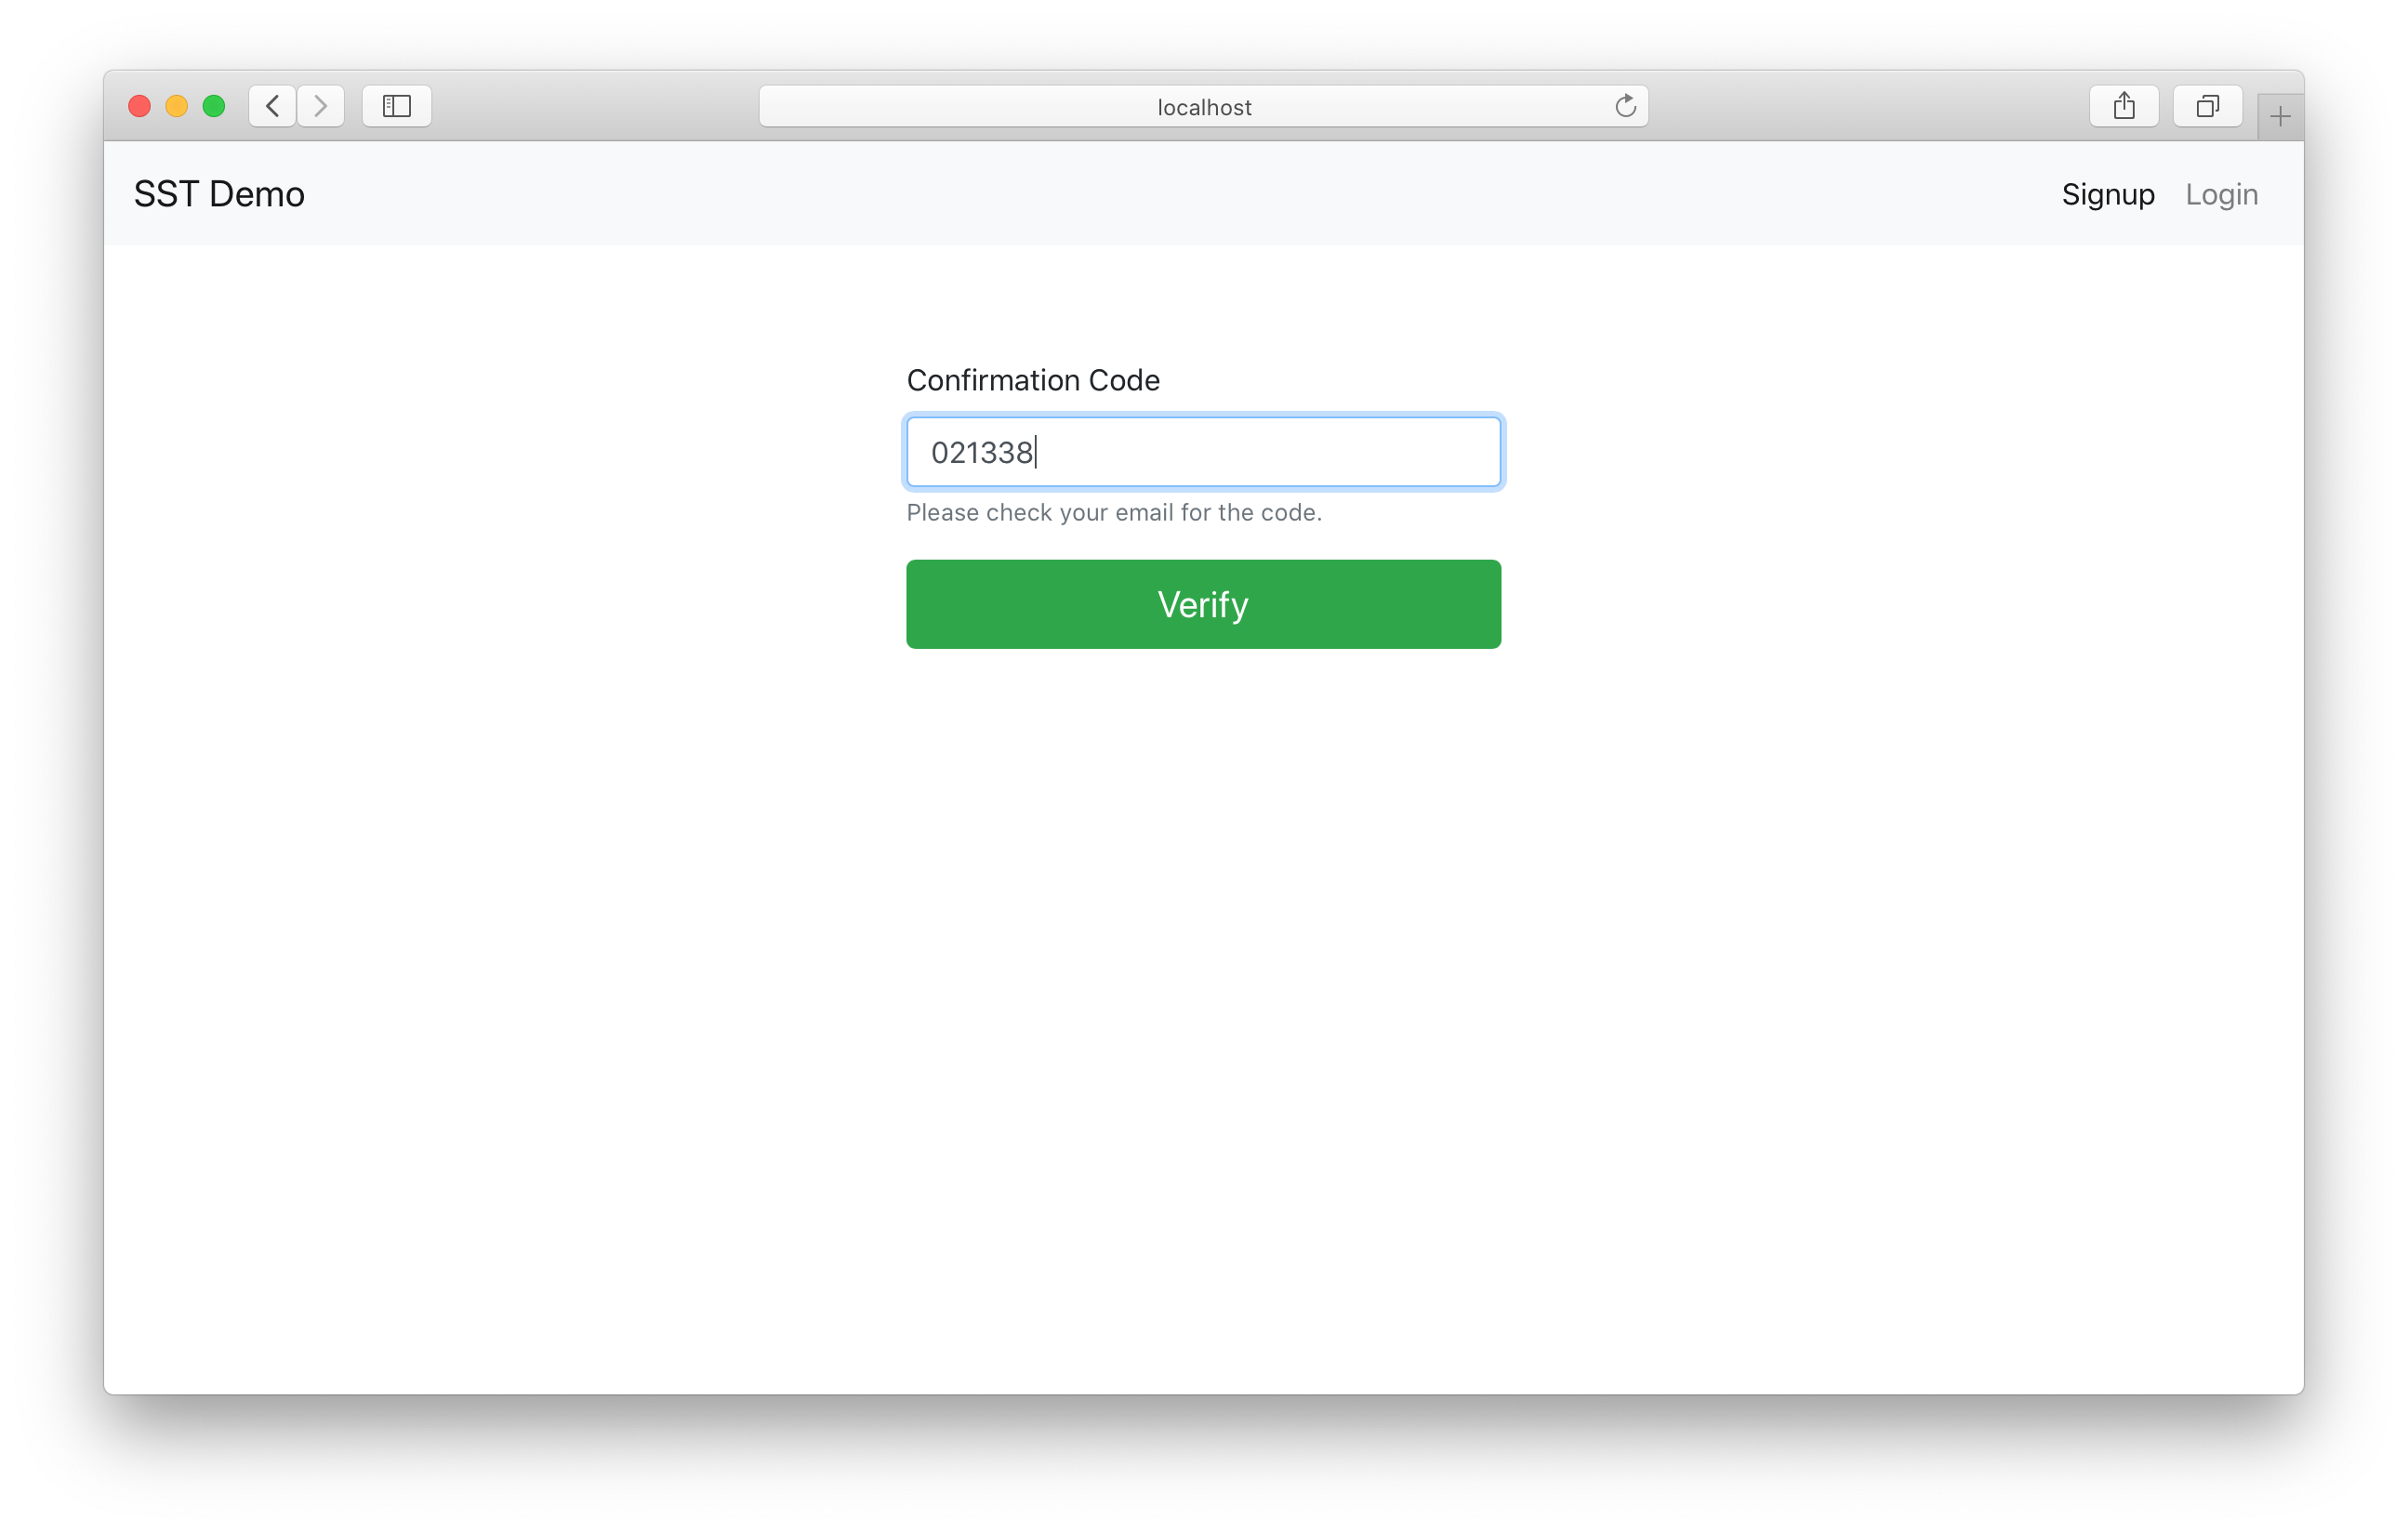
Upon sign up, the user is sent a confirmation code. So we have a form that allows users to enter the code.
function renderConfirmationForm() {
  return (
    <Form onSubmit={handleConfirmationSubmit}>
      <Form.Group controlId="confirmationCode" size="lg">
        <Form.Label>Confirmation Code</Form.Label>
        <Form.Control
          autoFocus
          type="tel"
          onChange={handleFieldChange}
          value={fields.confirmationCode}
        />
        <Form.Text muted>Please check your email for the code.</Form.Text>
      </Form.Group>
      <Button
        block
        size="lg"
        type="submit"
        variant="success"
        disabled={isLoading || !validateConfirmationForm()}
      >
        Verify
      </Button>
    </Form>
  );
}
And finally, we confirm the code and log the user in.
async function handleConfirmationSubmit(event) {
  event.preventDefault();

  setIsLoading(true);

  try {
    // Check the user's confirmation code
    await Auth.confirmSignUp(fields.email, fields.confirmationCode);
    // Sign the user in
    await Auth.signIn(fields.email, fields.password);

    userHasAuthenticated(true);
    // Redirect to the homepage
    history.push("/");
  } catch (e) {
    alert(e);
    setIsLoading(false);
  }
}
You can check out the rest of the frontend/src/components/Signup.js for reference.
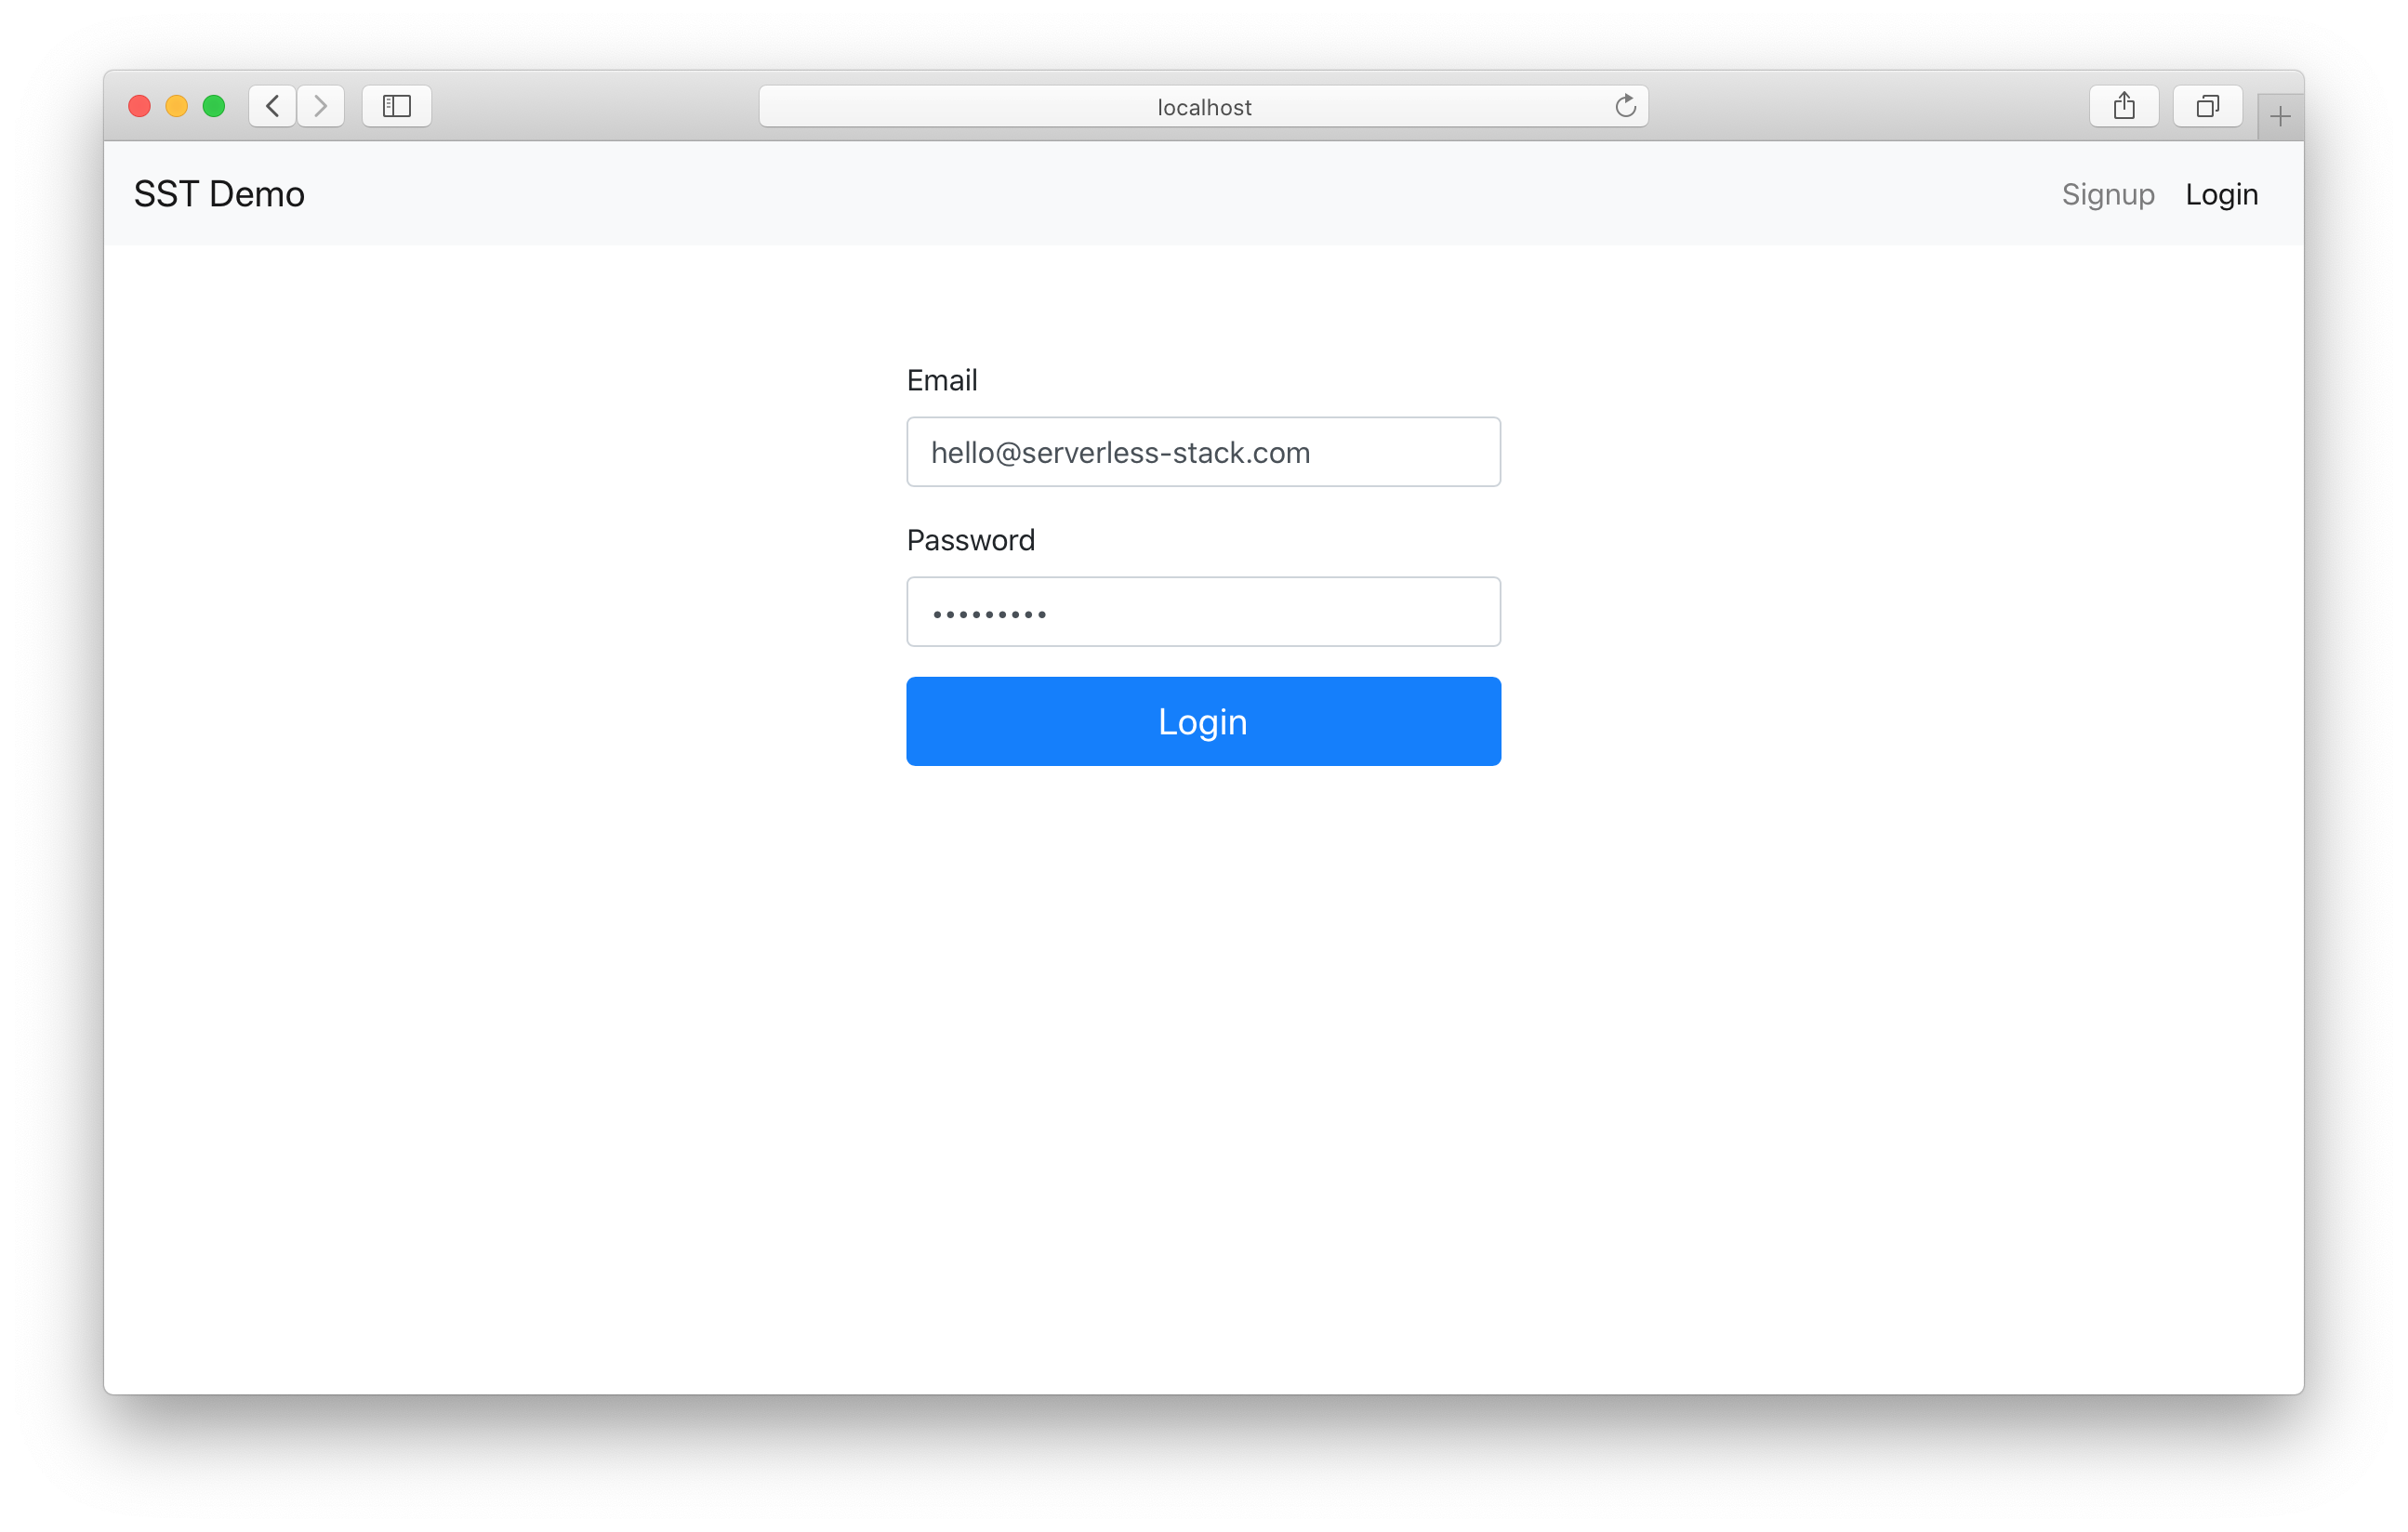
Logging in Users
So now our users can sign up with Cognito. Let’s make sure a signed up user can login as well.
In the frontend/src/components/Login.js we have a simple login form.
<div className="Login">
  <Form onSubmit={handleSubmit}>
    <Form.Group size="lg" controlId="email">
      <Form.Label>Email</Form.Label>
      <Form.Control
        autoFocus
        type="email"
        value={fields.email}
        onChange={handleFieldChange}
      />
    </Form.Group>
    <Form.Group size="lg" controlId="password">
      <Form.Label>Password</Form.Label>
      <Form.Control
        type="password"
        value={fields.password}
        onChange={handleFieldChange}
      />
    </Form.Group>
    <Button
      block
      size="lg"
      type="submit"
      disabled={isLoading || !validateForm()}
    >
      Login
    </Button>
  </Form>
</div>
When a user submits this form, we make a request to Amplify to log the user in. You’ll notice it’s the same call we made at the end of the sign up process.
async function handleSubmit(event) {
  event.preventDefault();

  setIsLoading(true);

  try {
    // Log the user in
    await Auth.signIn(fields.email, fields.password);
    userHasAuthenticated(true);
    // Redirect to the homepage
    history.push("/");
  } catch (e) {
    alert(e);
    setIsLoading(false);
  }
}
Once the user is logged in, we redirect them to the homepage.
You can check out the rest of the frontend/src/components/Login.js for reference.
Loading the Session
To tie all of these together, we need to make sure that the session is loaded when our app is loaded. We don’t want to have the user to login again and we want to make sure all the components in our app are aware that the user has been authenticated.
So in frontend/src/App.js we get the current session from Amplify.
useEffect(() => {
  async function onLoad() {
    try {
      // Check if the user is authenticated
      await Auth.currentSession();
      userHasAuthenticated(true);
    } catch (e) {
      if (e !== "No current user") {
        alert(e);
      }
    }

    setIsAuthenticating(false);
  }

  onLoad();
}, []);
The userHasAuthenticated and setIsAuthenticating are a couple of state variables that we define.
// Track if authentication is in progress
const [isAuthenticating, setIsAuthenticating] = useState(true);
// Track is the user has authenticated
const [isAuthenticated, userHasAuthenticated] = useState(false);
Finally we pass these in to the components in our app.
// Props that'll be passed to all the routes
const routeProps = { isAuthenticated, userHasAuthenticated };
<Switch>
  <Route exact path="/">
    <Home {...routeProps} />
  </Route>
  <Route exact path="/login">
    <Login {...routeProps} />
  </Route>
  <Route exact path="/signup">
    <Signup {...routeProps} />
  </Route>
</Switch>
We also allow our users to log out.
async function handleLogout() {
  // Log the user out
  await Auth.signOut();

  userHasAuthenticated(false);
}
Make sure to check out the rest of the frontend/src/App.js for reference.
Testing our App
SST features a Live Lambda Development environment that allows you to work on your serverless apps live.
To test our example:
$ npm install
$ npx sst start
The first time you run this command it’ll take a couple of minutes to create your environment.
Once complete, you should see something like this.
===============
 Deploying app
===============

Preparing your SST app
Transpiling source
Linting source
Deploying stacks
dev-react-app-auth-cognito-my-stack: deploying...

 dev-react-app-auth-cognito-my-stack


Stack dev-react-app-auth-cognito-my-stack
  Status: deployed
  Outputs:
    ApiEndpoint: https://gcnapdpral.execute-api.us-east-1.amazonaws.com
    SiteUrl: https://d24wffw7qyqjnm.cloudfront.net
  ReactSite:
    REACT_APP_API_URL: https://gcnapdpral.execute-api.us-east-1.amazonaws.com
    REACT_APP_IDENTITY_POOL_ID: us-east-1:ecfb817c-a5a8-43ef-9eba-b4a95fbe9ab0
    REACT_APP_REGION: us-east-1
    REACT_APP_USER_POOL_CLIENT_ID: 6fe8mgiaslpgrd8bphfsg634fe
    REACT_APP_USER_POOL_ID: us-east-1_xN4Qv2SQR
We’ll also start up our React application.
$ cd frontend
$ npm run start
Once it loads up, you’ll notice that the public API loads but the private one fails.

Let’s go ahead and sign up.
We’ll be asked for the confirmation code.
And we’ll get redirected to the homepage, where the private random number API now loads!
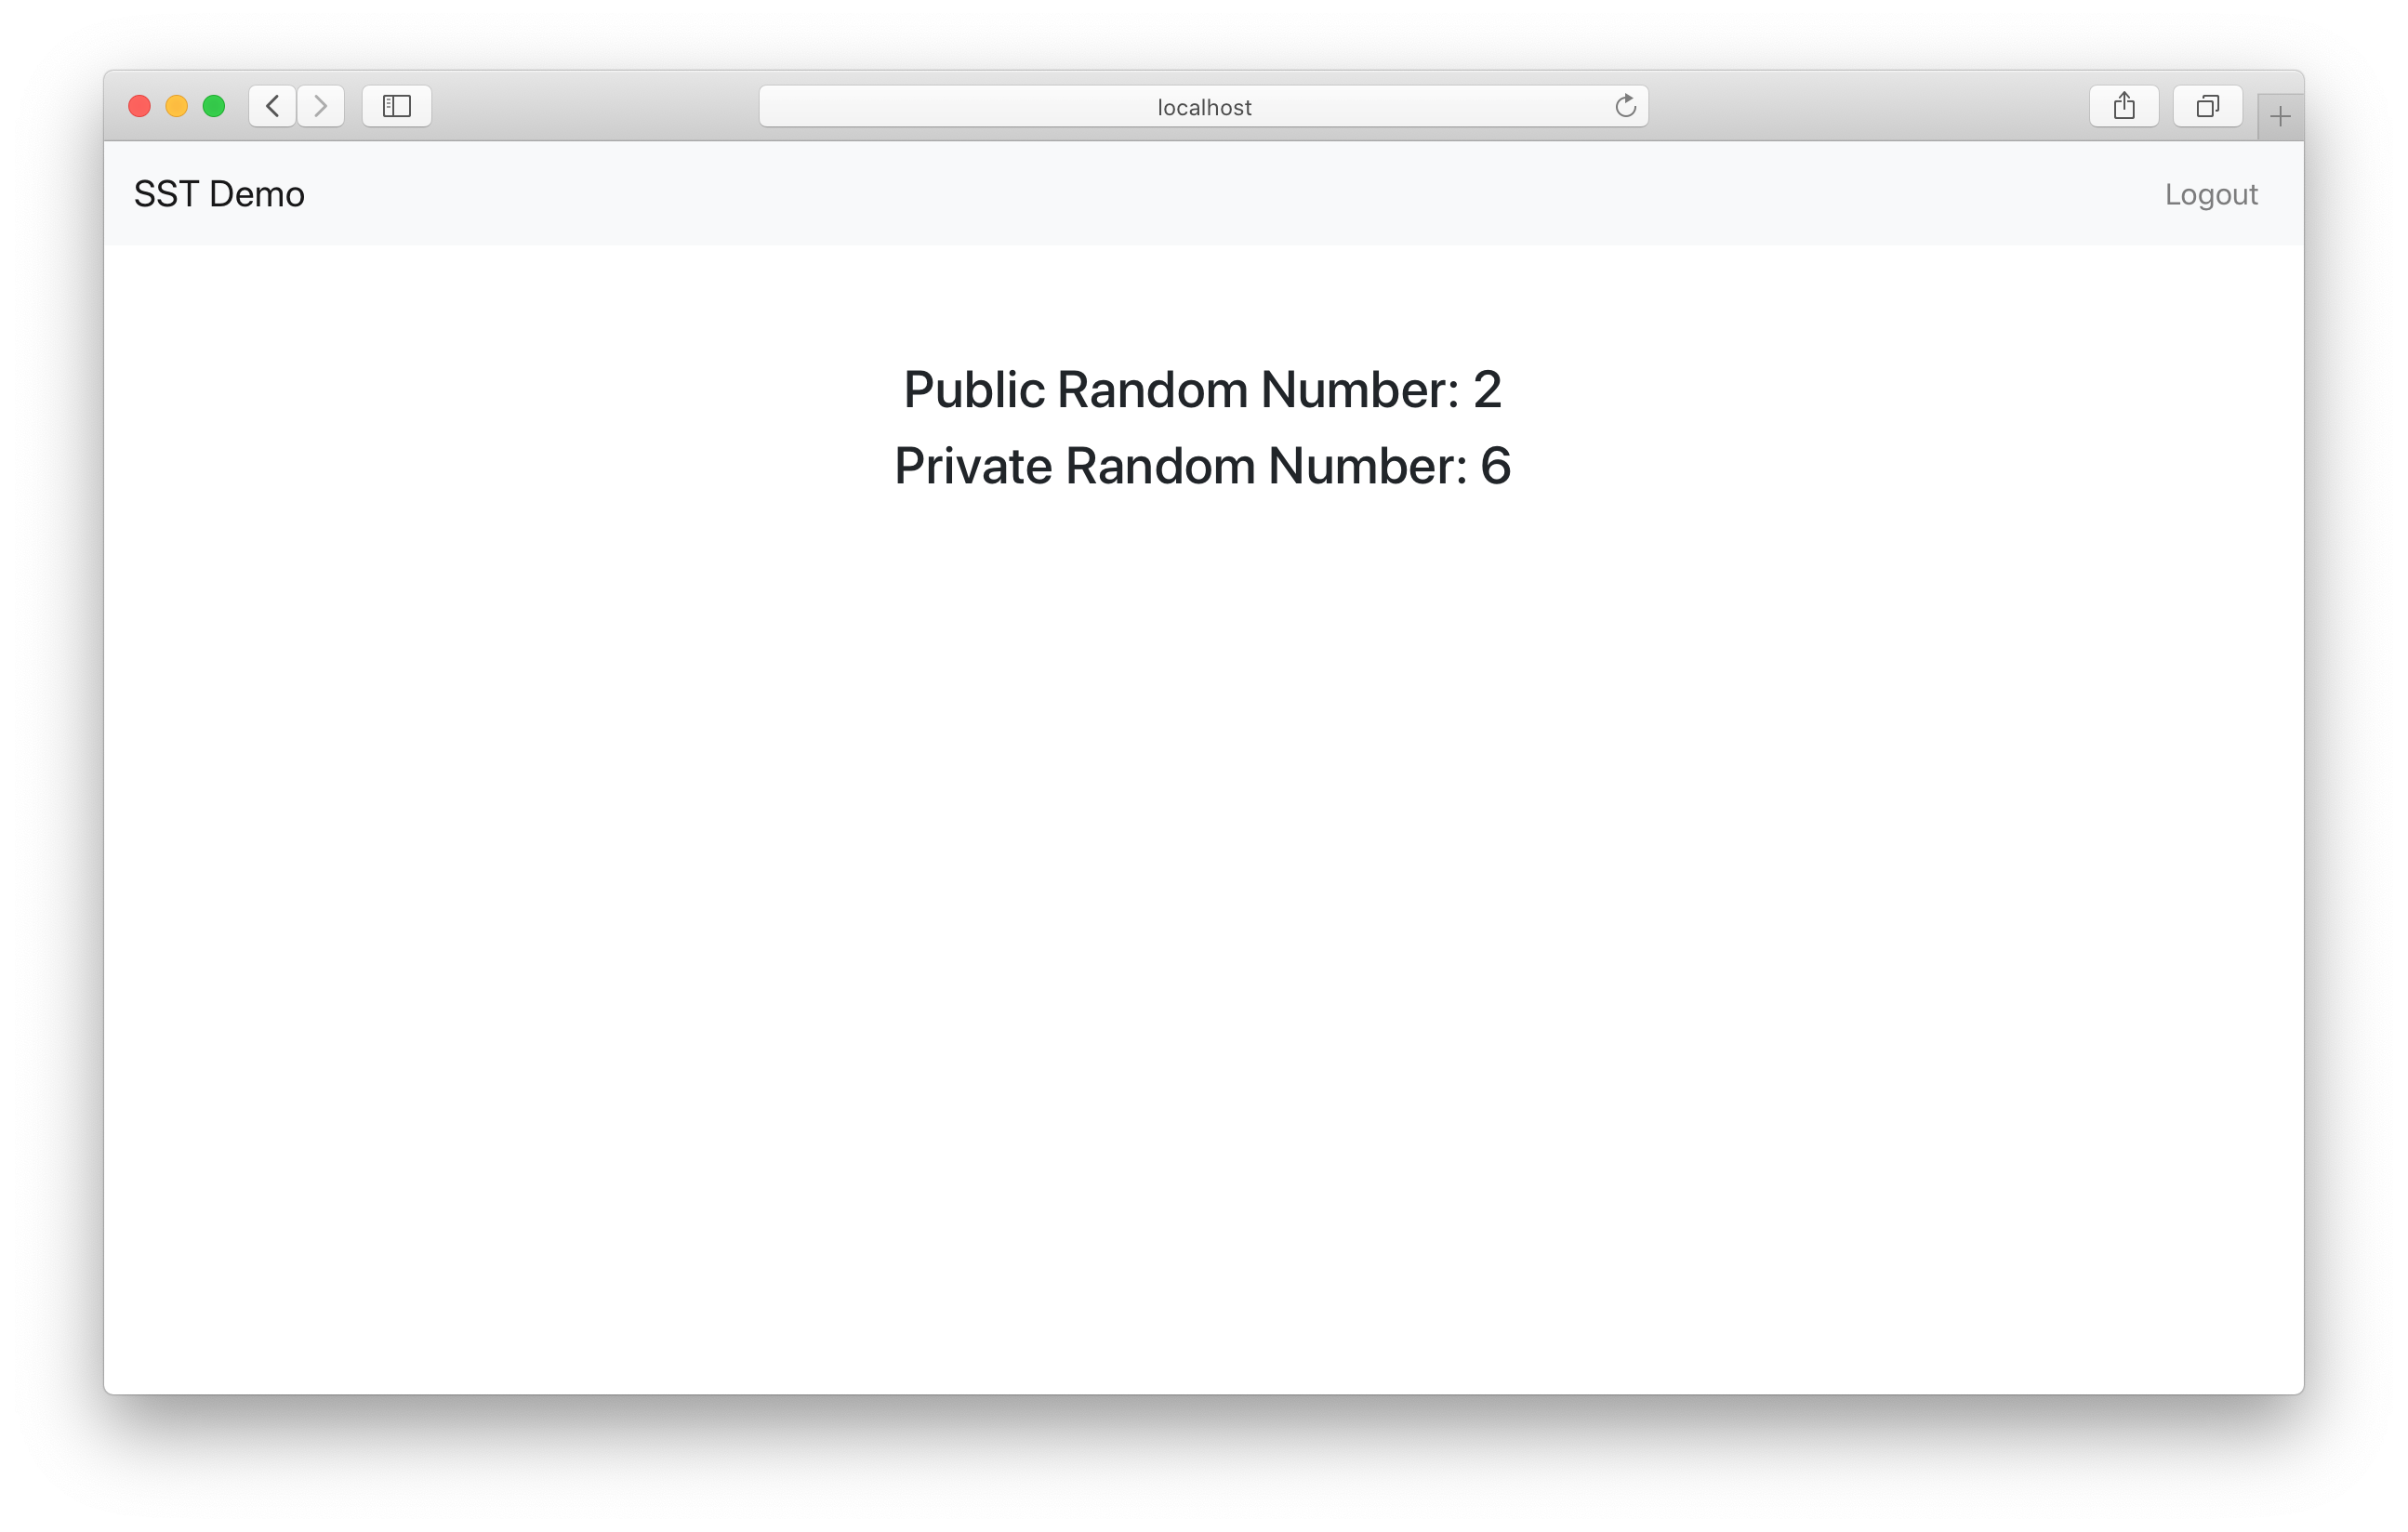
You can test refreshing the page and the APIs should load just as before.
We can also hit the logout button, it’ll clear the session and we won’t be able to load the private API anymore. You can also test the login page as well.
Wrapping up
Finally, you can deploy your app to prod by:
$ npx sst deploy --stage prod
And once you are done, you can remove all the resources we’ve created by running.
$ npx sst remove
$ npx sst remove --stage prod
Make sure to check out the example repo on GitHub.
https://github.com/serverless-stack/serverless-stack/tree/master/examples/react-app-auth-cognito
We’ll be covering another auth provider in an upcoming chapter!
For help and discussion
Comments on this chapter