Signup with AWS Cognito
Now let’s go ahead and implement the handleSubmit and handleConfirmationSubmit functions and connect it up with our AWS Cognito setup.
 Replace our
 handleSubmit and handleConfirmationSubmit functions in src/containers/Signup.js with the following.
async function handleSubmit(event) {
  event.preventDefault();

  setIsLoading(true);

  try {
    const newUser = await Auth.signUp({
      username: fields.email,
      password: fields.password,
    });
    setIsLoading(false);
    setNewUser(newUser);
  } catch (e) {
    onError(e);
    setIsLoading(false);
  }
}

async function handleConfirmationSubmit(event) {
  event.preventDefault();

  setIsLoading(true);

  try {
    await Auth.confirmSignUp(fields.email, fields.confirmationCode);
    await Auth.signIn(fields.email, fields.password);

    userHasAuthenticated(true);
    history.push("/");
  } catch (e) {
    onError(e);
    setIsLoading(false);
  }
}
 Also, include the Amplify Auth in our header.
import { Auth } from "aws-amplify";
The flow here is pretty simple:
-
In
handleSubmitwe make a call to signup a user usingAuth.signUp(). This creates a new user object. -
Save that user object to the state using
setNewUser. -
In
handleConfirmationSubmituse the confirmation code to confirm the user withAuth.confirmSignUp(). -
With the user now confirmed, Cognito now knows that we have a new user that can login to our app.
-
Use the email and password to authenticate exactly the same way we did in the login page. By calling
Auth.signIn(). -
Update the App’s context using the
userHasAuthenticatedfunction. -
Finally, redirect to the homepage.
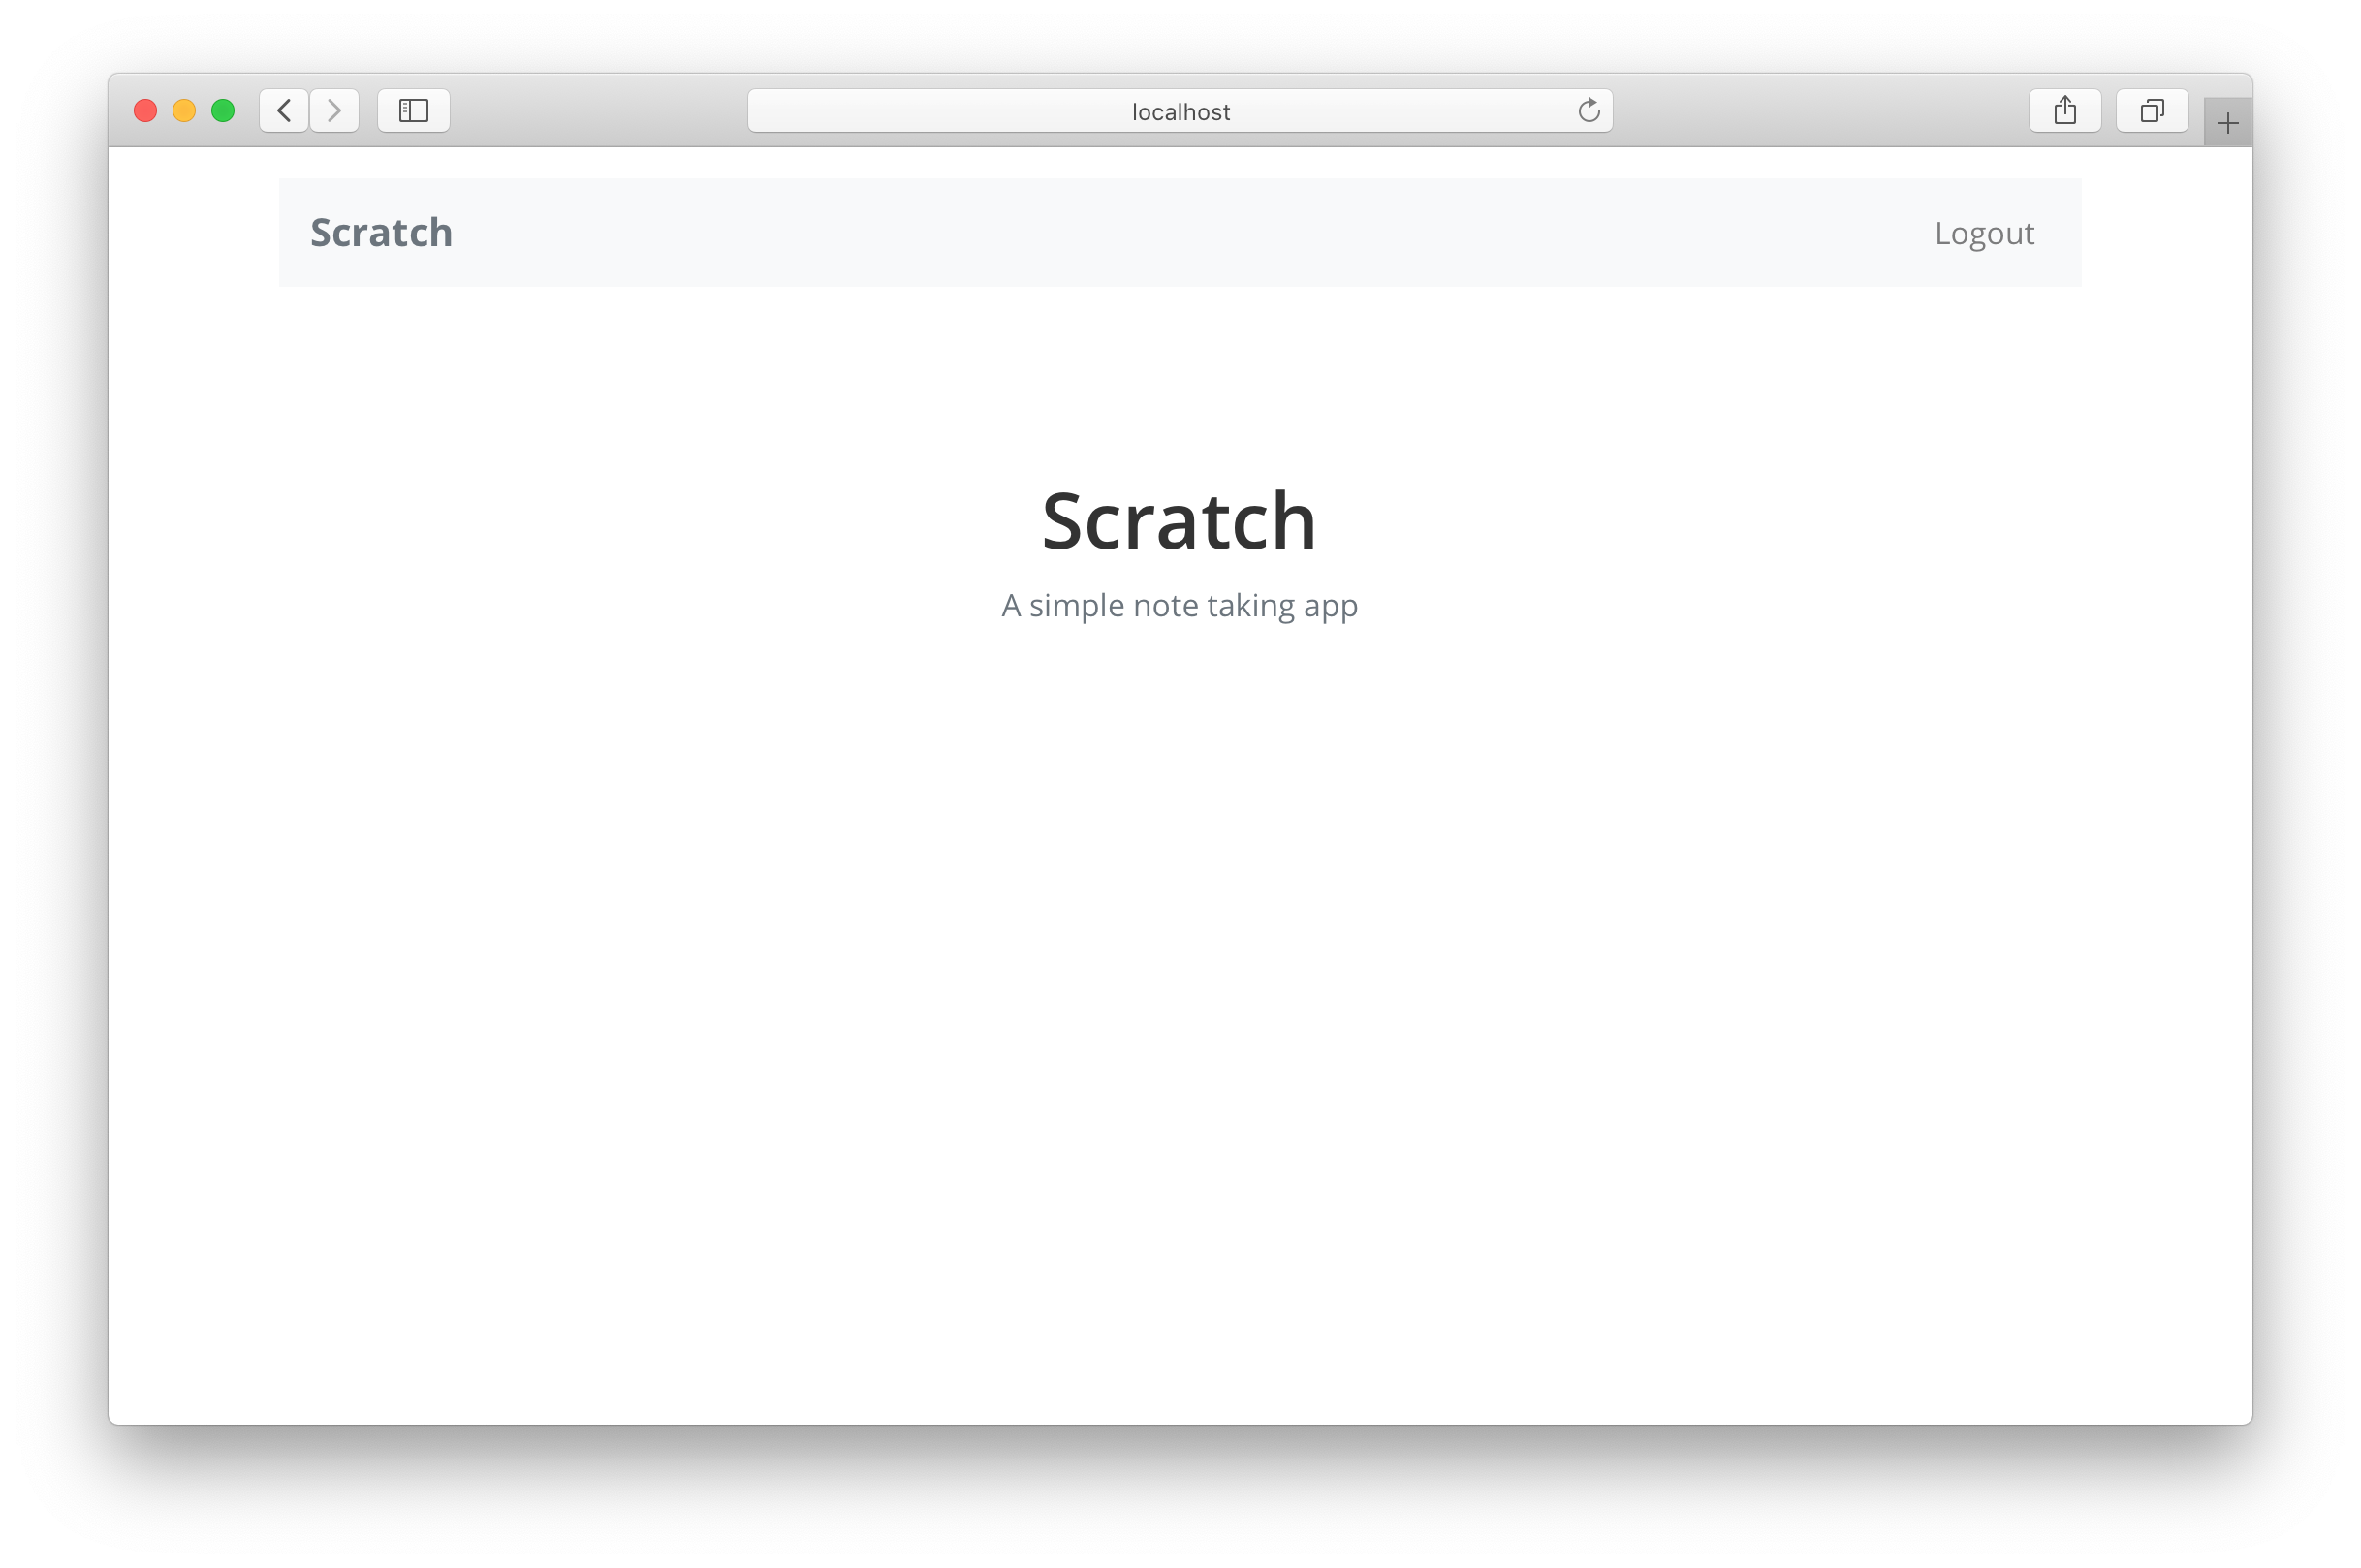
Now if you were to switch over to your browser and try signing up for a new account it should redirect you to the homepage after sign up successfully completes.

A quick note on the signup flow here. If the user refreshes their page at the confirm step, they won’t be able to get back and confirm that account. It forces them to create a new account instead. We are keeping things intentionally simple but here are a couple of hints on how to fix it.
-
Check for the
UsernameExistsExceptionin thehandleSubmitfunction’scatchblock. -
Use the
Auth.resendSignUp()method to resend the code if the user has not been previously confirmed. Here is a link to the Amplify API docs. -
Confirm the code just as we did before.
Give this a try and post in the comments if you have any questions.
Now while developing you might run into cases where you need to manually confirm an unauthenticated user. You can do that with the AWS CLI using the following command.
aws cognito-idp admin-confirm-sign-up \
   --region COGNITO_REGION \
   --user-pool-id USER_POOL_ID \
   --username YOUR_USER_EMAIL
Just be sure to use your Cognito User Pool Id and the email you used to create the account.
If you would like to allow your users to change their email or password, you can refer to our Extra Credit series of chapters on user management.
Next up, we are going to create our first note.
For help and discussion
Comments on this chapter


