Setup an Error Boundary in React
In the previous chapter we looked at how to report API errors to Sentry in our React app. Now let’s report all those unexpected errors that might happen using a React Error Boundary.
An Error Boundary is a component that allows us to catch any errors that might happen in the child components tree, log those errors, and show a fallback UI.
Create an Error Boundary
It’s incredibly straightforward to setup. So let’s get started.
 Add the following to
 src/components/ErrorBoundary.js in your frontend/ directory.
import React from "react";
import { logError } from "../lib/errorLib";
import "./ErrorBoundary.css";

export default class ErrorBoundary extends React.Component {
  state = { hasError: false };

  static getDerivedStateFromError(error) {
    return { hasError: true };
  }

  componentDidCatch(error, errorInfo) {
    logError(error, errorInfo);
  }

  render() {
    return this.state.hasError ? (
      <div className="ErrorBoundary text-center">
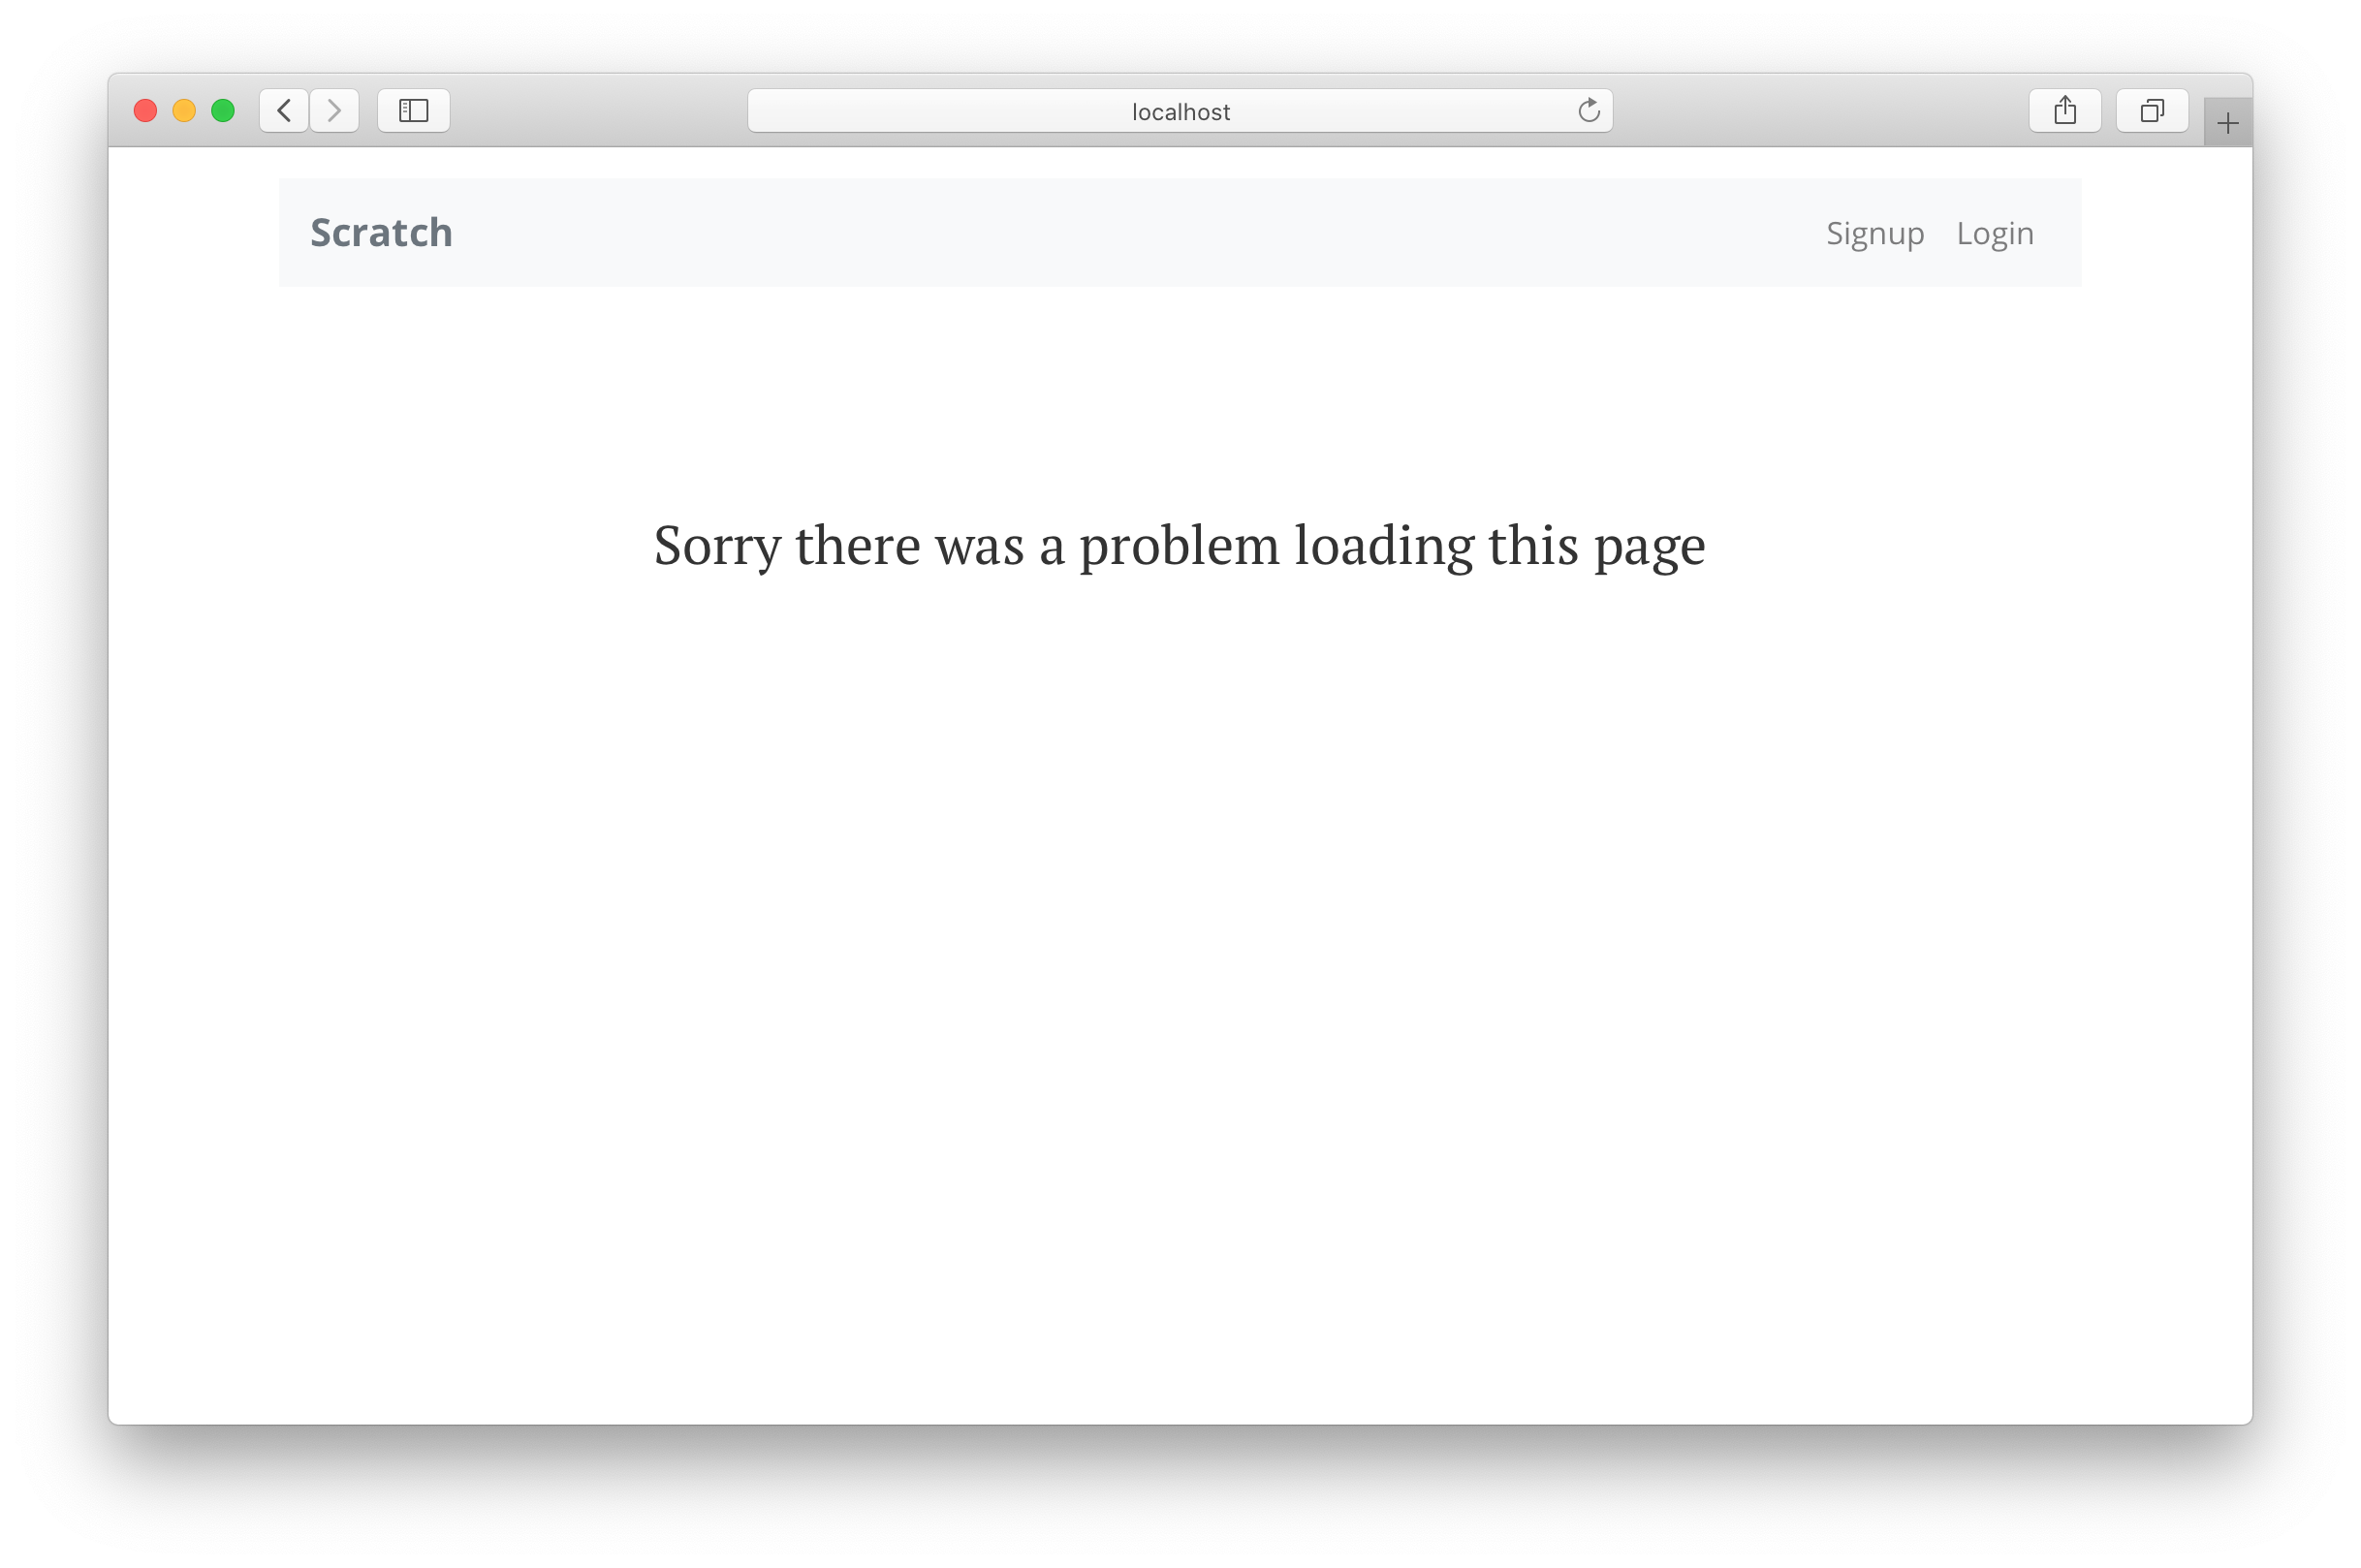
        <h3>Sorry there was a problem loading this page</h3>
      </div>
    ) : (
      this.props.children
    );
  }
}
The key part of this component is the componentDidCatch and getDerivedStateFromError methods. These get triggered when any of the child components have an unhandled error. We set the internal state, hasError to true to display our fallback UI. And we report the error to Sentry by calling logError with the error and errorInfo that comes with it.
Let’s include some simple styles for this.
 Create a
 src/components/ErrorBoundary.css file and add:
.ErrorBoundary {
  padding-top: 100px;
}
The styles we are using are very similar to our NotFound component. We use that when a user navigates to a page that we don’t have a route for.
Use the Error Boundary
To use the Error Boundary component that we created, we’ll need to add it to our app component.
 Find the following in
 src/App.js.
<AppContext.Provider value={{ isAuthenticated, userHasAuthenticated }}>
  <Routes />
</AppContext.Provider>
 And replace it with:
<ErrorBoundary>
  <AppContext.Provider value={{ isAuthenticated, userHasAuthenticated }}>
    <Routes />
  </AppContext.Provider>
</ErrorBoundary>
 Also, make sure to import it in the header of
 src/App.js.
import ErrorBoundary from "./components/ErrorBoundary";
And that’s it! Now an unhandled error in our containers will show a nice error message. While reporting the error to Sentry.
Commit the Changes
 Let’s quickly commit these to Git.
$ git add .
$ git commit -m "Adding React error reporting"
Test the Error Boundary
Before we move on, let’s do a quick test.
Replace the following in src/containers/Home.js.
{isAuthenticated ? renderNotes() : renderLander()}
With these faulty lines:
{isAuthenticated ? renderNotes() : renderLander()}
{ isAuthenticated.none.no }
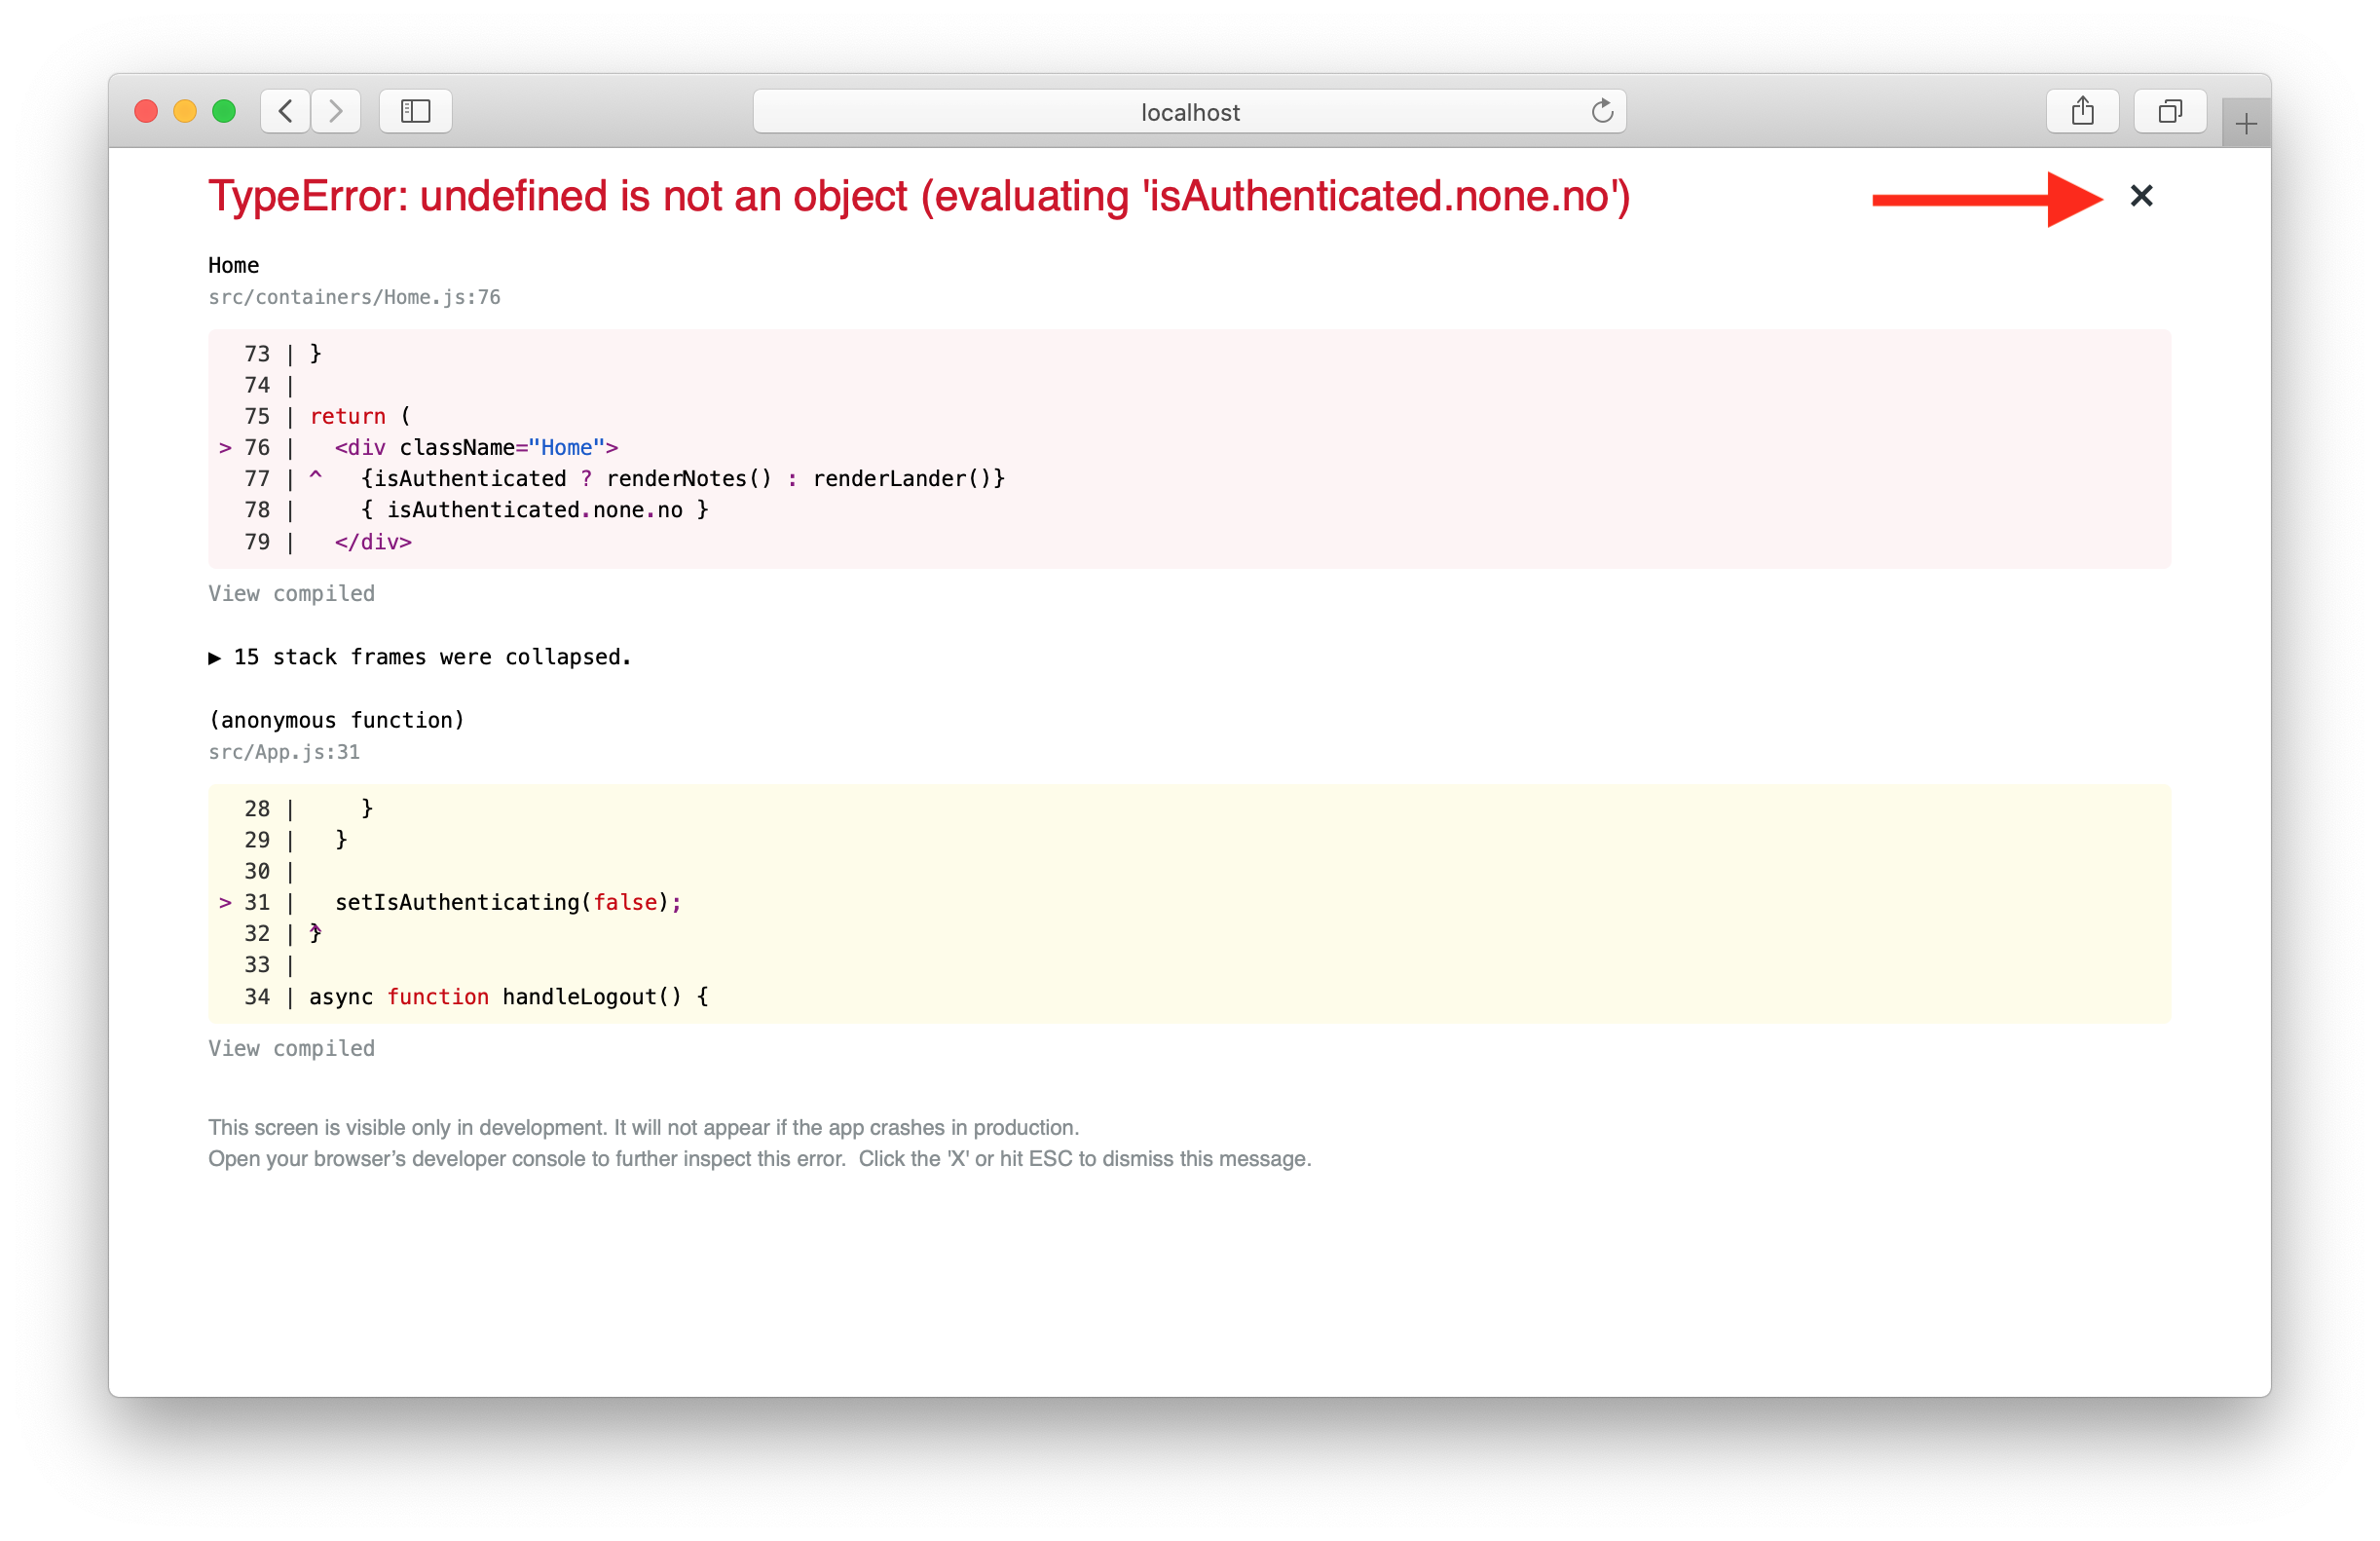
Now in your browser you should see something like this.

Note that, you’ll need to have the SST local development environment (npx sst start) and React local environment (npm run start) running.
While developing, React doesn’t show your Error Boundary fallback UI by default. To view that, hit the close button on the top right.

Since we are developing locally, we don’t report this error to Sentry. But let’s do a quick test to make sure it’s hooked up properly.
Replace the following from the top of src/lib/errorLib.js.
const isLocal = process.env.NODE_ENV === "development";
With:
const isLocal = false;
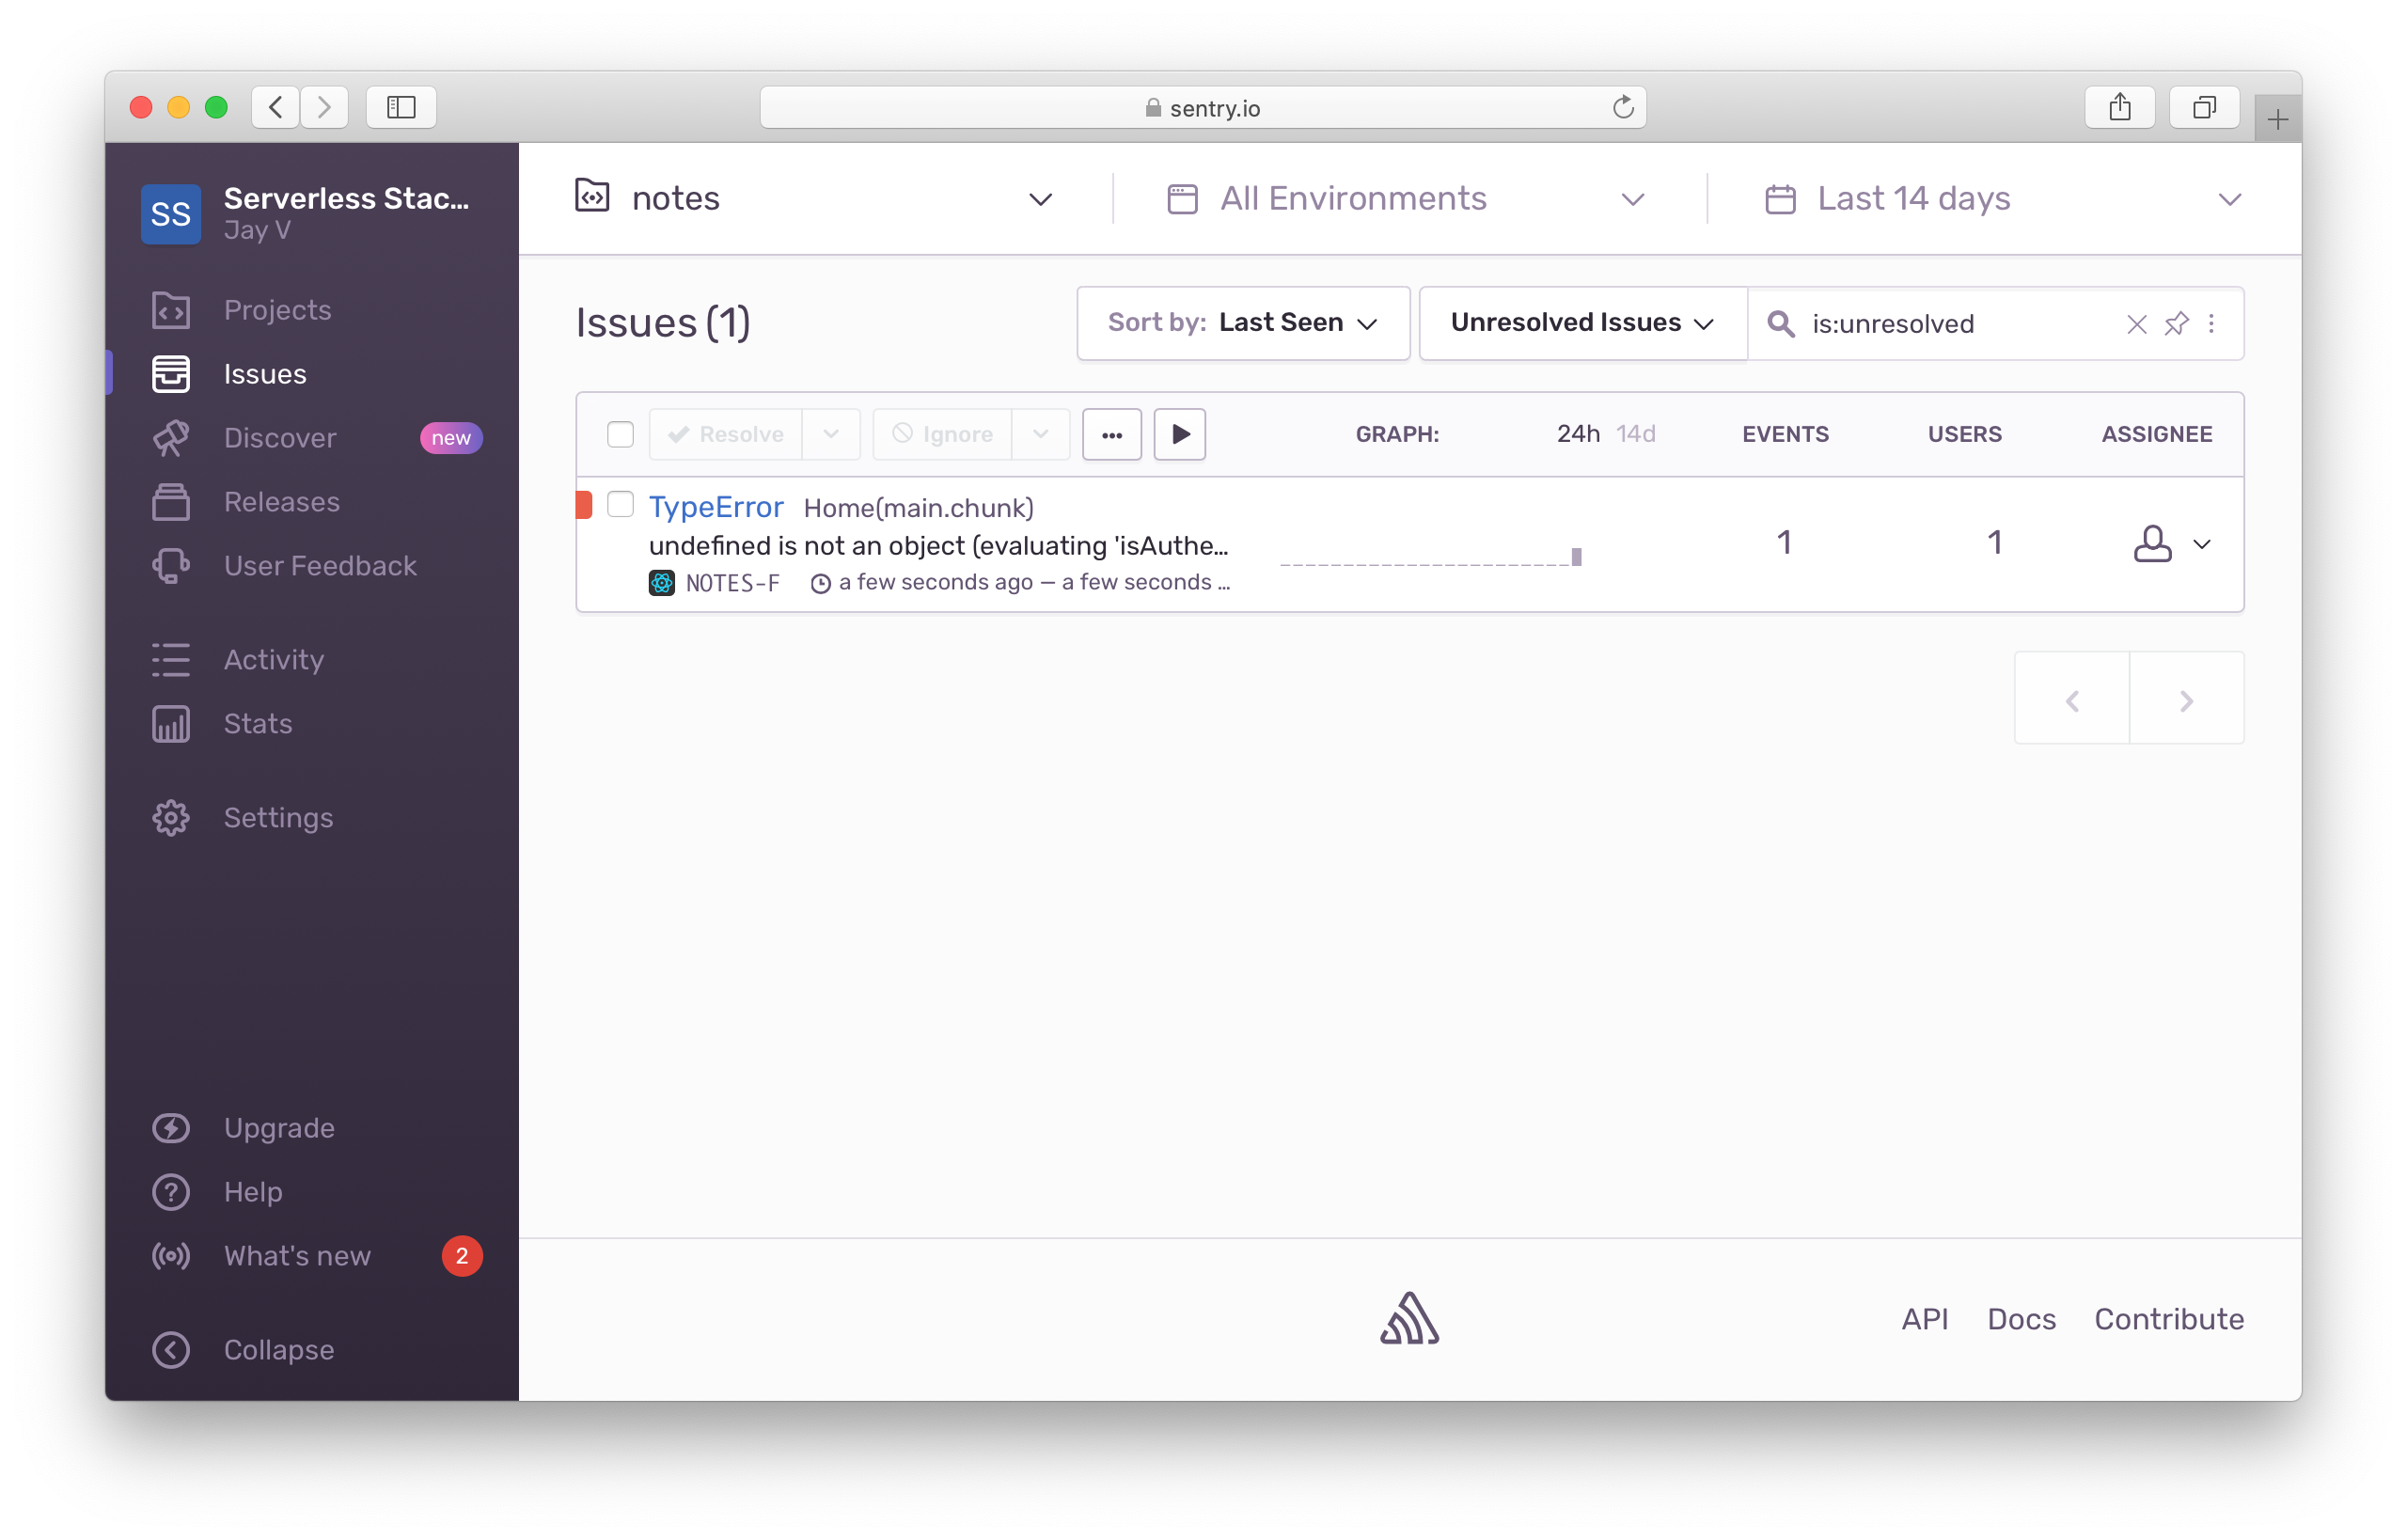
Now if we head over to our browser, we should see the error as before. And we should see the error being reported to Sentry as well! It might take a moment or two before it shows up.

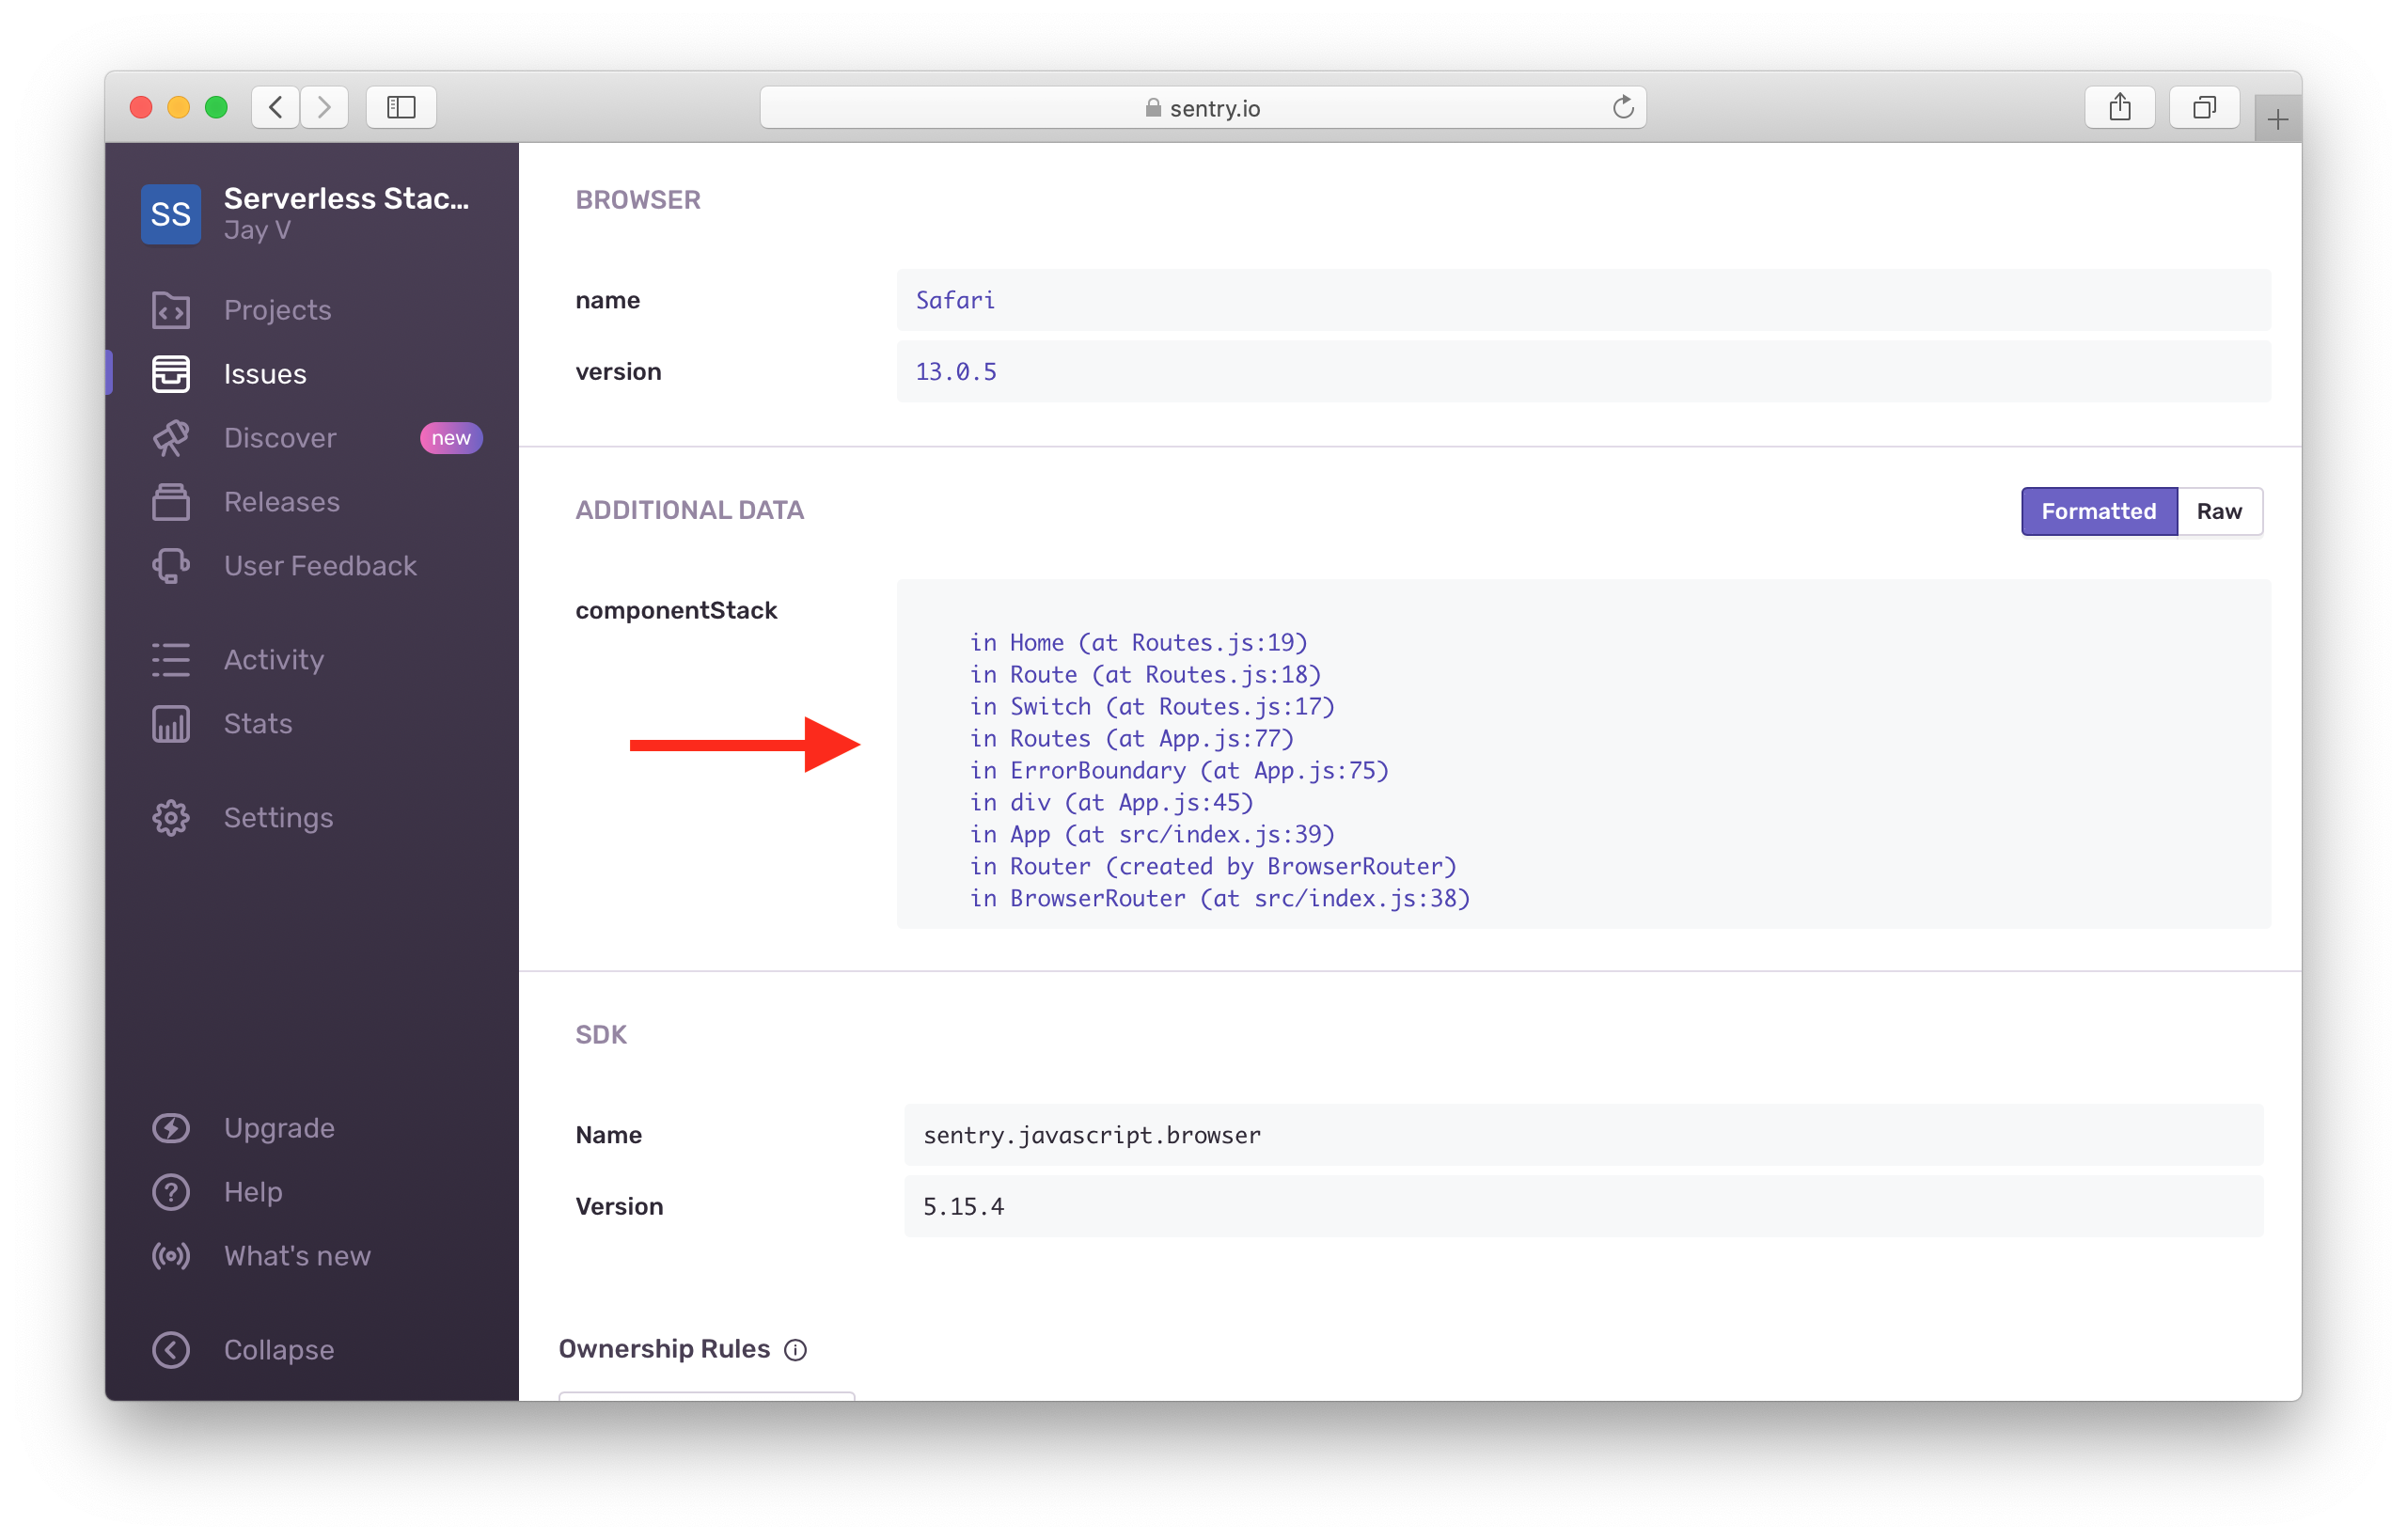
And if you click through, you can see the error in detail.

Now our React app is ready to handle the errors that are thrown its way!
Let’s cleanup all the testing changes we made above.
$ git checkout .
Push the Changes
 Let’s also push these changes to GitHub and deploy our app.
$ git push
Next, let’s look at how to handle errors in our serverless app.
For help and discussion
Comments on this chapter


