Deploy the API Services Repo
Just as the previous chapter we’ll add the API repo on Seed and deploy it to our environments.
Click Add an App again, and select your Git provider. This time, select the API repo.
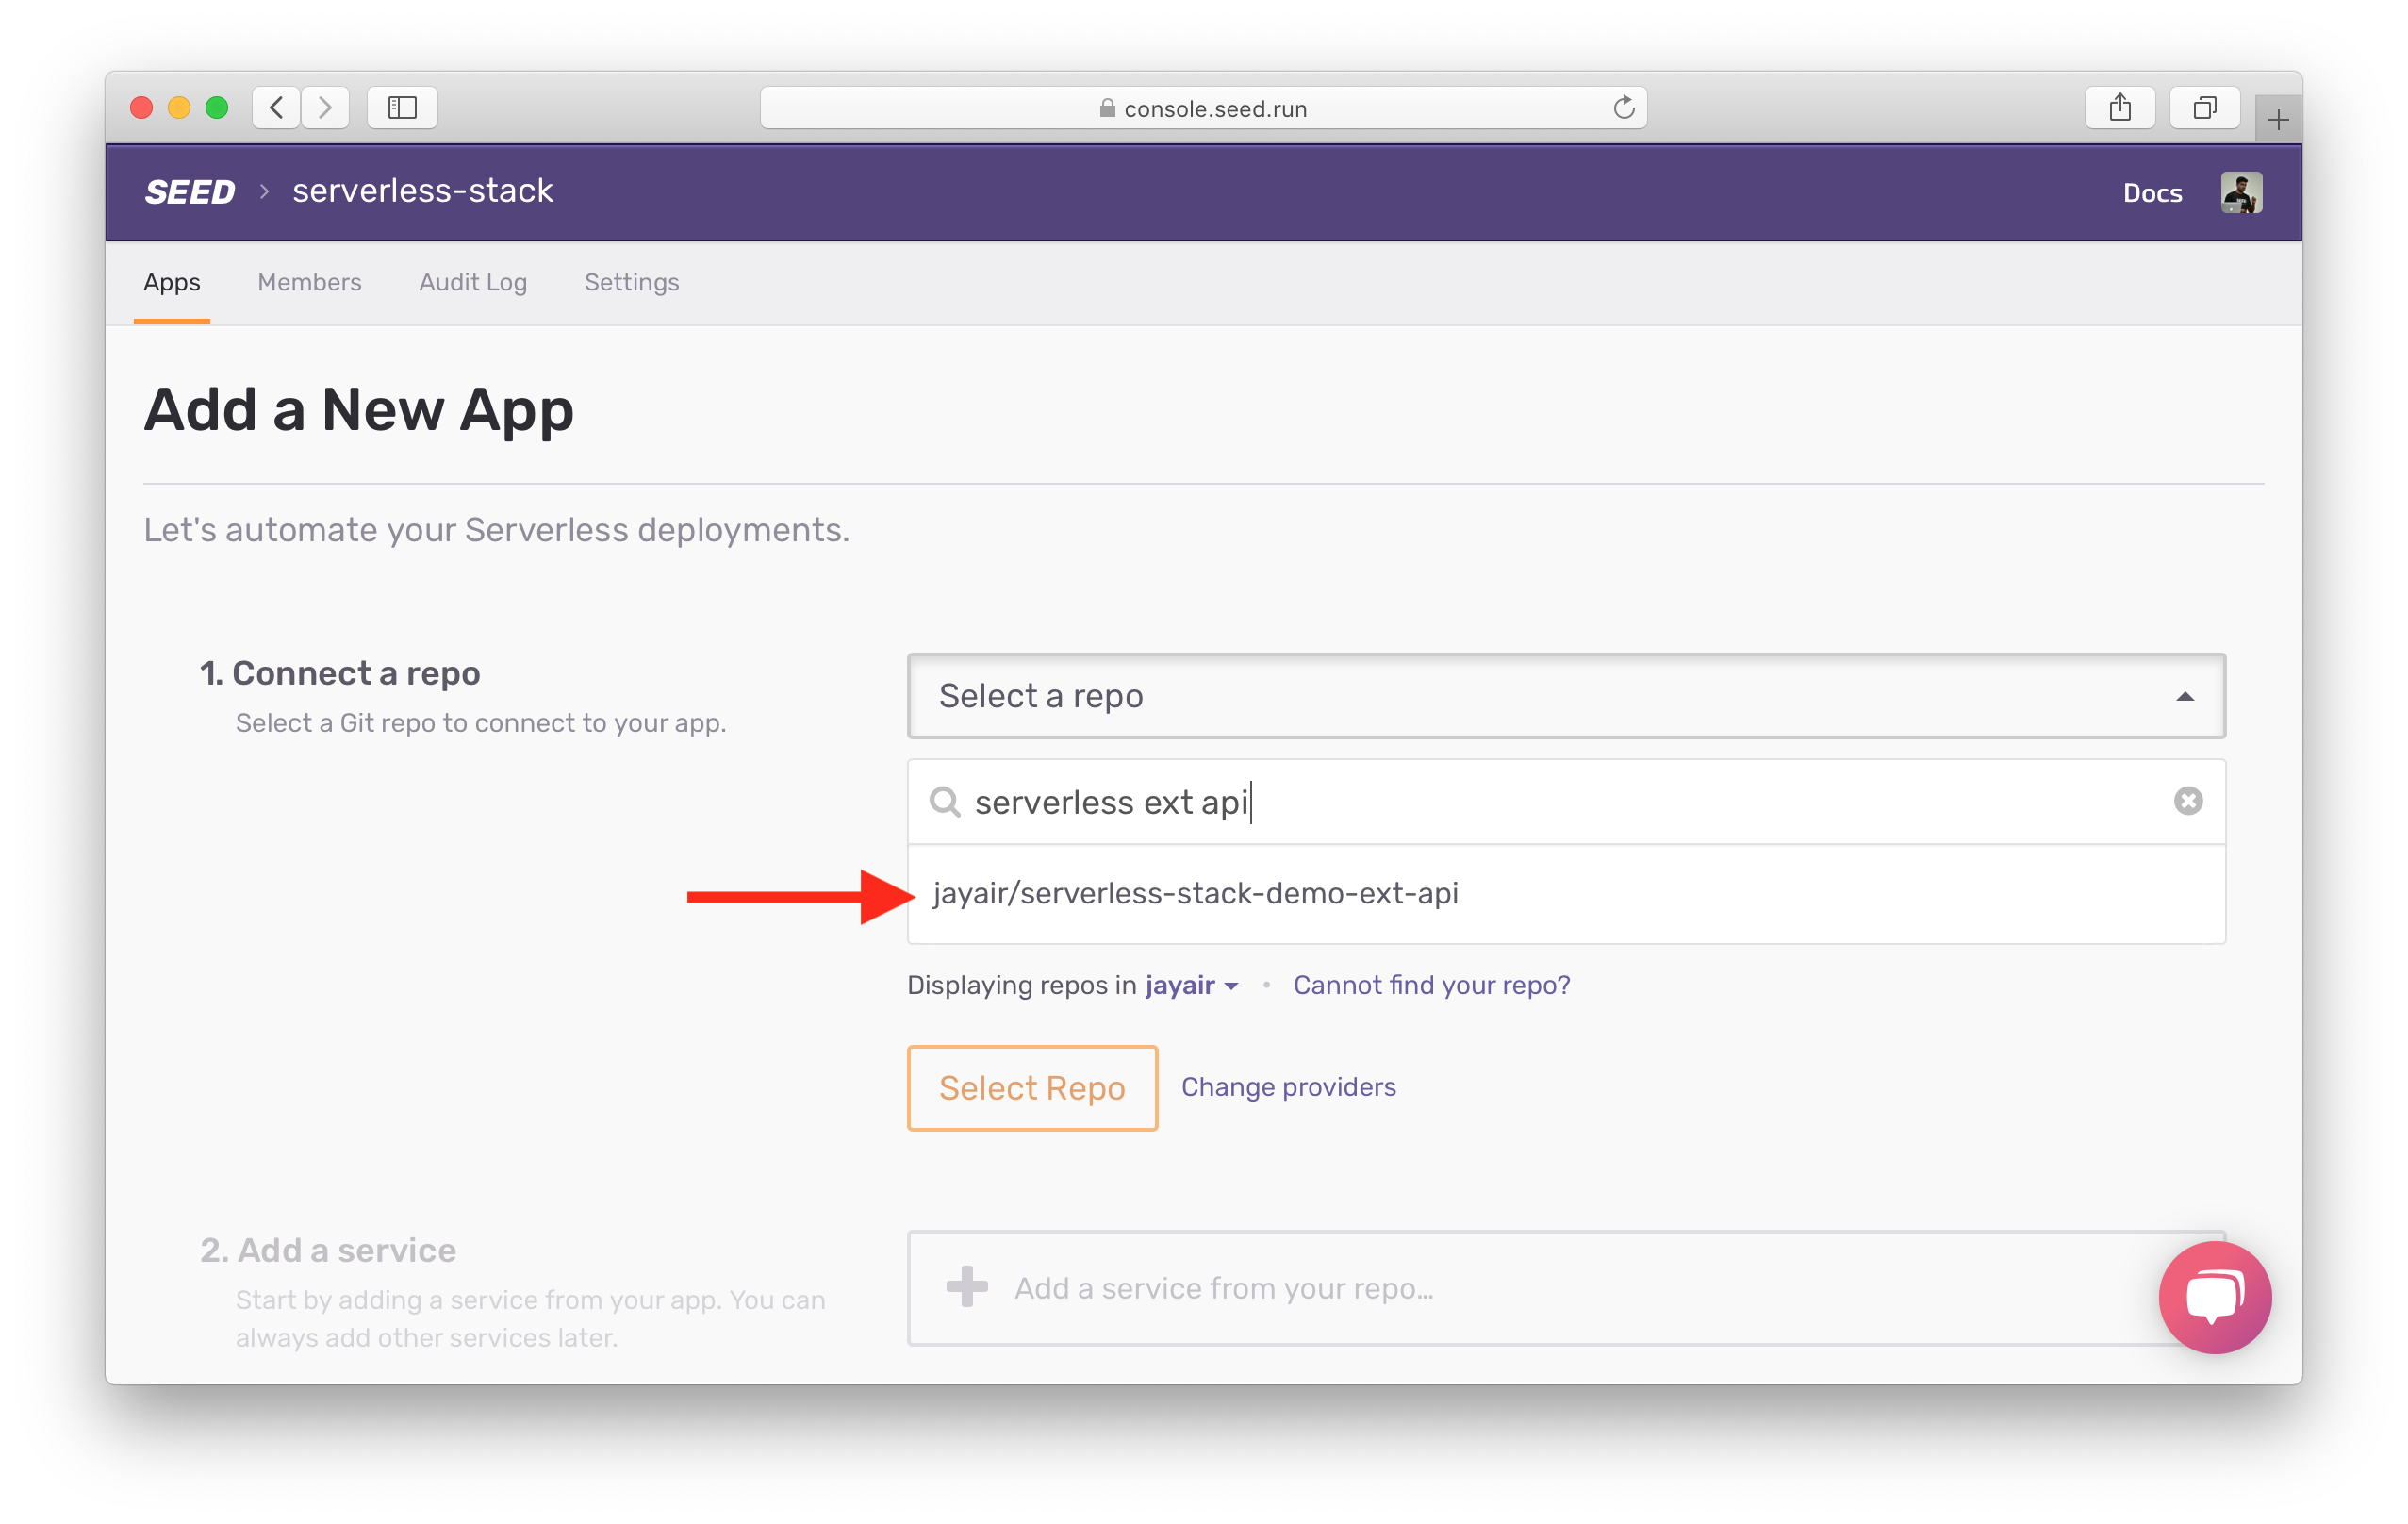
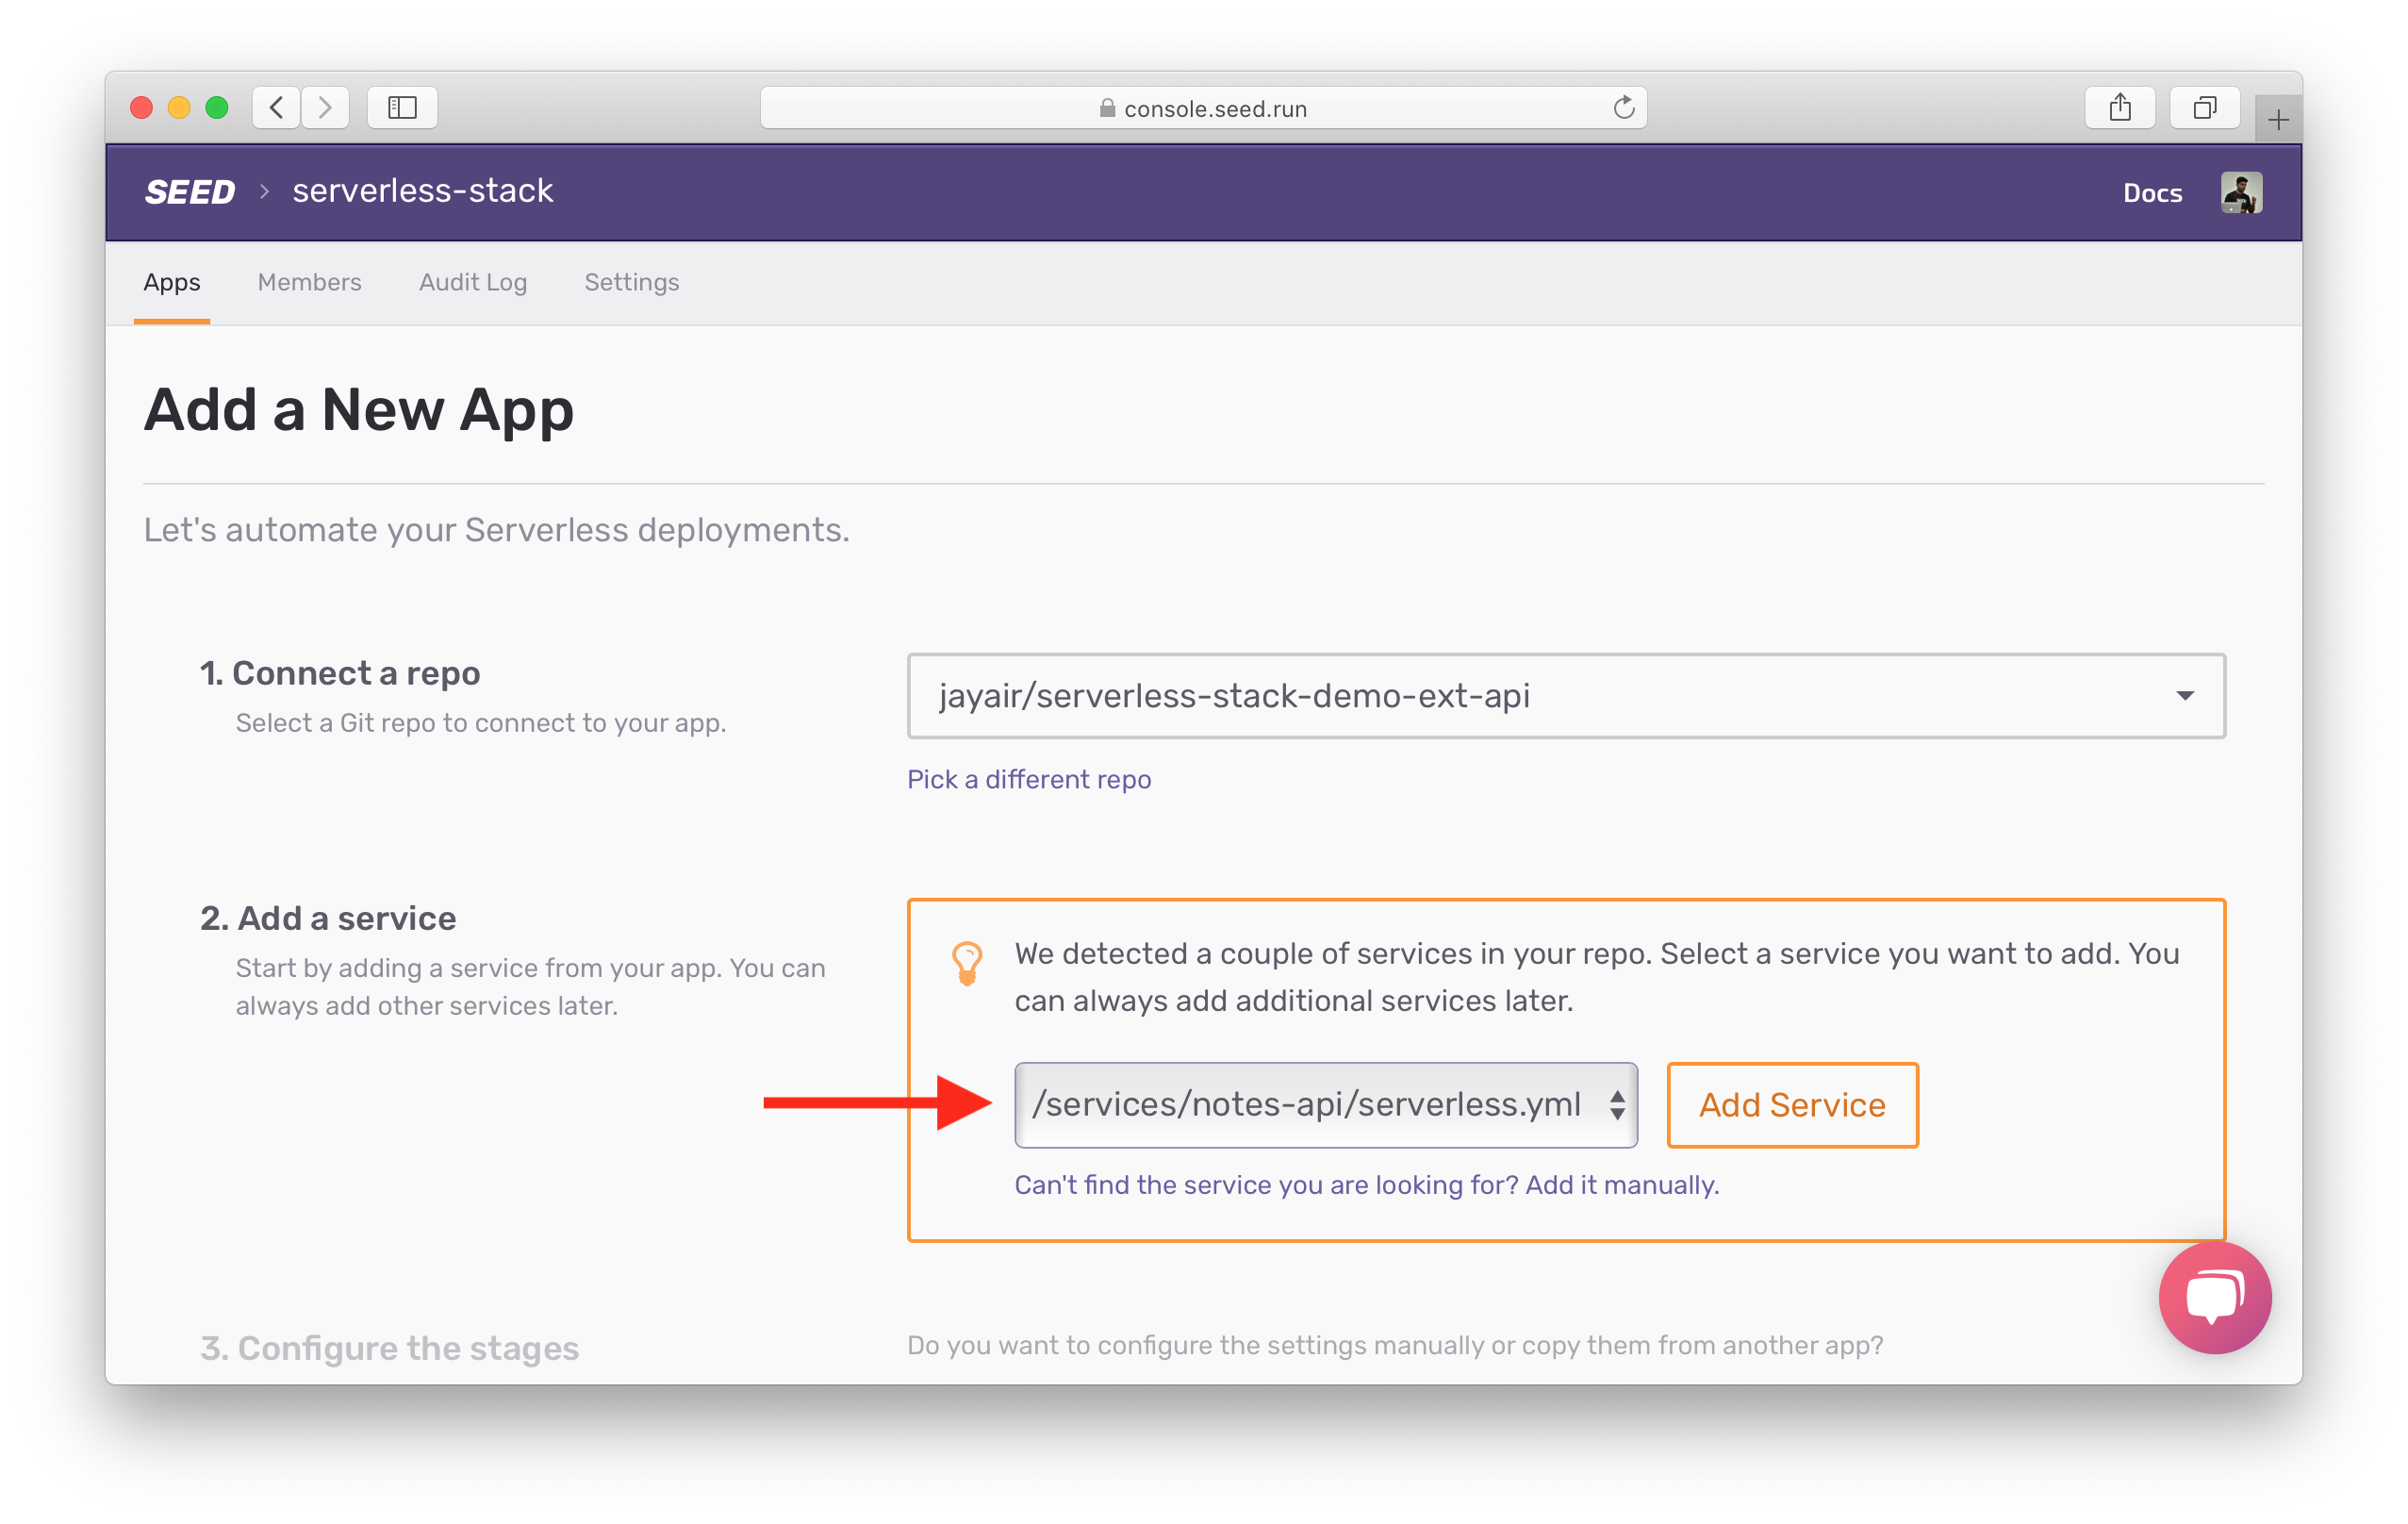
Select the notes-api service from the list of services.
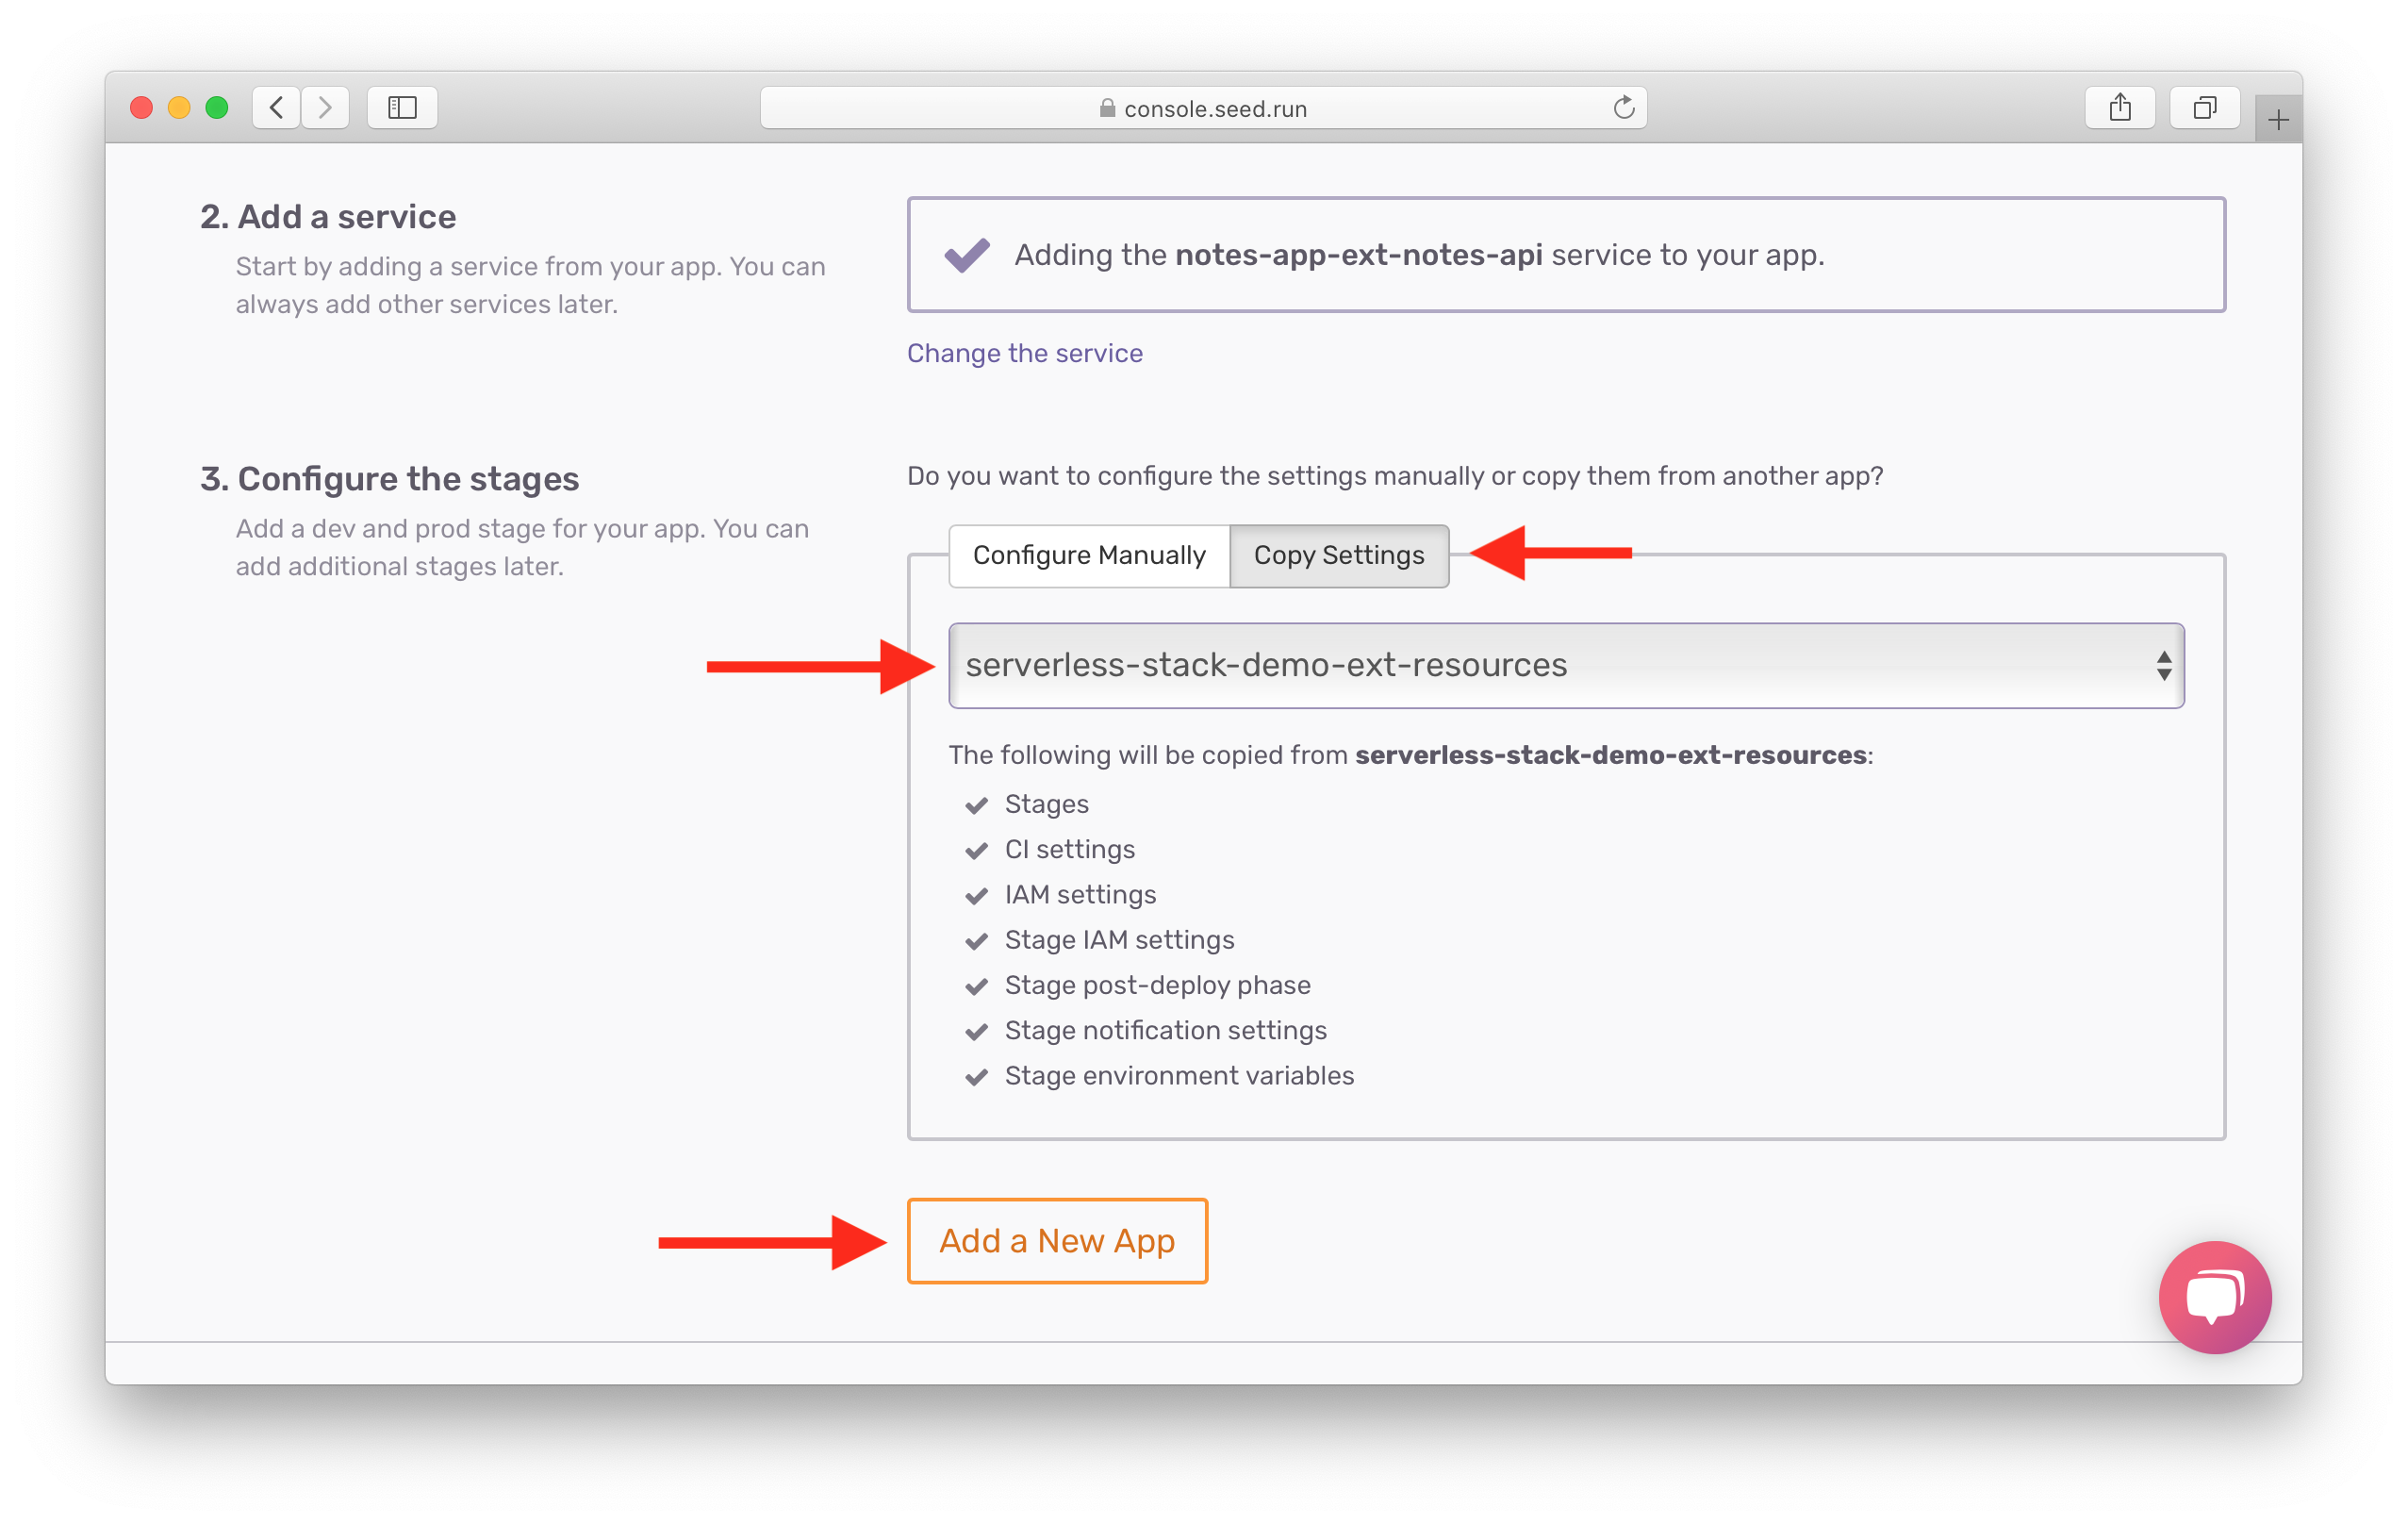
The environments for our API repo are identical to our resources repo. So instead of manually configuring them, we’ll copy the settings.
Select Copy Settings tab, and select the resources app. Then hit Add a New App.
The API app has been created. Now, let’s add the other services. Head over to the Pipeline tab.
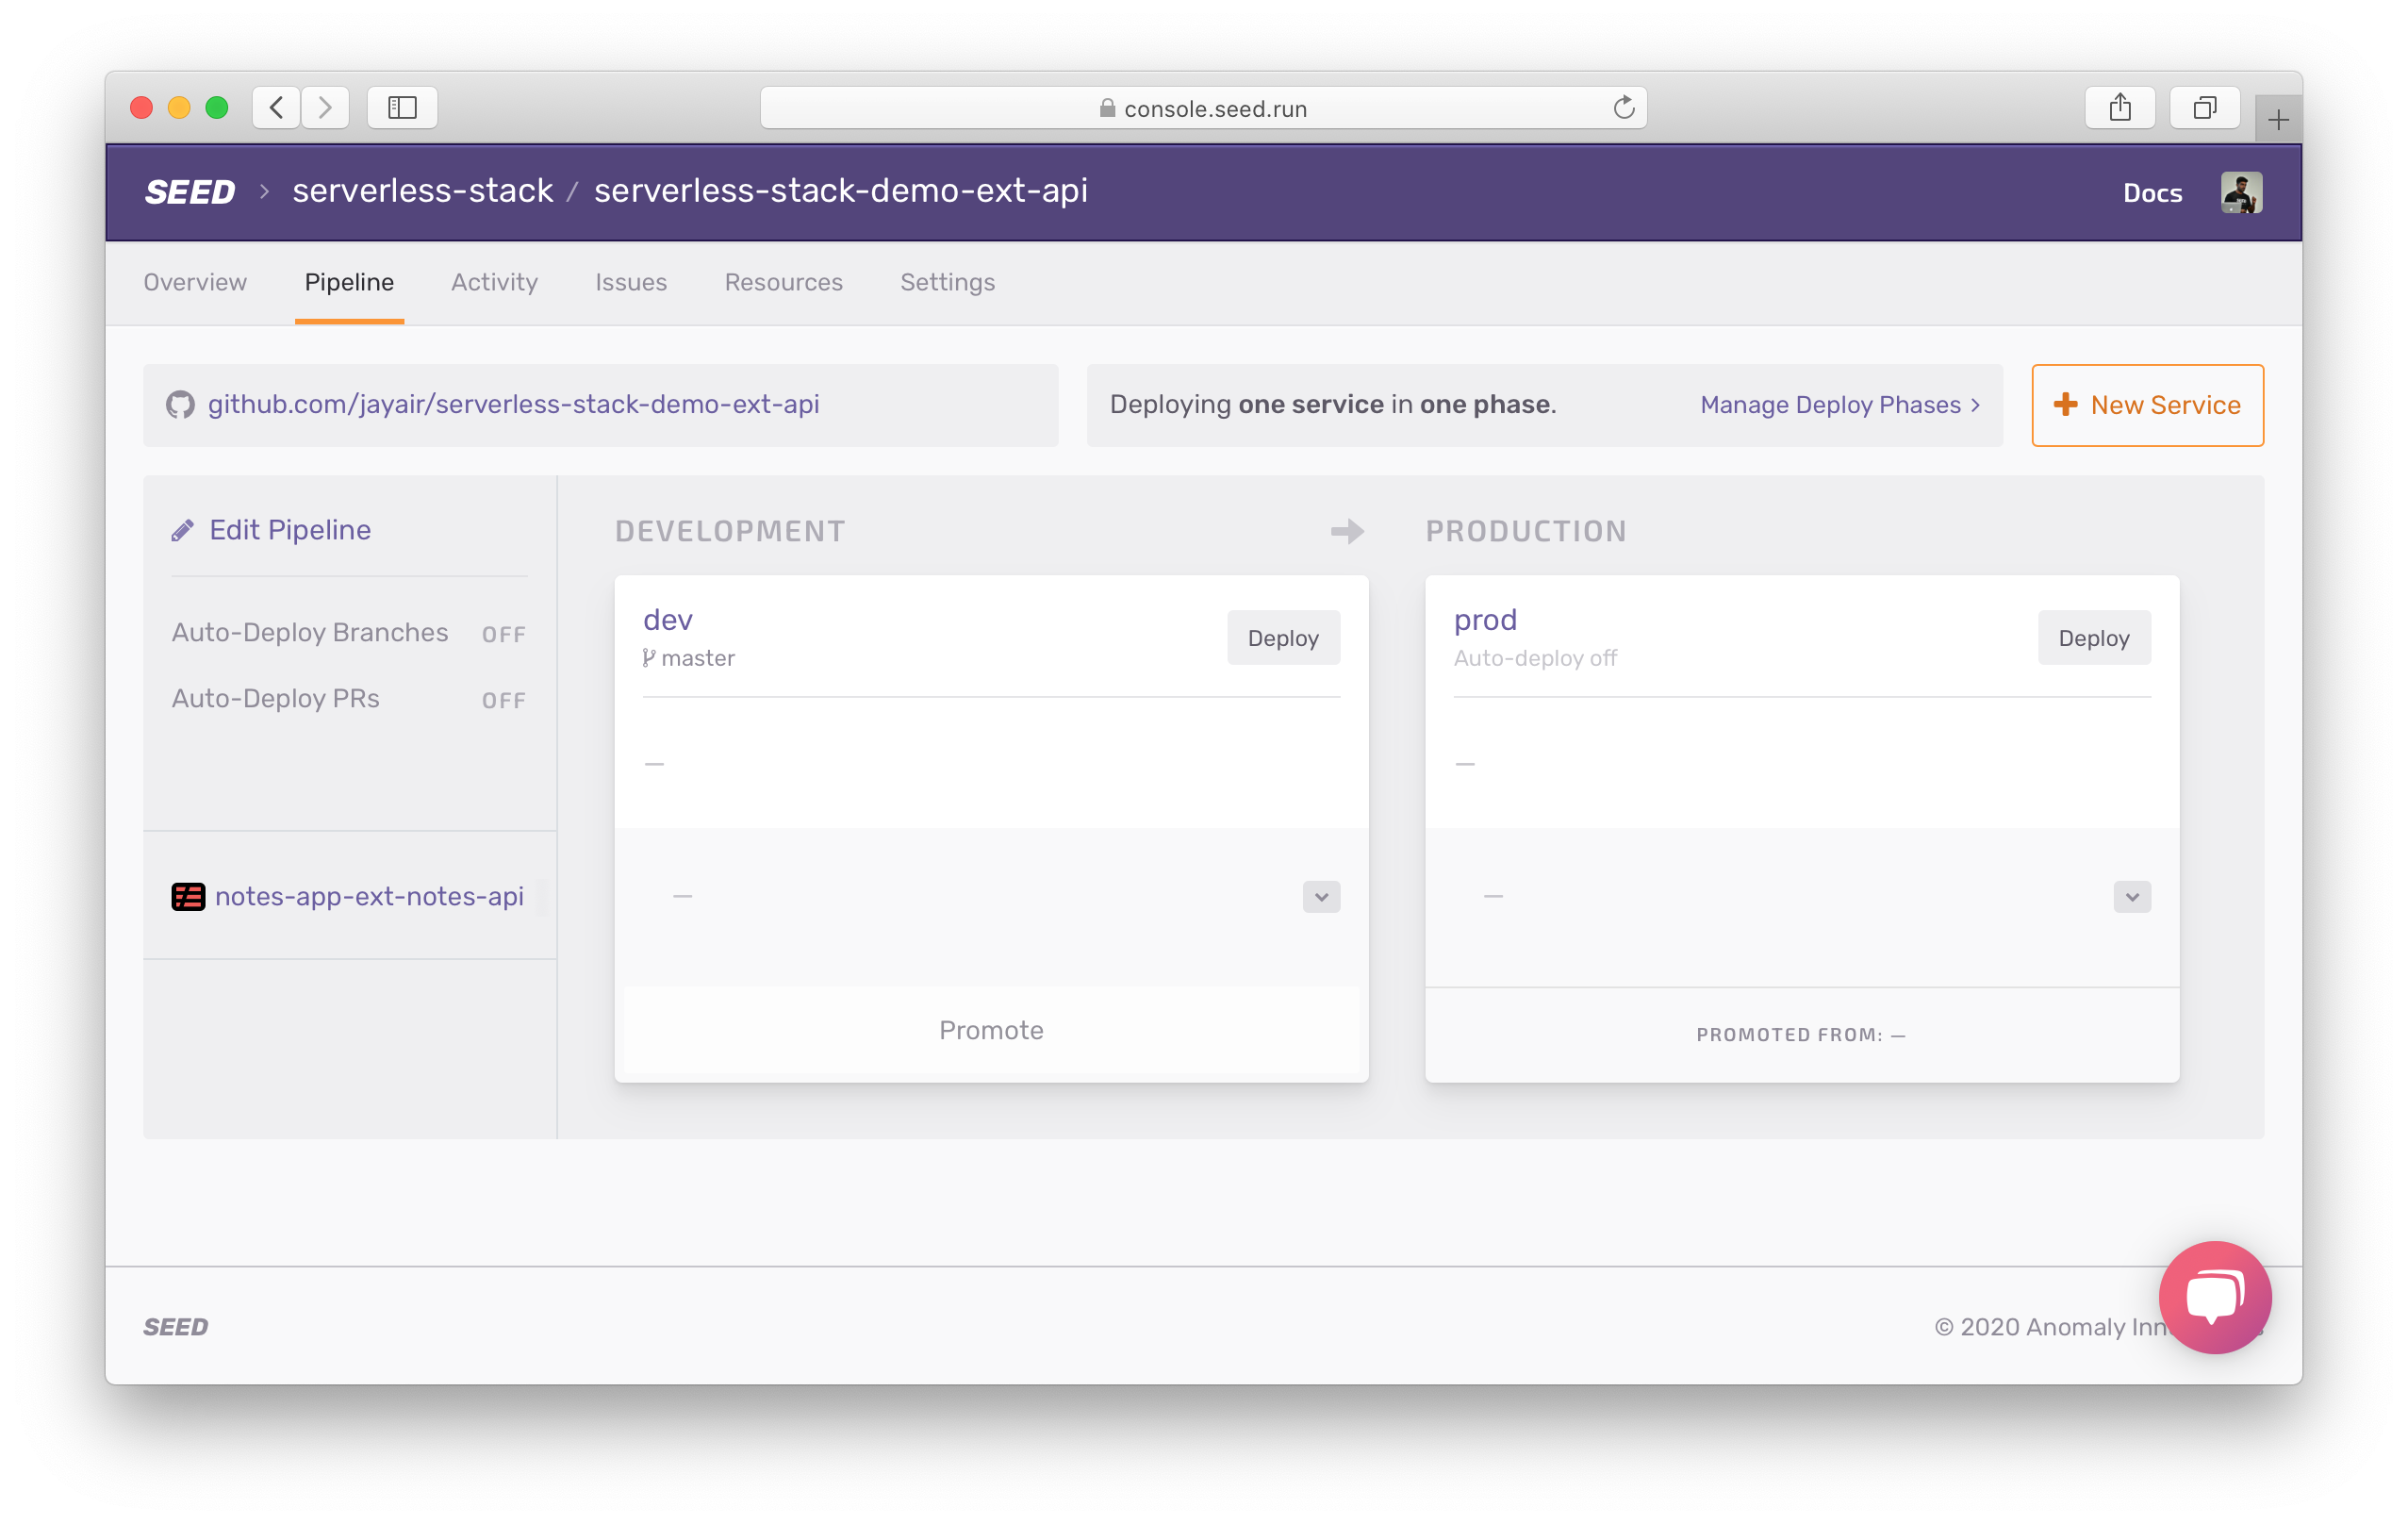
Click Add a service to add the billing-api service at the services/billing-api path. And then repeat the step to add the notify-job service at the services/notify-job path.
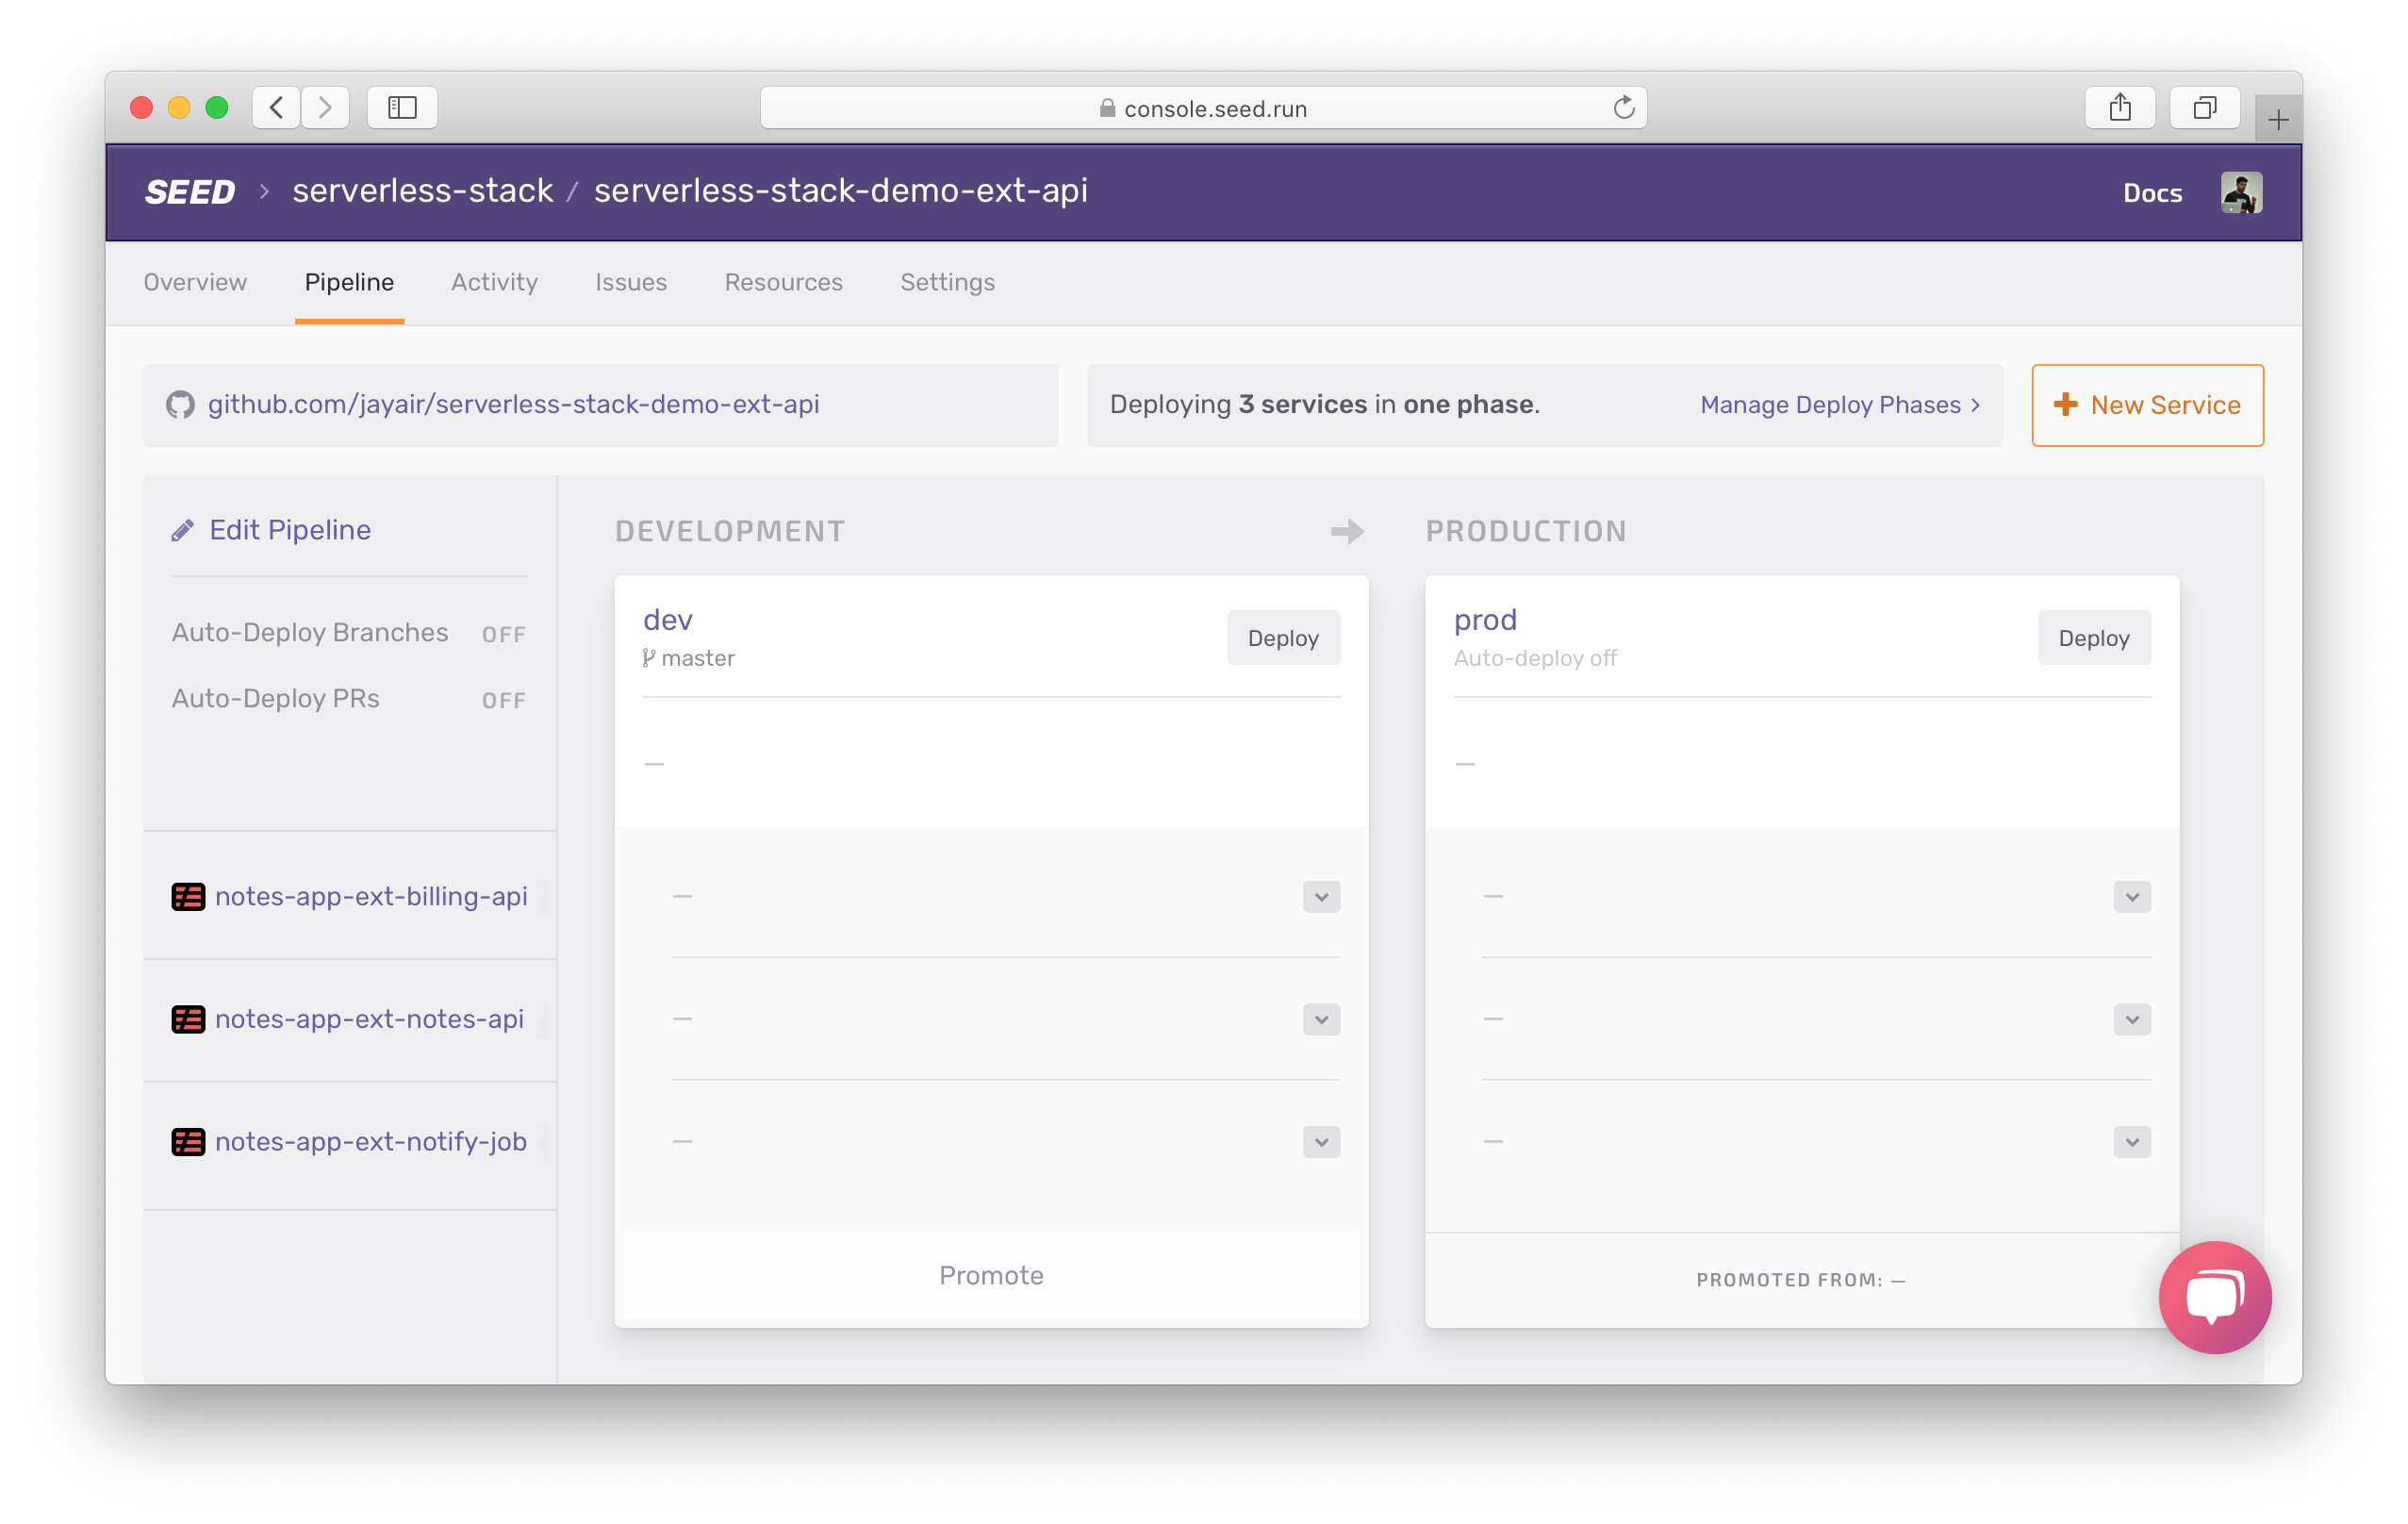
Next, click on Manage Deploy Phases.
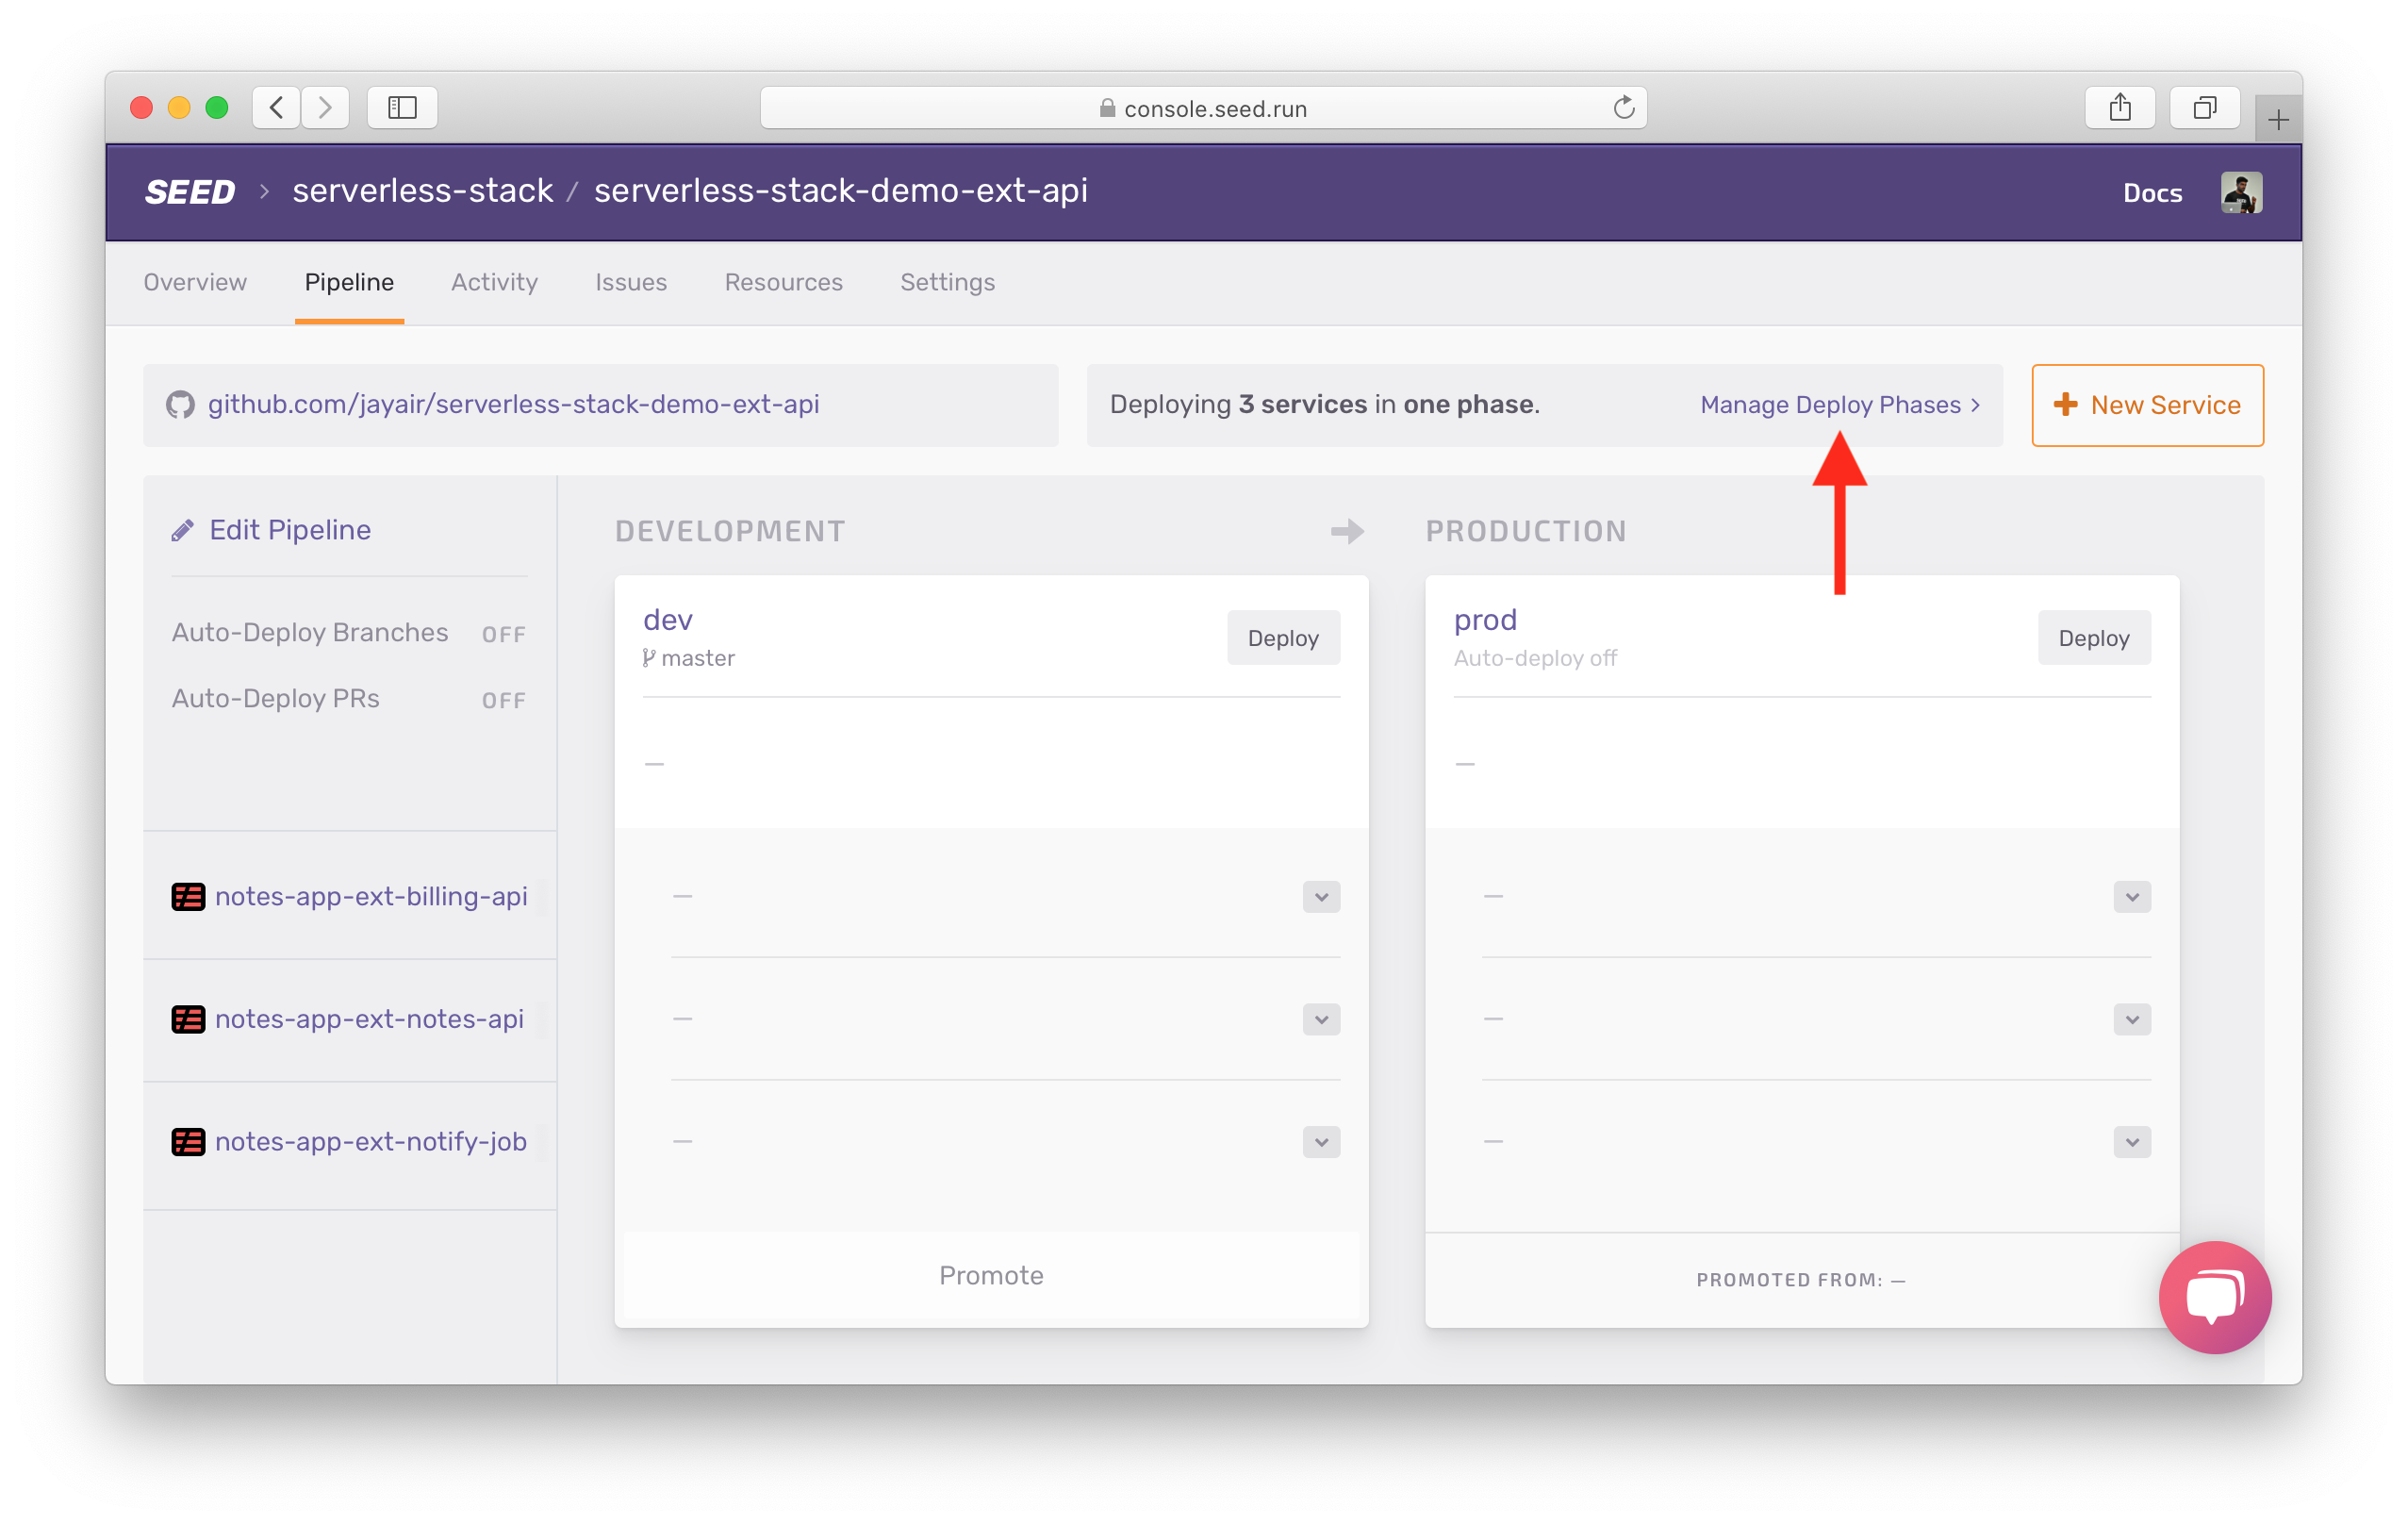
Again you’ll notice that by default all the services are deployed concurrently.
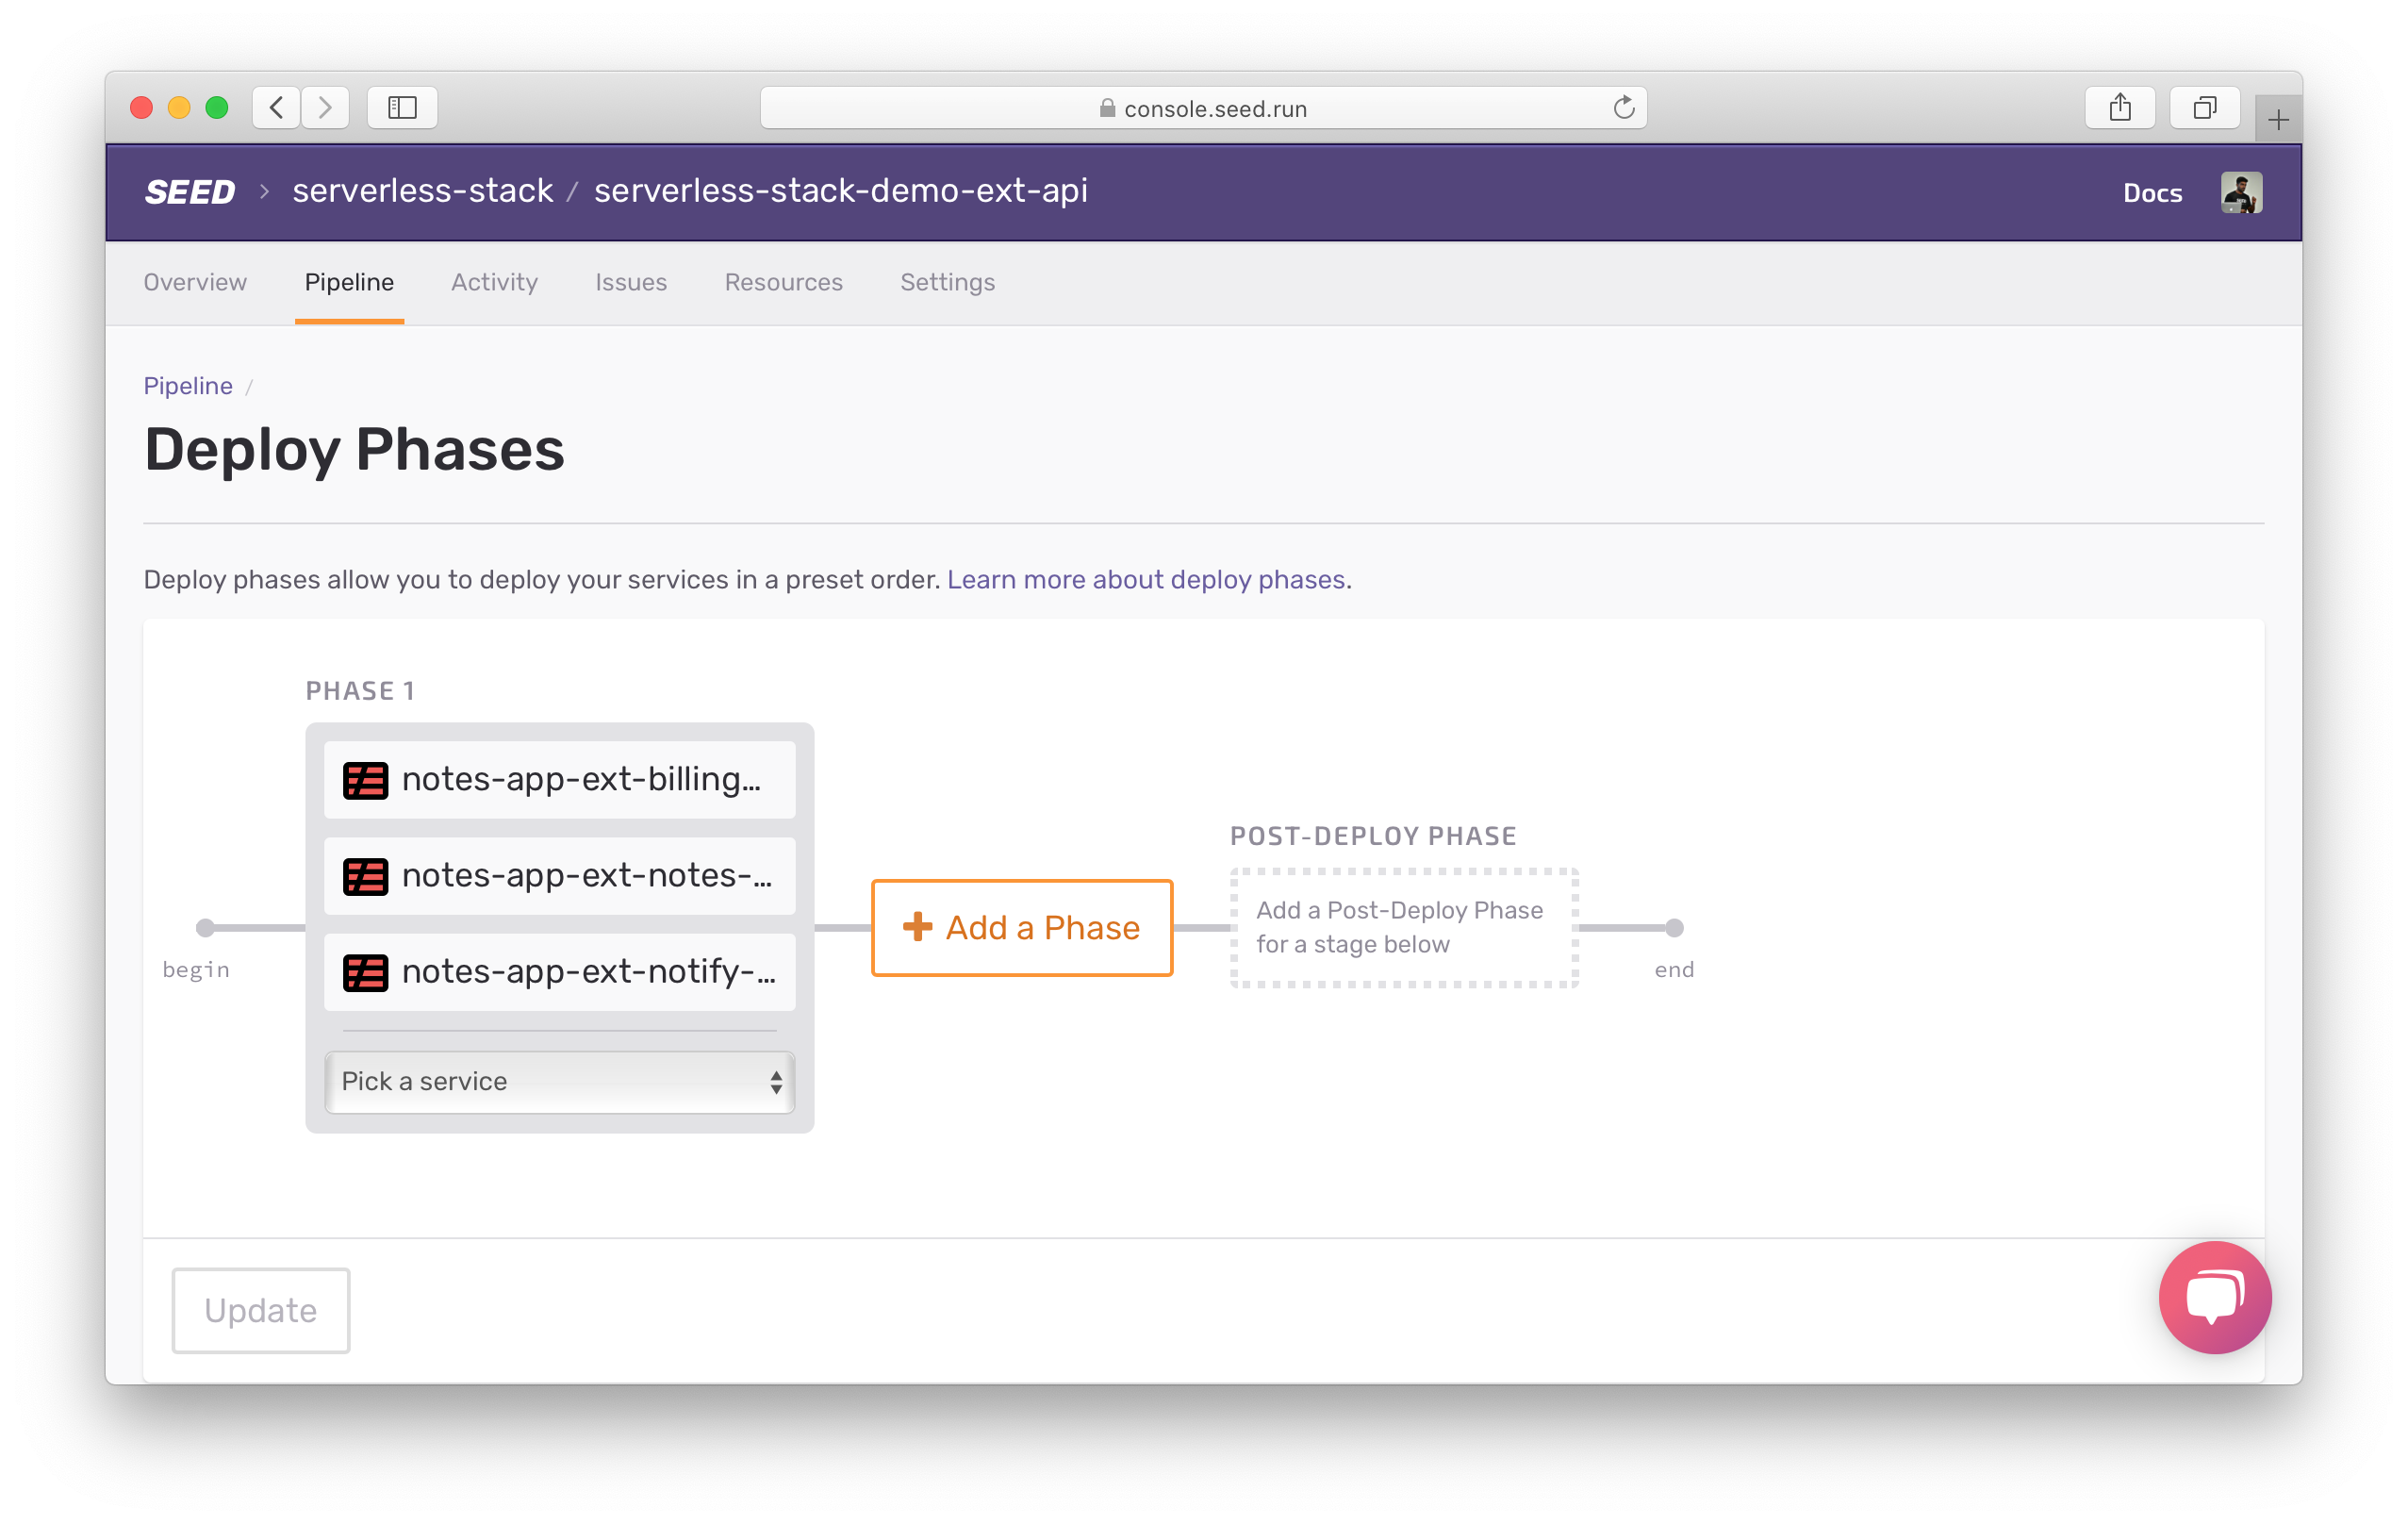
Since the billing-api service depends on the notes-api service, and in turn the notify-job service depends on the billing-api service, we are going too add 2 phases. And move the billing-api service to Phase 2, and the notify-job service to Phase 3. Finally, click Update Phases.
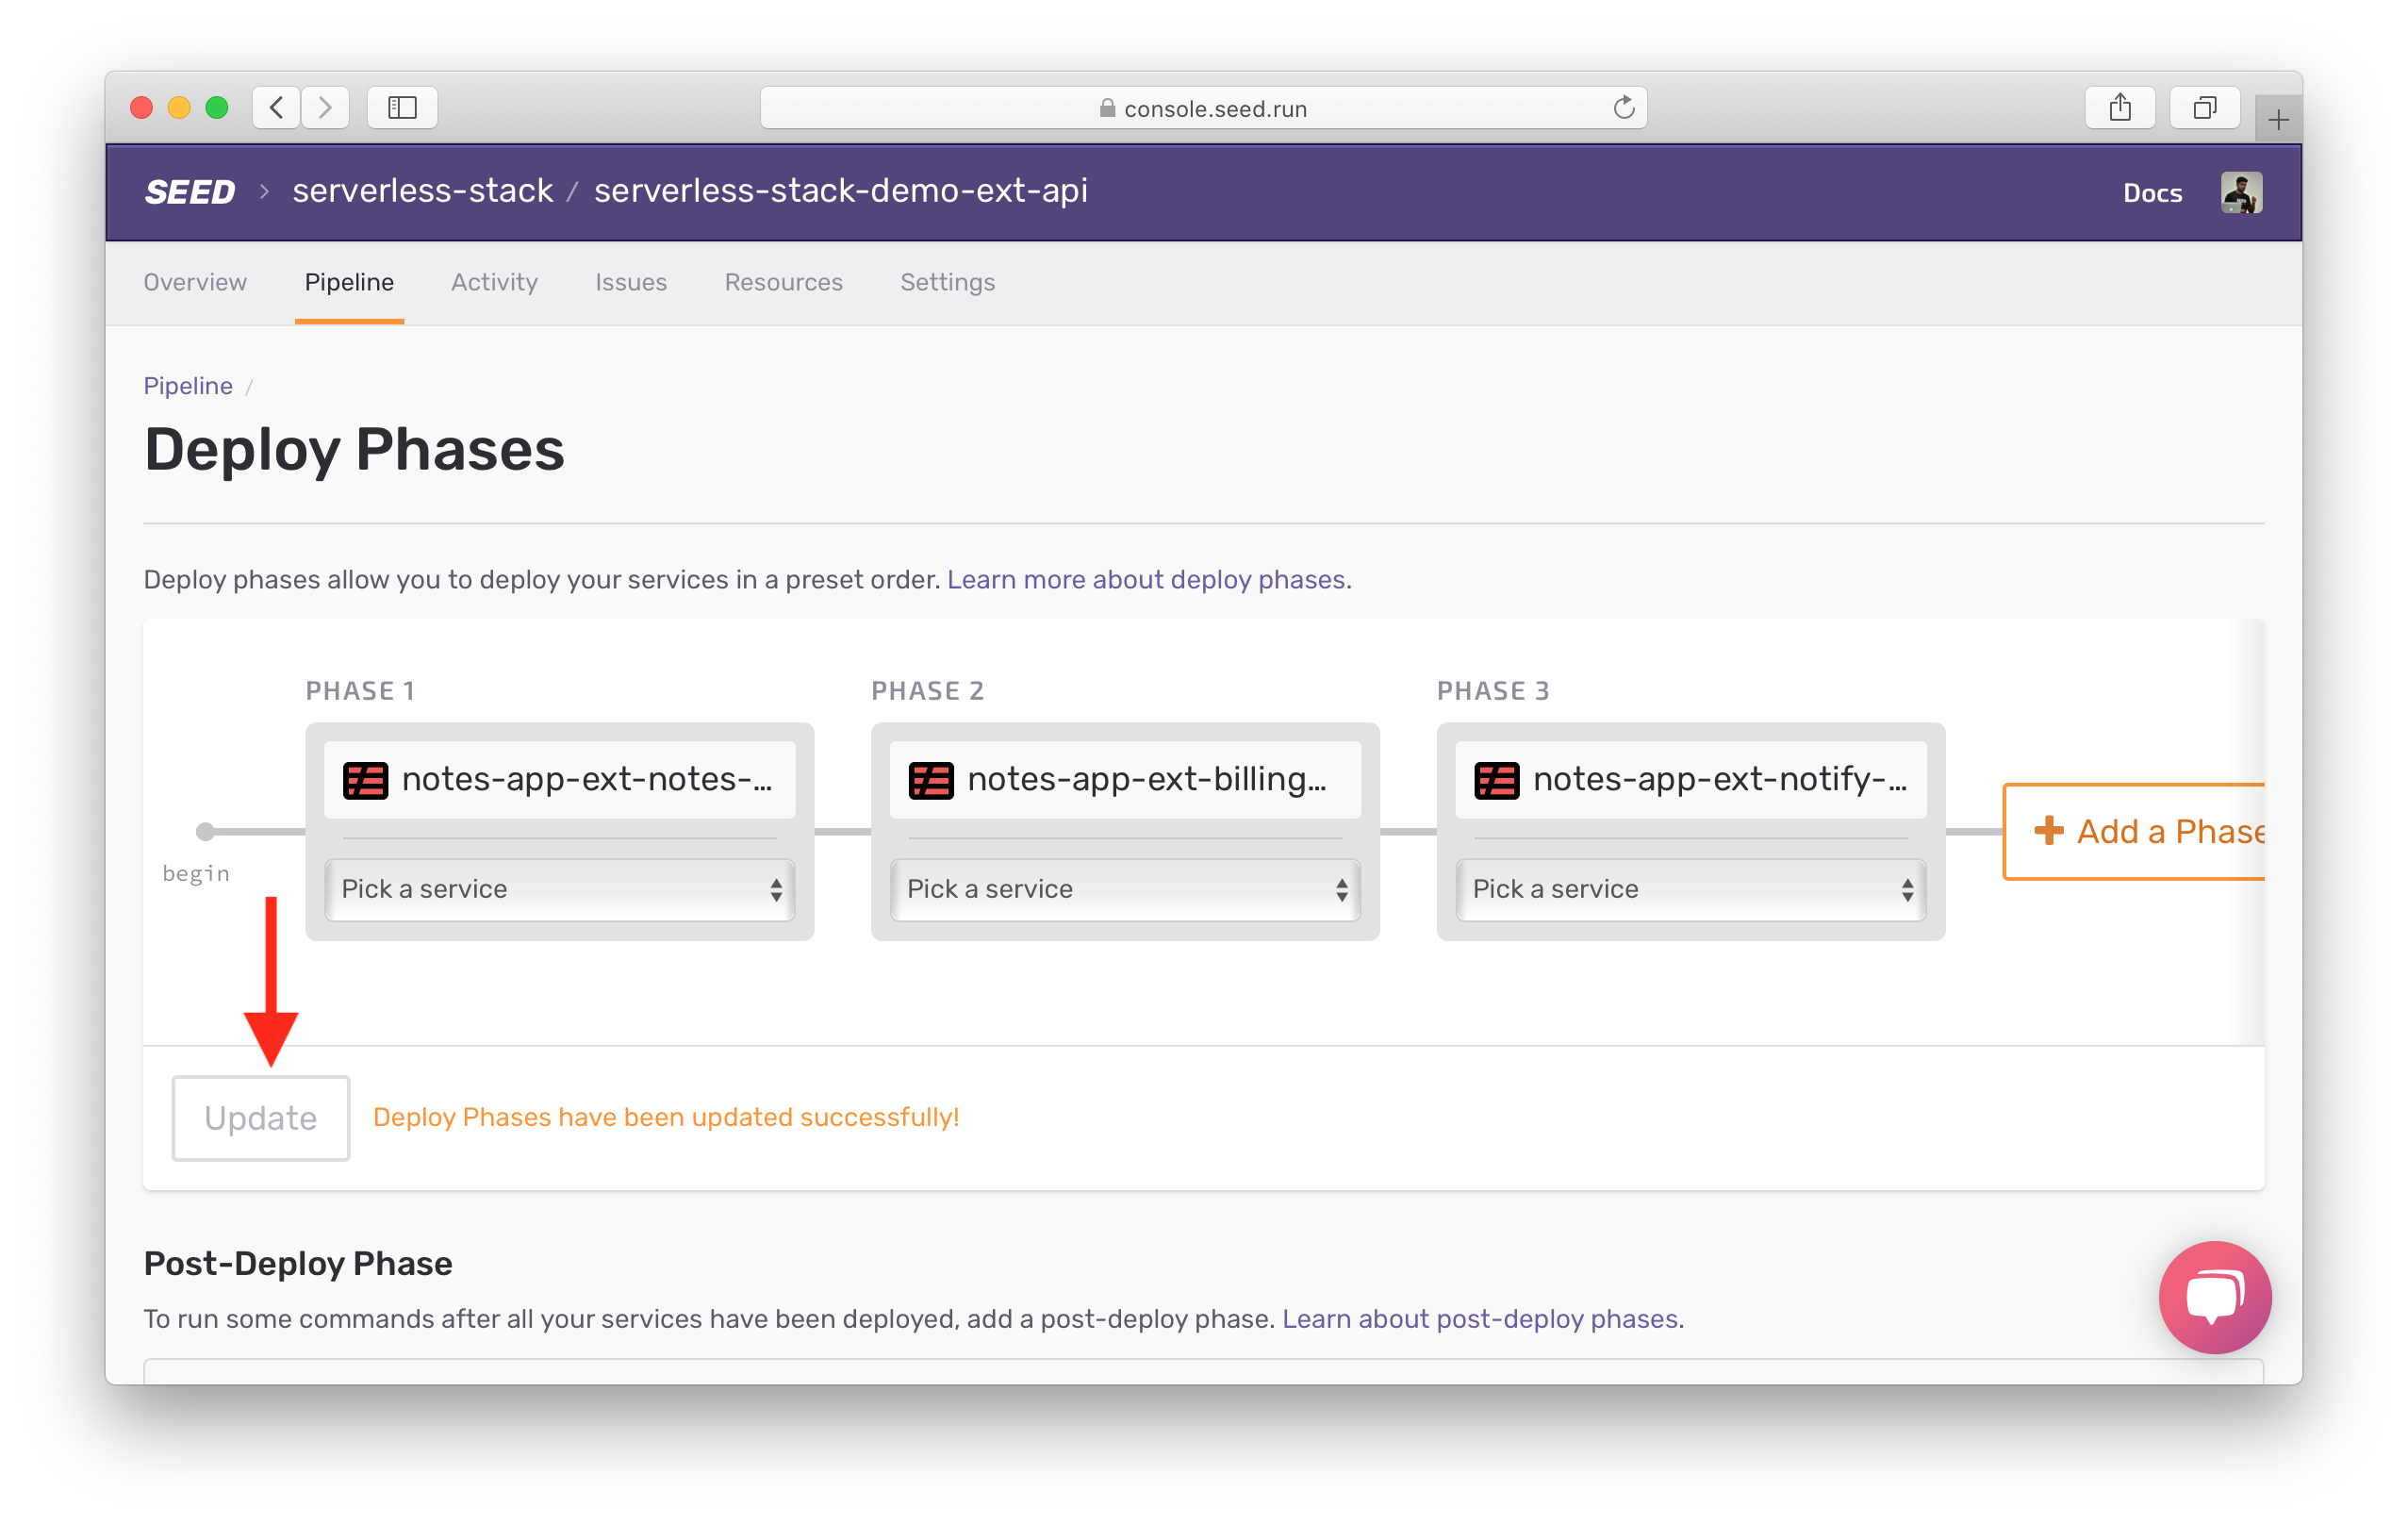
Now let’s make our first deployment.
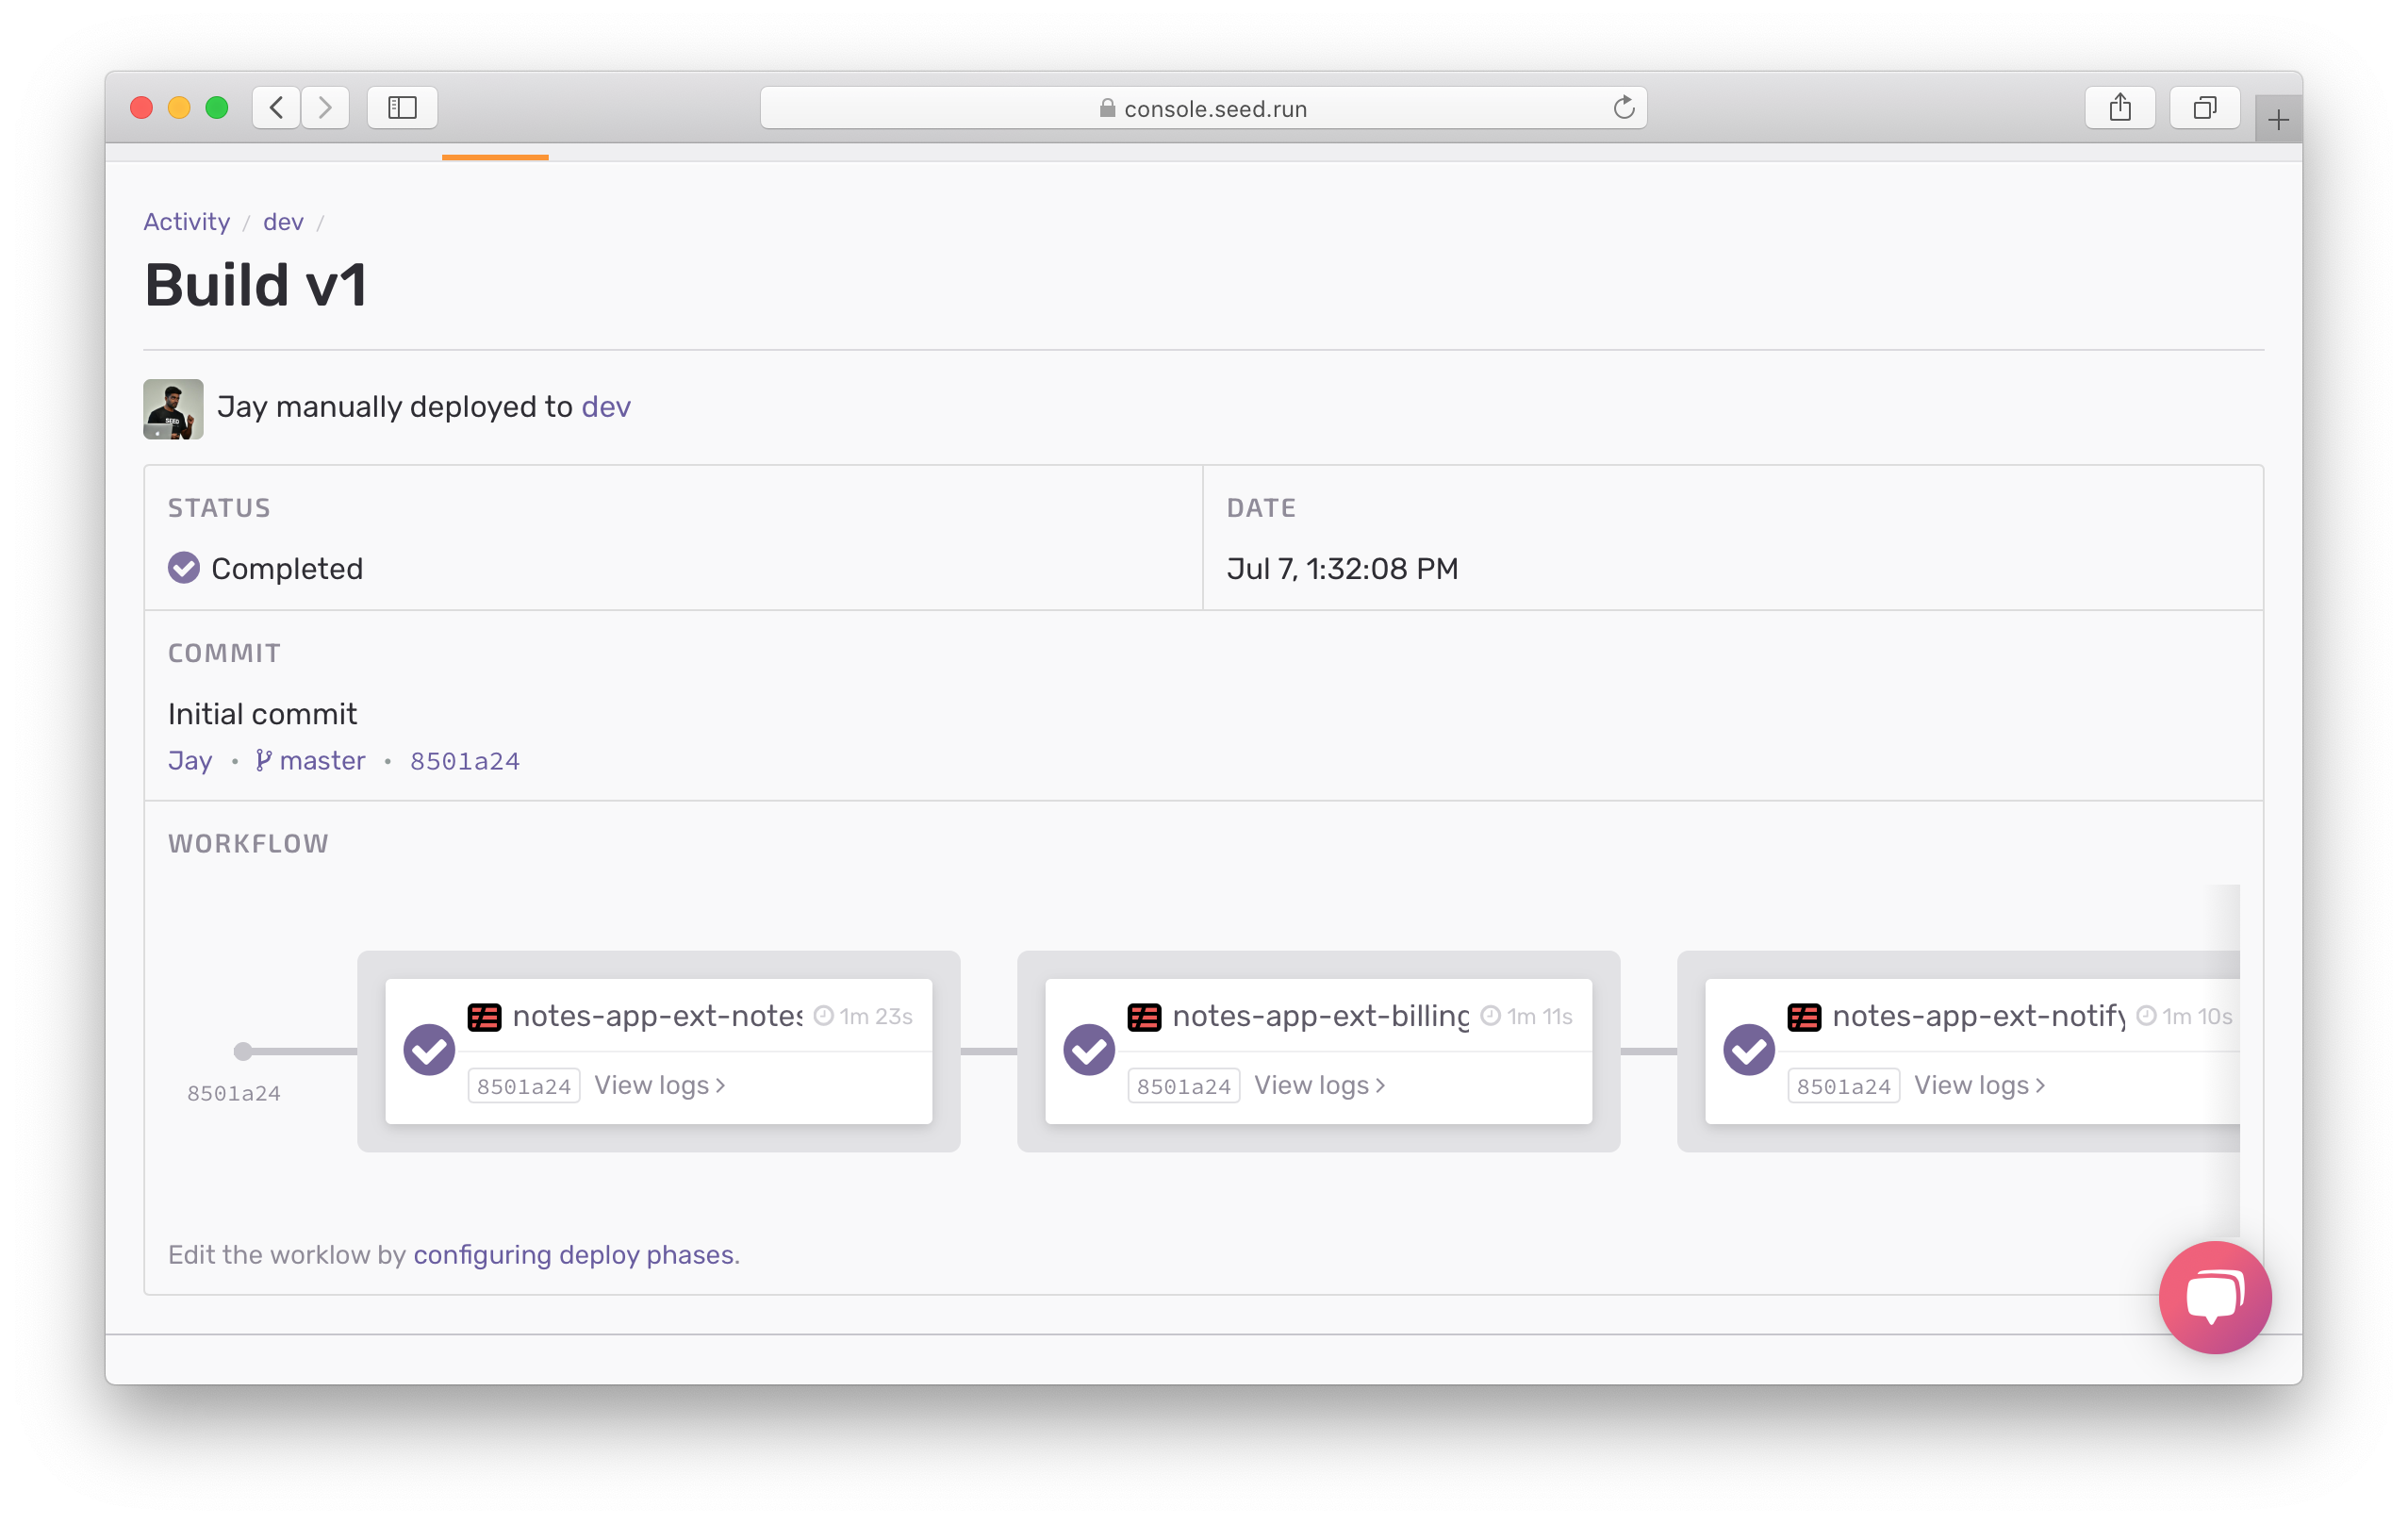
You can see the deployments were carried out according to the specified deploy phases.
Just as before, promote dev to prod.
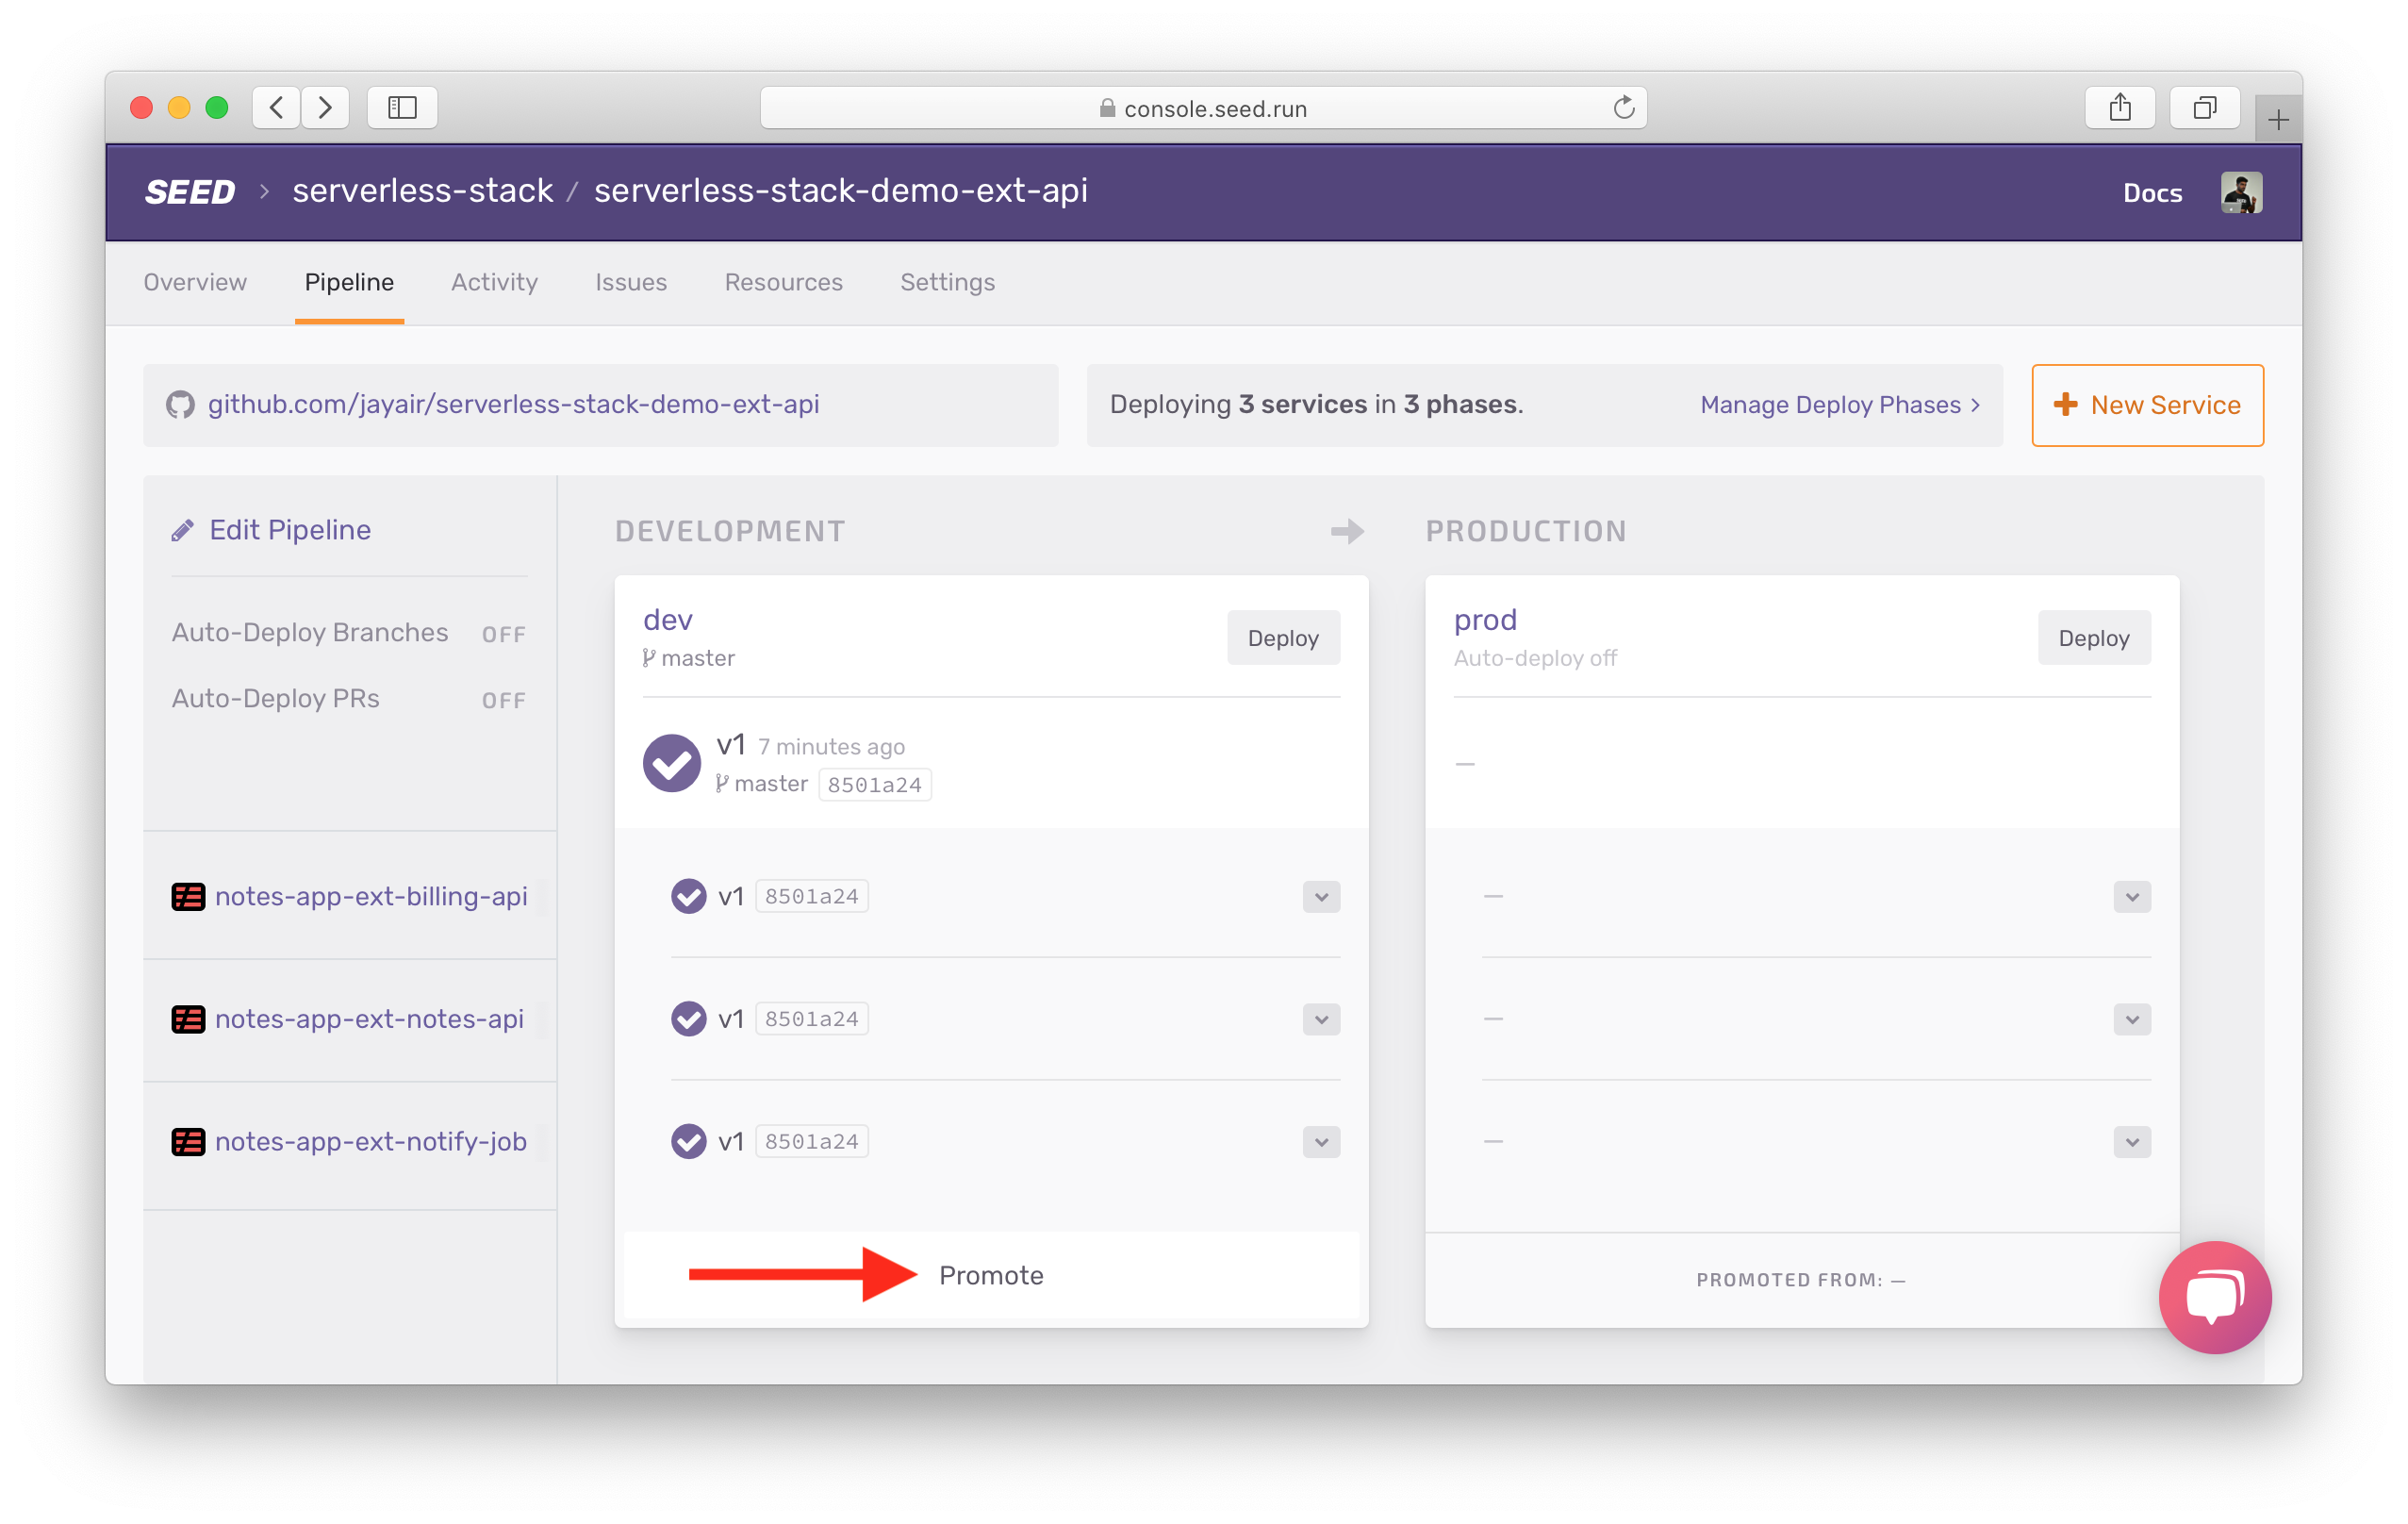
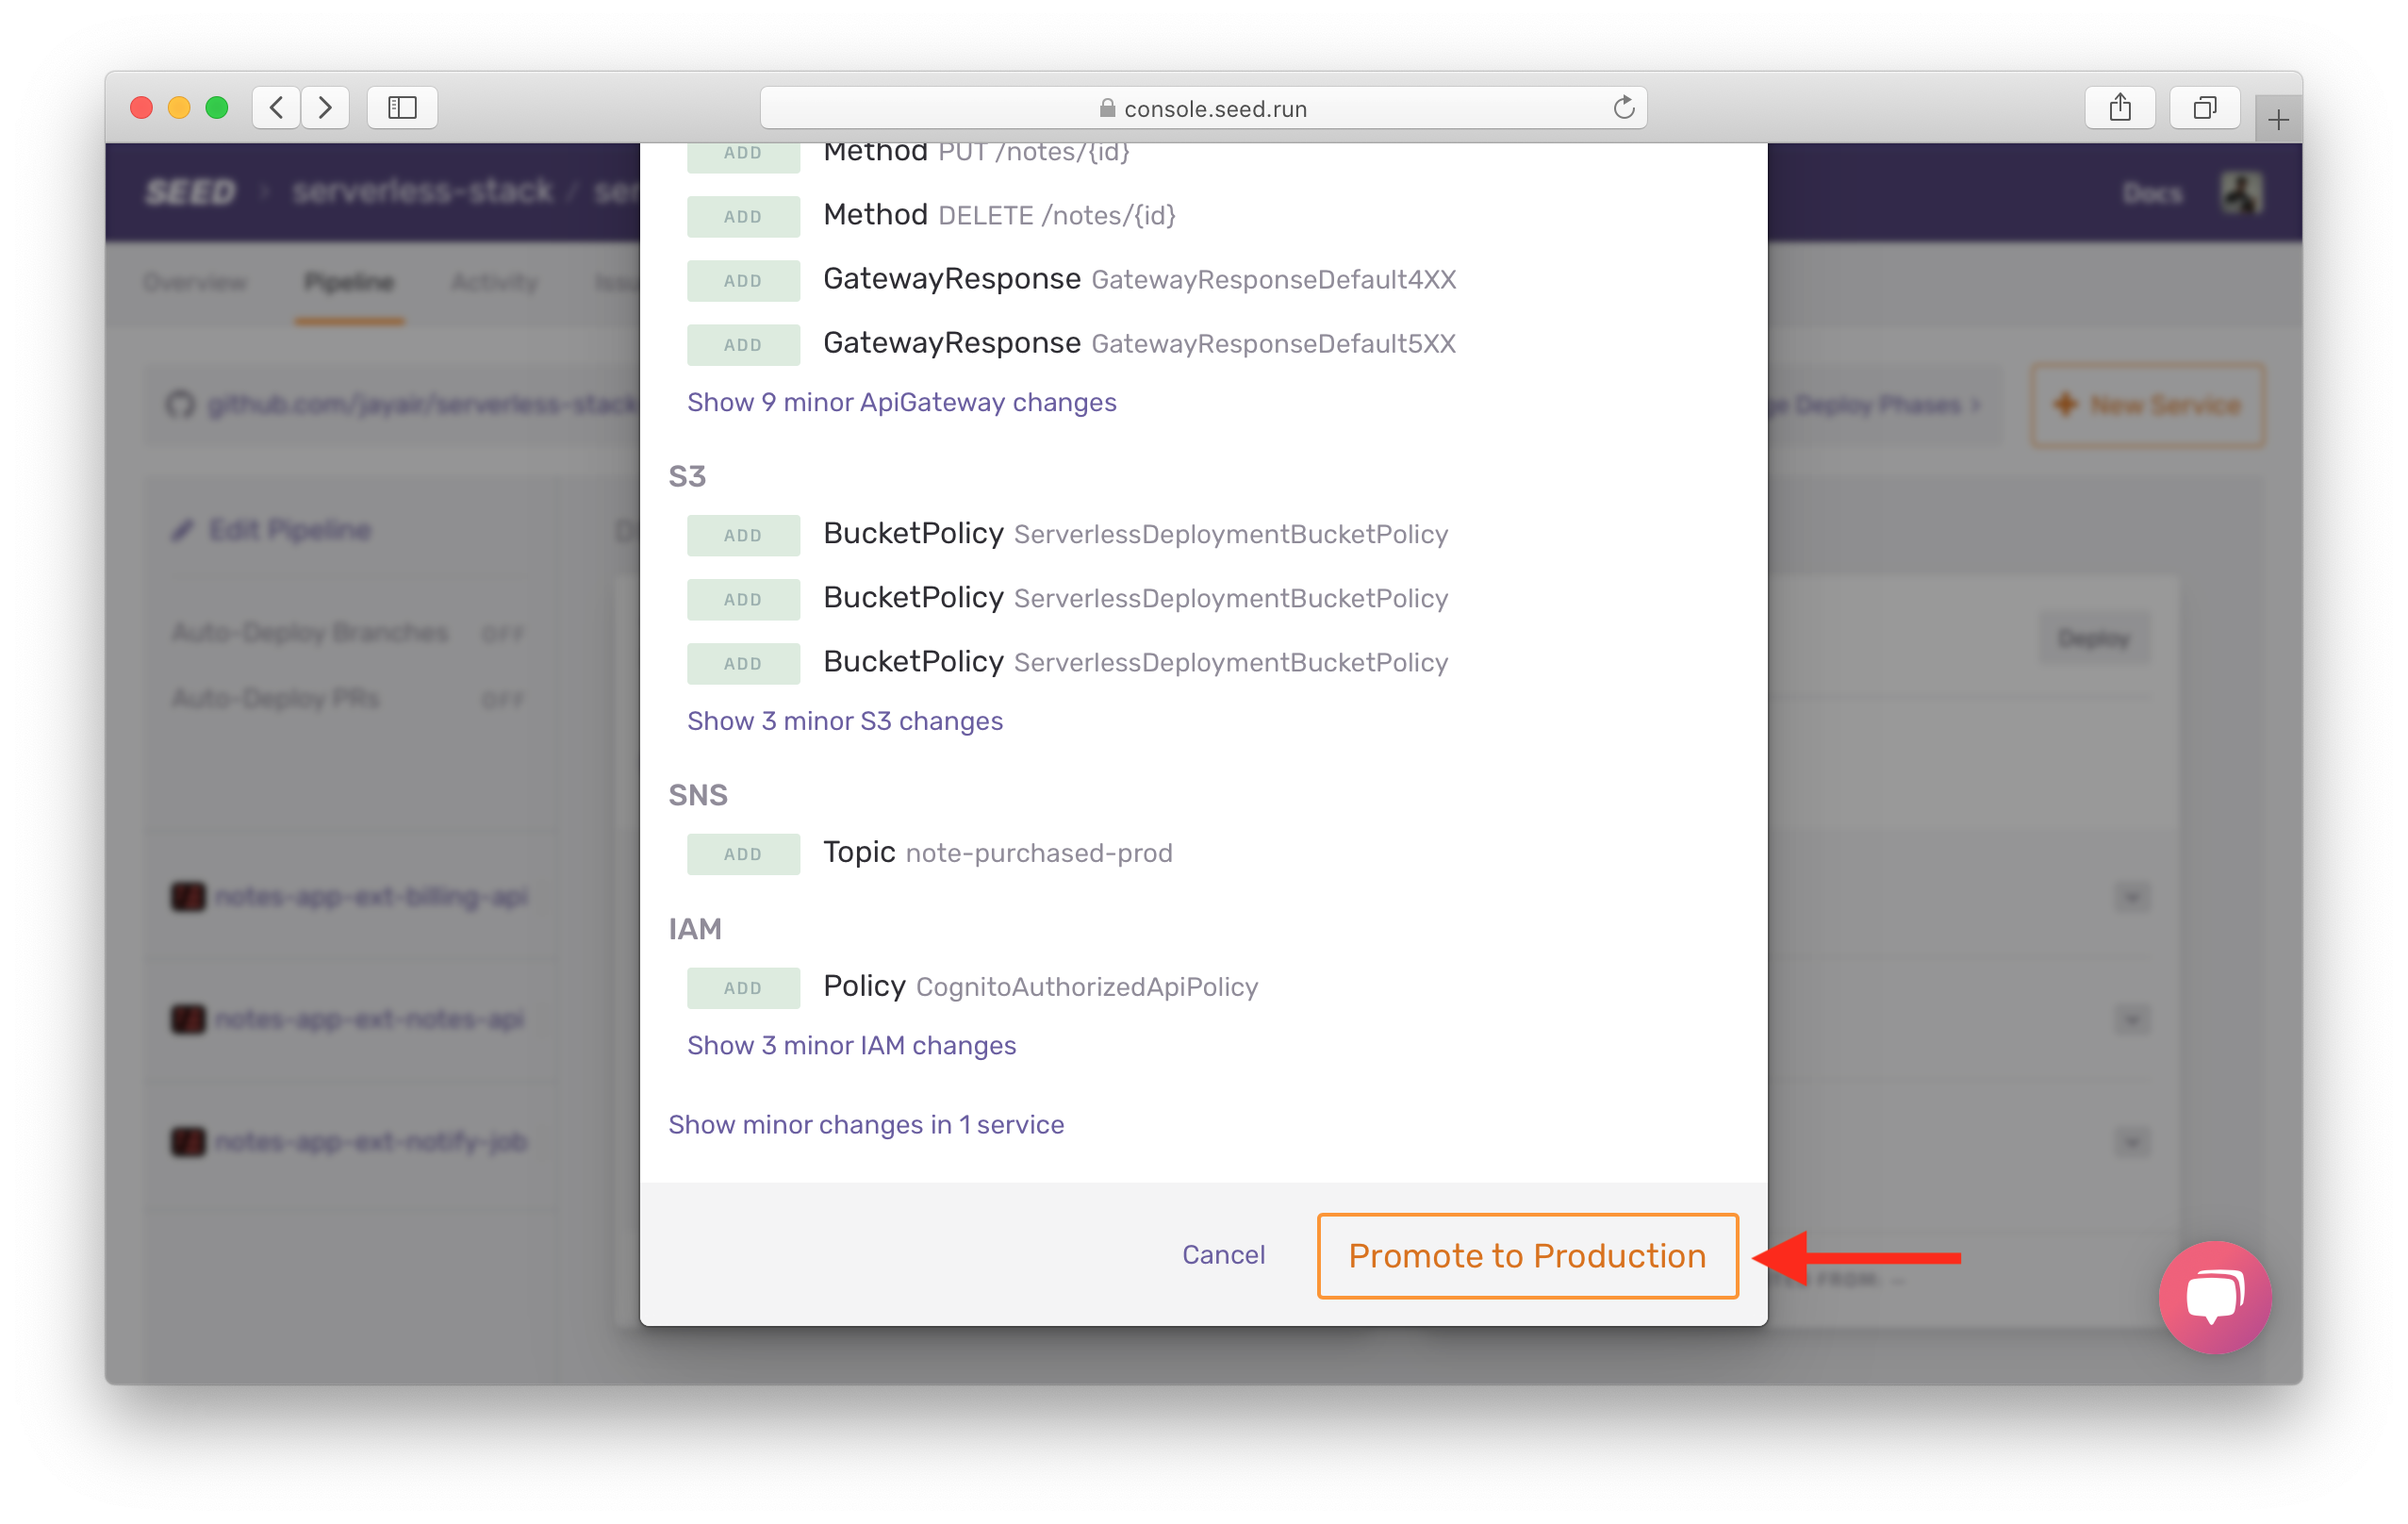
Hit Promote to Production.
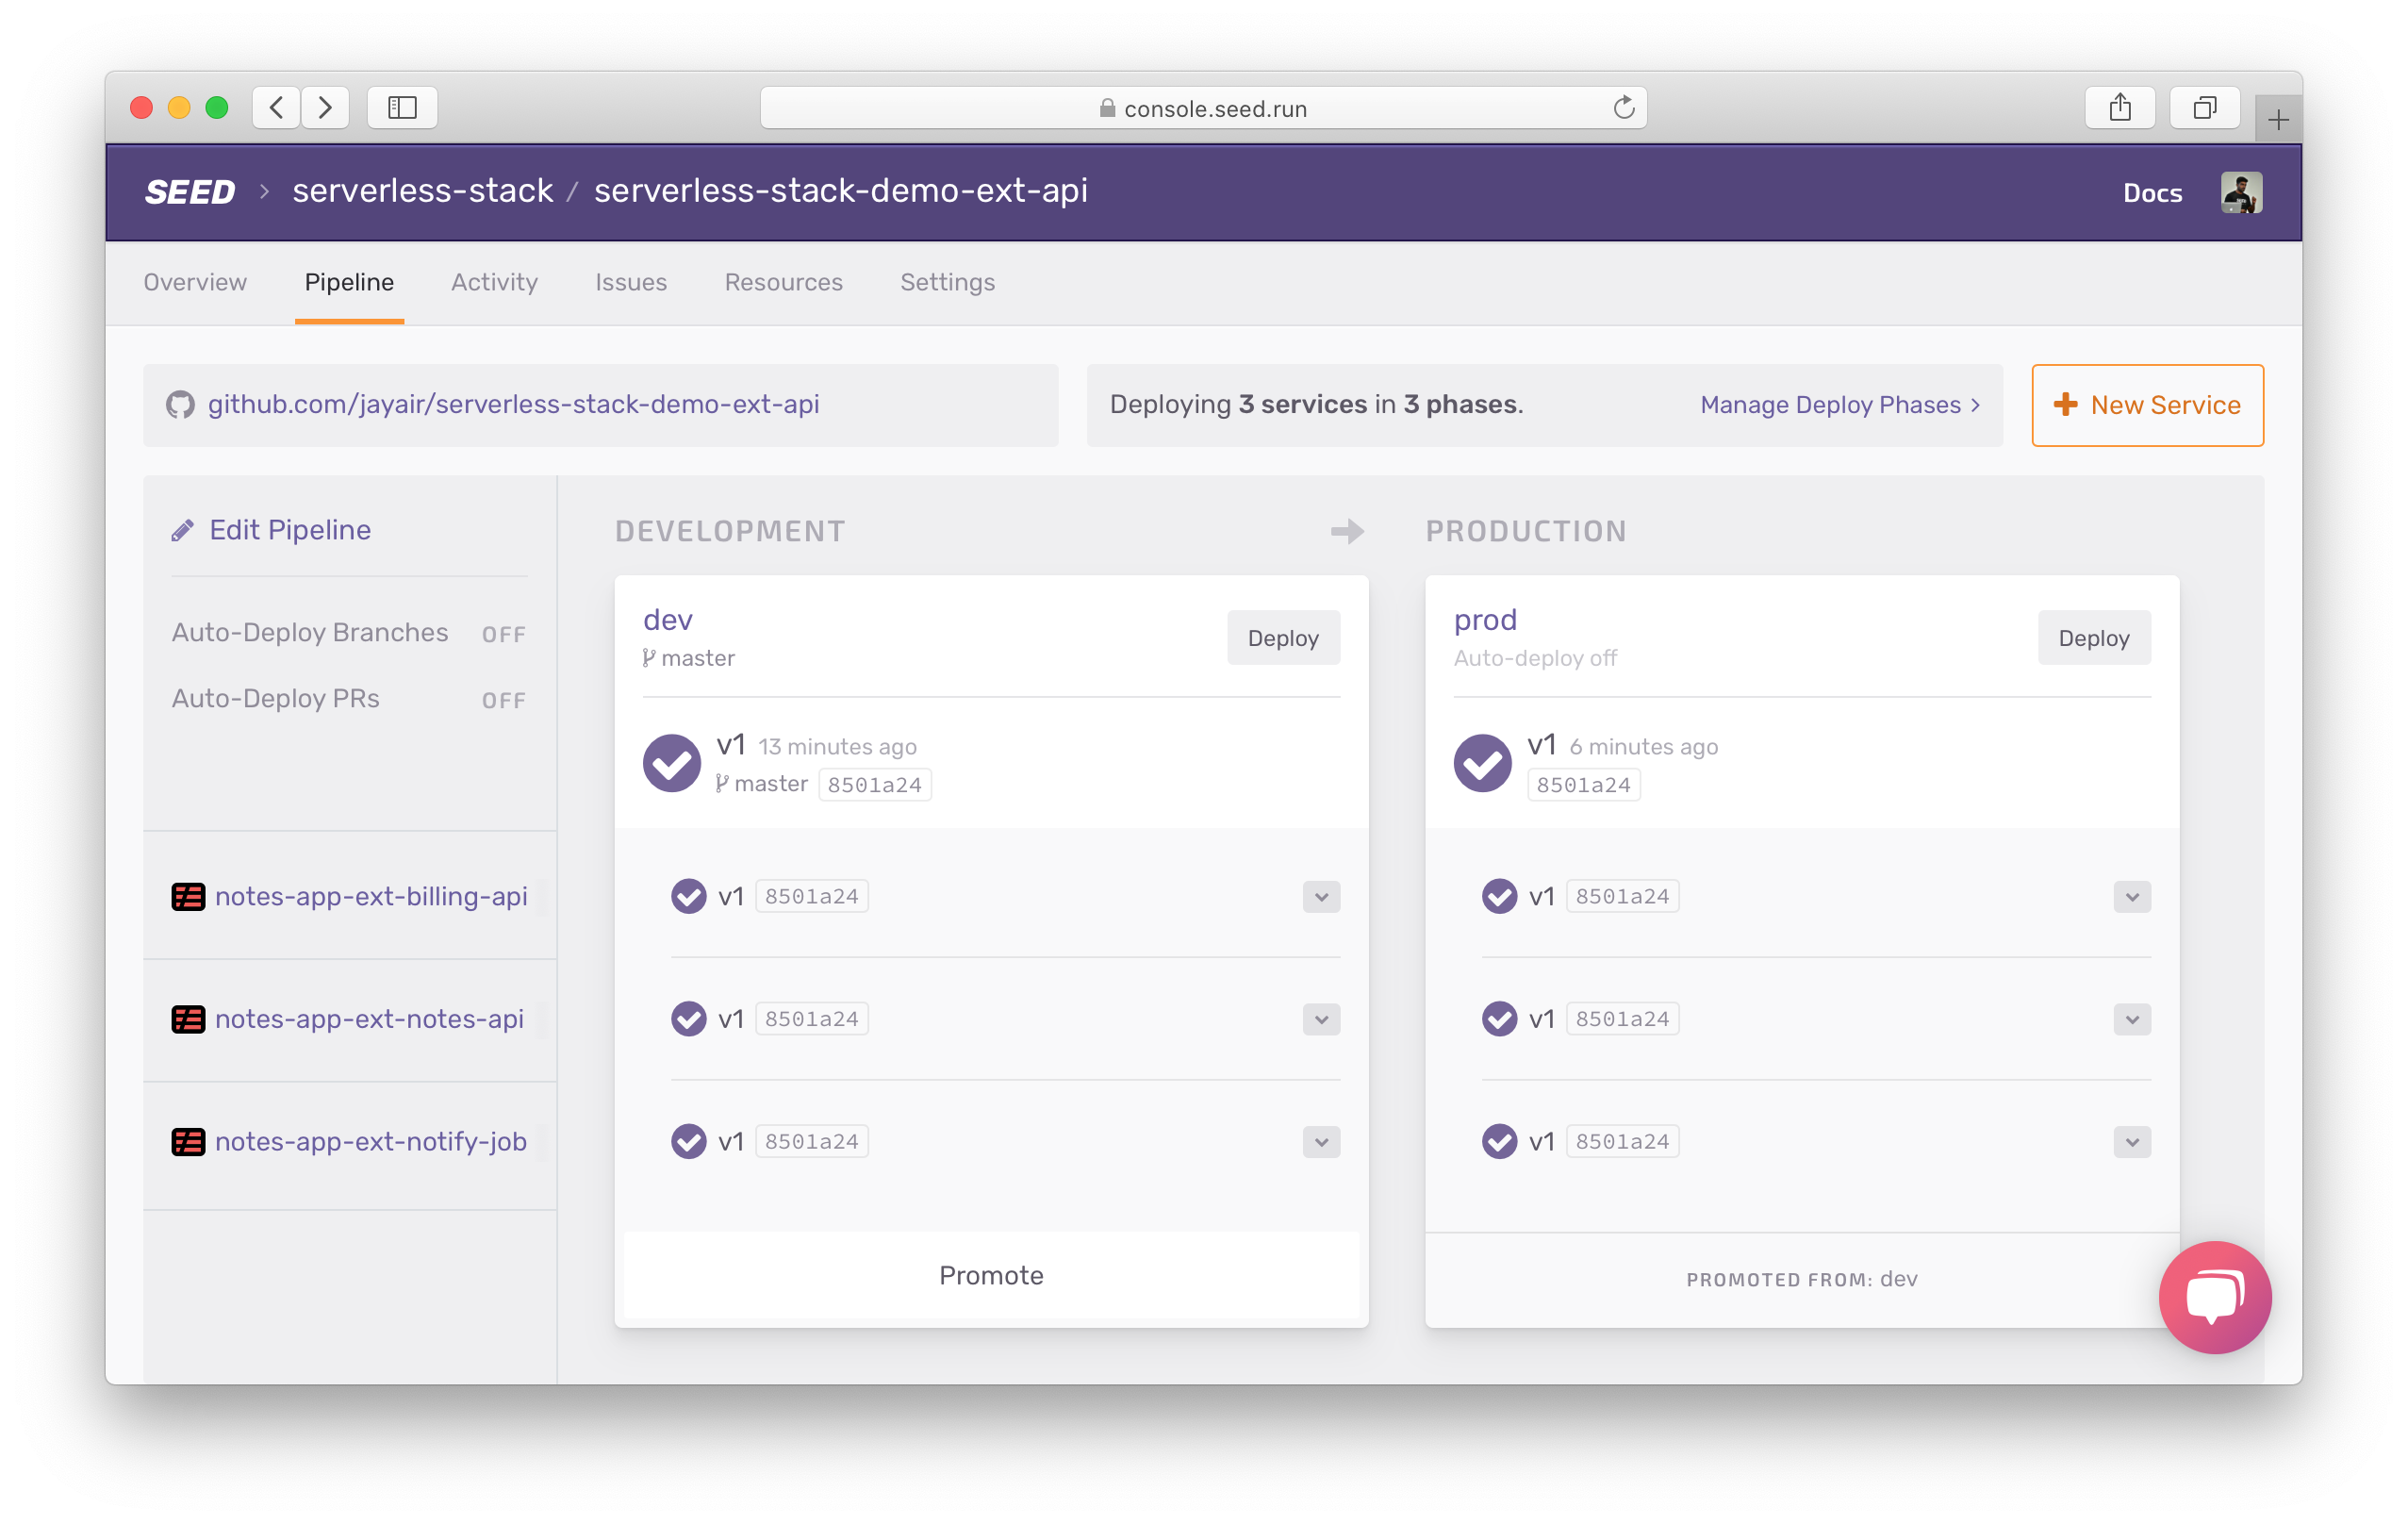
Now we have the API deployed to both dev and prod.
Now that our entire app has been deployed, let’s look at how we are sharing environment specific configs across our services.
For help and discussion
Comments on this chapter


