Dynamically generate social share images with serverless
In this chapter we’ll look at how to dynamically generate social share images or open graph (OG) images with serverless.
Social cards or social share images or open graph images are preview images that are displayed in social media sites like Facebook, Twitter, etc. when a link is posted. These images give users better context on what the link is about. They also look nicer than a logo or favicon.
However, creating a unique image for each blog post or page of your website can be time consuming and impractical. So we ideally want to be able to generate these images dynamically based on the title of the blog post or page and some other accompanying information.
We wanted to do something like this for Serverless Stack. And this was a perfect use case for serverless. These images will be generated when your website is shared and it doesn’t make sense to run a server to serve these out. So we built our own social cards service with SST! It’s also deployed and managed with Seed.
For instance, here is what the social card for one of our chapters looks like.

We also have multiple templates to generate these social cards. Here’s one for our blog.
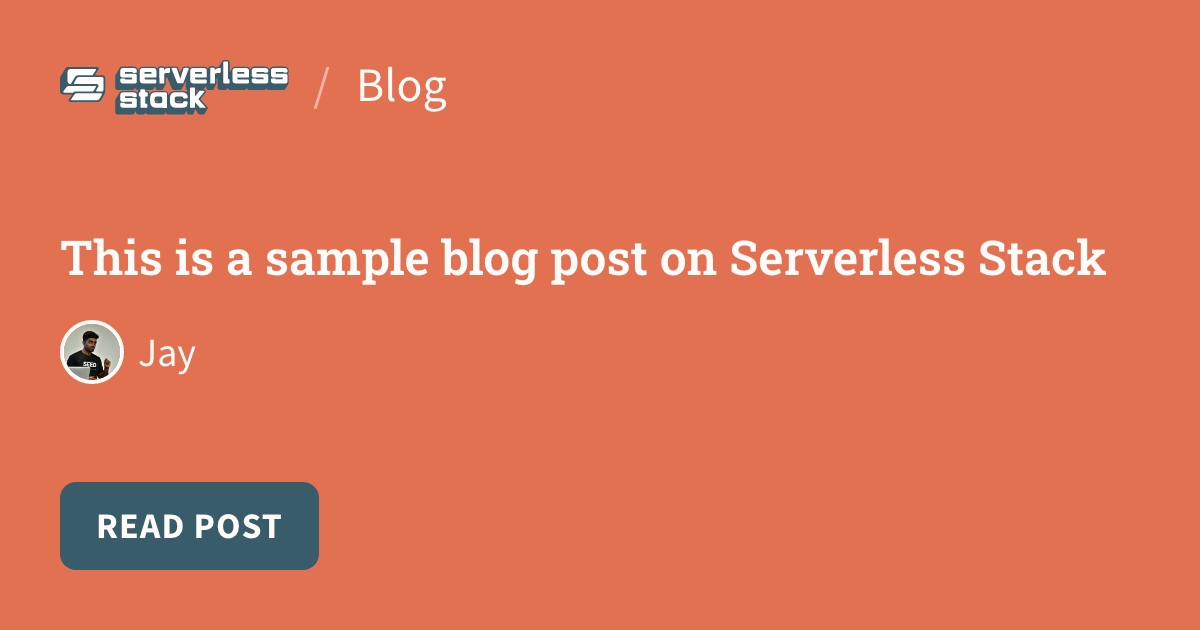
These images are served out of our social cards service. It’s built using Serverless Stack (SST) and is hosted on AWS:
https://social-cards.serverless-stack.com
In this chapter we’ll look at how we created this service and how you can do the same!
The entire social cards service is open source and available on GitHub. So you can fork it and play around with everything that will be talked about in this chapter.
SST Social Cards Service on GitHub
Table of Contents
In this chapter we’ll be looking at:
- The architecture of our social cards service
- Create a serverless app with SST
- Design templates for our social cards in the browser
- Use Puppeteer to take screenshots of the templates
- Support non-Latin fonts in Lambda
- Cache the images in an S3 bucket
- Use CloudFront as a CDN to serve the images
- Add a custom domain for our social cards service
- Integrate with static site generators
Let’s start by taking a step back and getting a sense of the architecture of our social card service.
The Architecture
Our social cards service is a serverless app deployed to AWS.
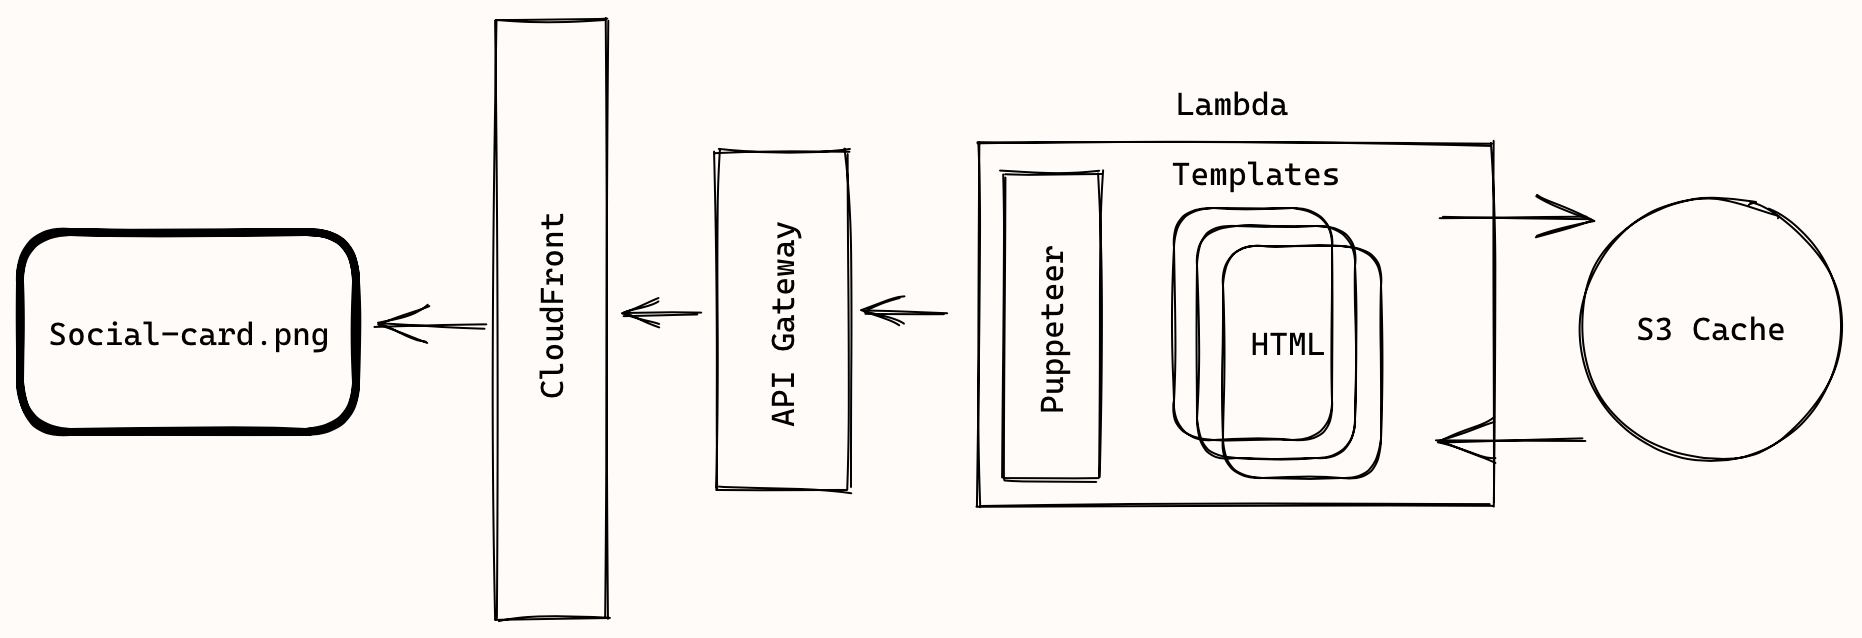
There are a couple of key parts to this. So let’s look at it in detail.
- We have CloudFront as our CDN to serve out images.
- CloudFront connects to our serverless API.
- The API is powered by a Lambda function.
- The Lambda function generating these images will:
- Include the templates that we’ll be using. These are HTML files that are included in our Lambda function.
- Run a headless Chrome instance with Puppeteer and pass in the parameters for the templates.
- Load these templates and take a screenshot.
- Store these images in an S3 bucket.
- Check the S3 bucket first to see if we’ve previously generated these images.
Create an SST App
We’ll start by creating a new SST app.
$ npx create-serverless-stack@latest social-cards
$ cd social-cards
The infrastructure in our app is defined using CDK. Currently we just have a simple API that invokes a Lambda function.
You can see this in stacks/MyStack.js.
// Create a HTTP API
const api = new sst.Api(this, "Api", {
  routes: {
    "GET /": "src/lambda.handler",
  },
});
For now our Lambda function in src/lambda.js just prints out “Hello World”.
Design Social Card Templates
The first step is to create a template for our social share images. These HTML files will be loaded locally and we’ll pass in the parameters for our template via the query string.
Let’s look at the blog template that we use in Serverless Stack as an example.
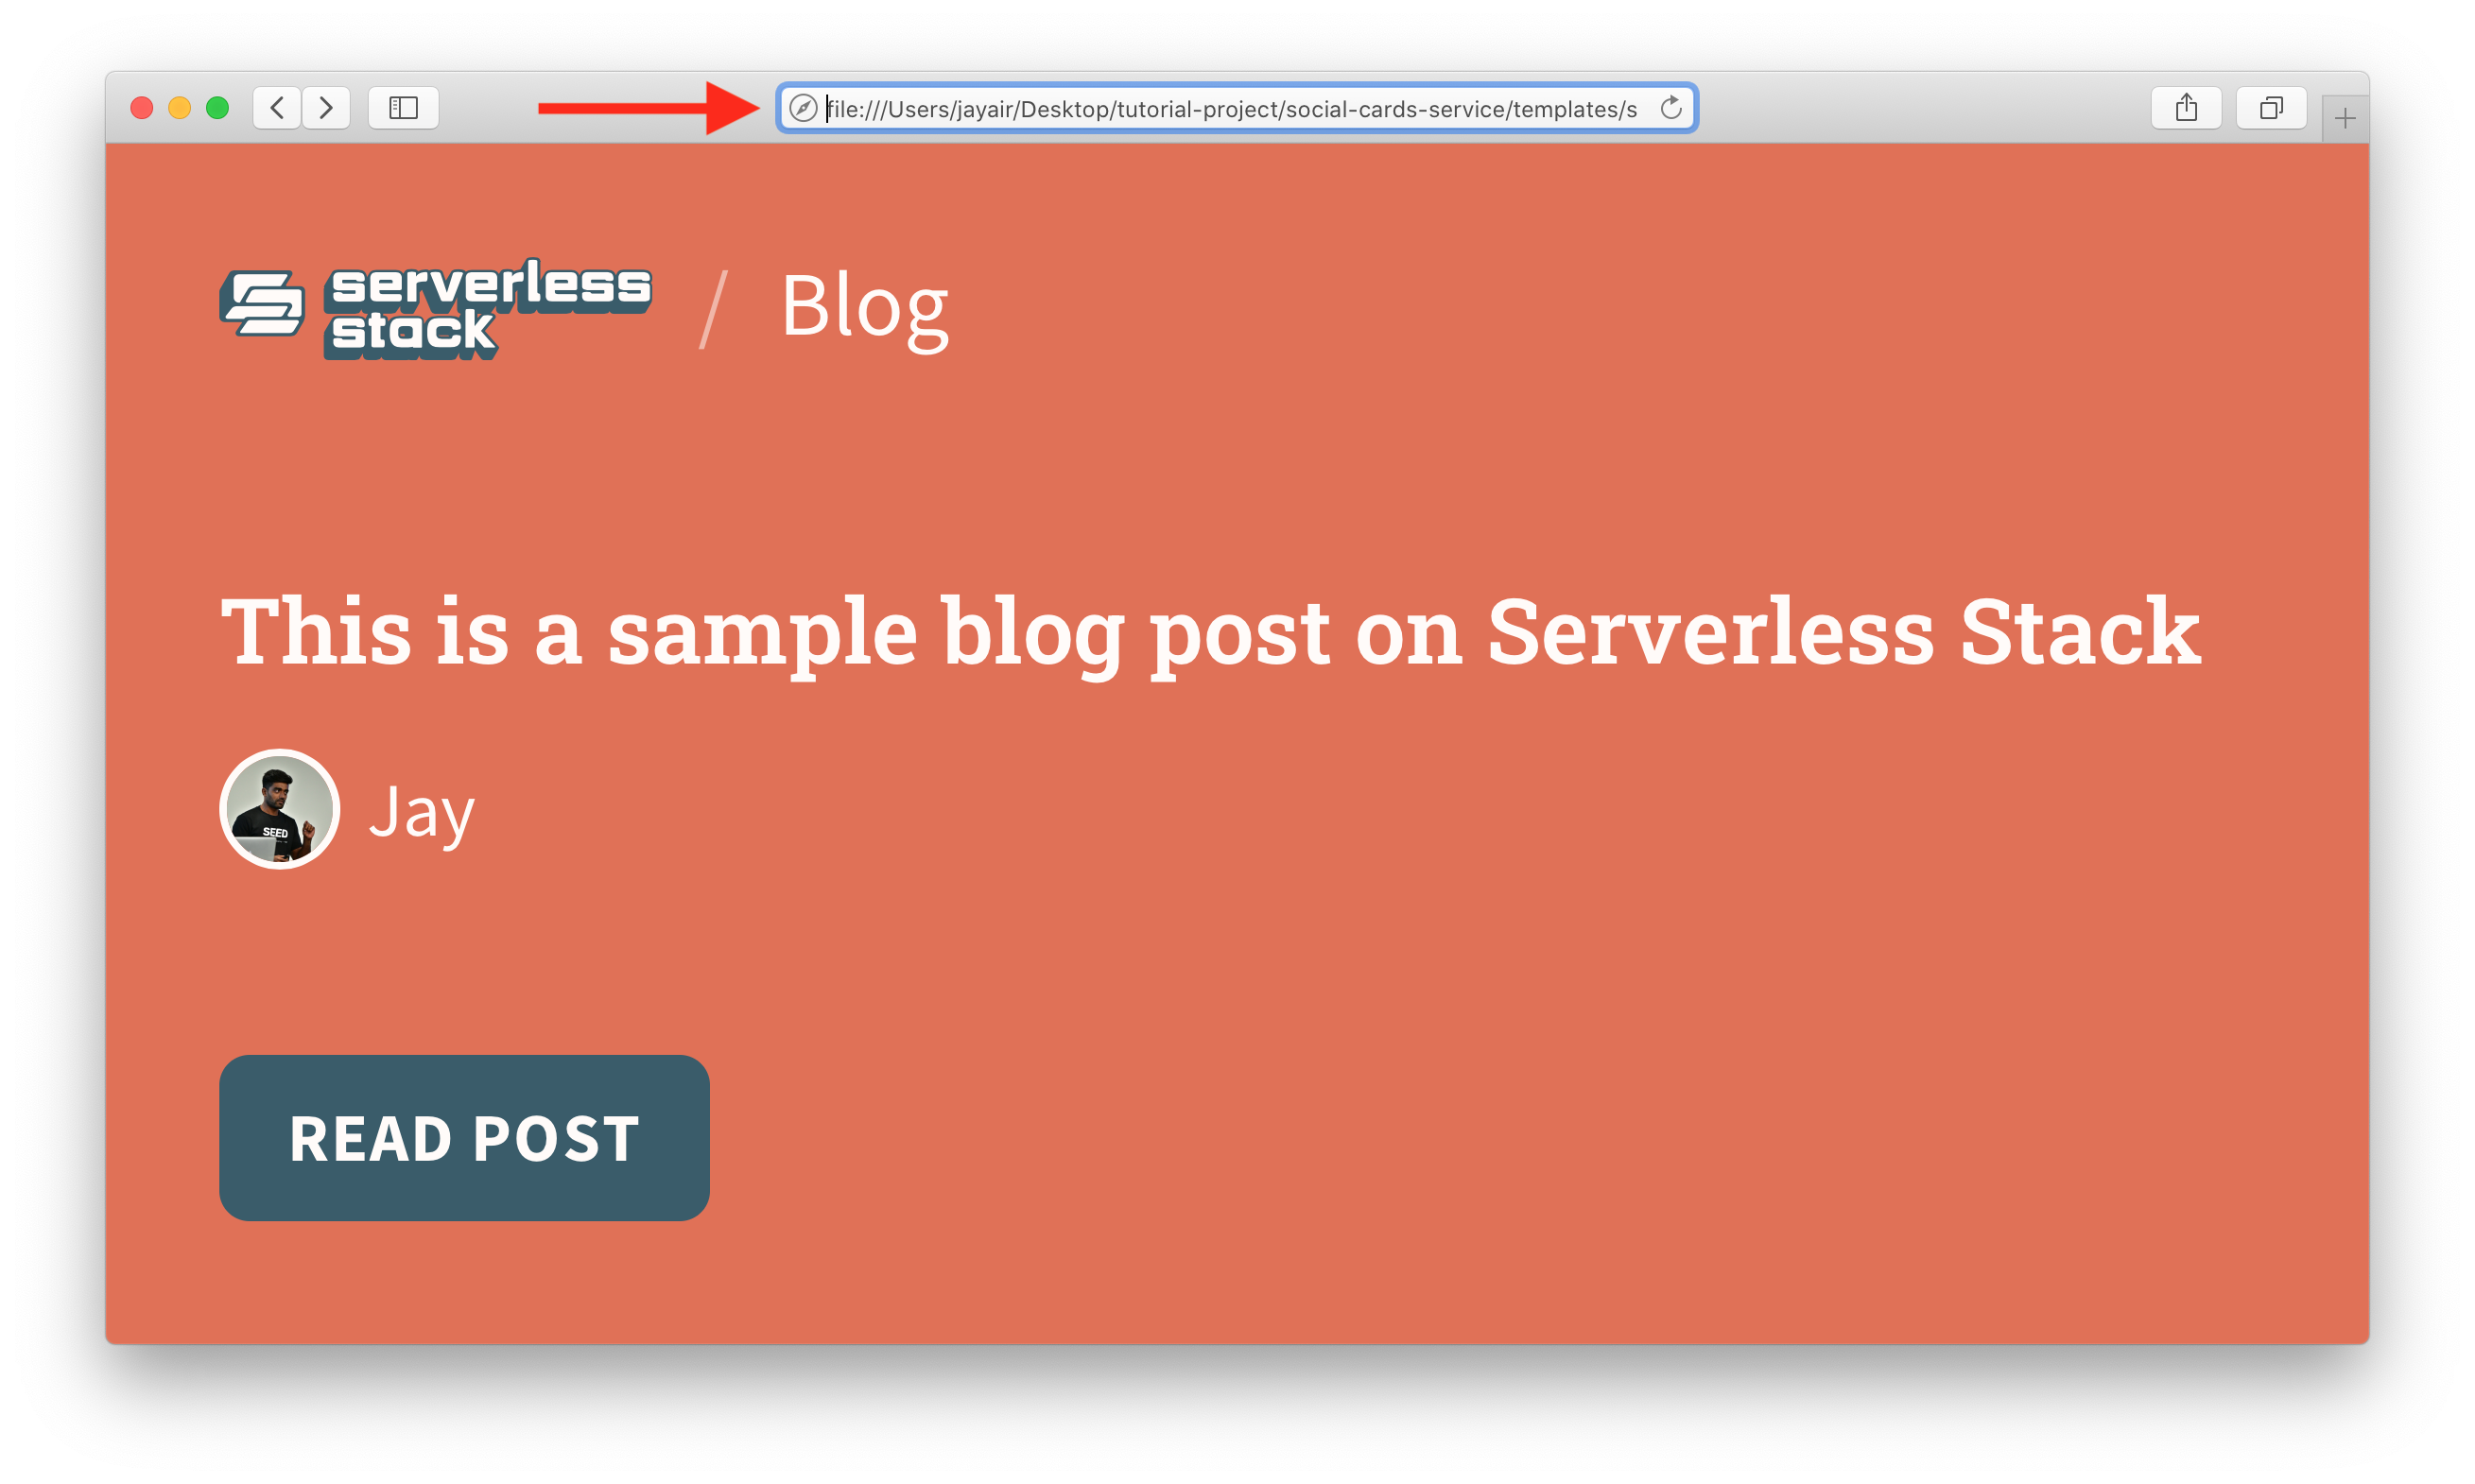
The HTML that generates this page looks like:
<html>
  <head>
    <link rel="stylesheet" href="assets/css/reset.css">
    <link rel="stylesheet" href="assets/css/fonts.css">
    <link rel="stylesheet" href="assets/css/main.css">
    <link rel="stylesheet" href="assets/css/blog.css">
  </head>
  <body>
    <img class="logo" height="55" src="assets/images/logo.svg" />
    <span class="section">Blog</span>
    <div class="spacer">
      <h1 id="title"></h1>
      <div class="profile">
        <img id="avatar" width="64" src="" />
        <span id="author"></span>
      </div>
    </div>
    <a>Read Post</a>
    <script>
      const urlSearchParams = new URLSearchParams(window.location.search);
      const params = Object.fromEntries(urlSearchParams.entries());

      document.getElementById("title").innerHTML = params.title;
      document.getElementById("author").innerHTML = params.author;
      document.getElementById("avatar").src = `assets/images/profiles/${params.avatar}.png`;
    </script>
  </body>
</html>
Note the <script> tag at the bottom. It takes the query string parameters and applies it to our HTML.
The recommended size for a social share image is 1200x630. So we want to make sure we style our page accordingly.
We’ll add these to the templates/ directory in our project.
You can open these files locally with the URL:
file:///Users/jayair/Desktop/social-cards-service/templates/serverless-stack-blog.html?title=This%20is%20a%20sample%20blog%20post%20on%20Serverless%20Stack&author=Jay&avatar=jay
It has the format:
file:///Users/jayair/Desktop/social-cards-service/templates/serverless-stack-blog.html?title={title}&author={name}&avatar={filename}
Head over to the repo to check out the rest of the files included in this template. This includes the CSS files that we use to style these templates.
In the repo you’ll also notice we have a few other templates that we use. You can do something similar. Just make sure that each template can read from the query string and apply the parameters.
Take Screenshots With Puppeteer
Now that our templates can load locally in a browser, we’ll take a screenshot of these templates and return an image in our Lambda function.
We’ll update our API to take the template and the rest of the options. We are going to use the format:
https://api-endpoint.com/{template}/{encoded_title}.png?author={author}&avatar={avatar}
So following the above example, the template is serverless-stack-blog. The author and avatar are Jay and jay respectively.
The encoded_title is a Base64 encoded string of the title. We are Base64 encoding it because AWS API Gateway has some issues with parsing certain URL encoded characters.
We are going to use Puppeteer to take these screenshots. We’ll be using a publicly available Lambda Layer for it. It allows us to skip having to compile Puppeteer specifically for AWS Lambda.
So the API definition in stacks/MyStack.js now looks like this.
const api = new sst.Api(this, "Api", {
  routes: {
    "GET /{template}/{file}": {
      function: {
        handler: "src/lambda.handler",
        // Increase the timeout for generating screenshots
        timeout: 15,
        // Load Chrome in a Layer
        layers: [layer],
        bundle: {
          // Copy over templates
          copyFiles: [
            {
              from: "templates",
              to: "templates",
            },
          ],
          // Exclude bundling it in the Lambda function
          externalModules: ["chrome-aws-lambda"],
        },
      },
    },
  },
});
Where layer is:
const layerArn = "arn:aws:lambda:us-east-1:764866452798:layer:chrome-aws-lambda:22";
const layer = LayerVersion.fromLayerVersionArn(this, "Layer", layerArn);
You’ll also notice that we are copying over the template files to our Lambda function using the copyFiles option.
Now for our Lambda function, we’ll need to install a couple of NPM packages.
$ npm install puppeteer puppeteer-core chrome-aws-lambda
Here are the relevant parts of our Lambda function.
import path from "path";
import chrome from "chrome-aws-lambda";

const ext = "png";
const ContentType = `image/${ext}`;

// chrome-aws-lambda handles loading locally vs from the Layer
const puppeteer = chrome.puppeteer;

export async function handler(event) {
  const { file, template } = event.pathParameters;

  const title = parseTitle(file);

  // Check if it's a valid request
  if (file === null) {
    return createErrorResponse();
  }

  const options = event.rawQueryString;

  const browser = await puppeteer.launch({
    args: chrome.args,
    executablePath: await chrome.executablePath,
  });

  const page = await browser.newPage();

  await page.setViewport({
    width: 1200,
    height: 630,
  });

  // Navigate to the url
  await page.goto(
    `file:${path.join(
      process.cwd(),
      `templates/${template}.html`
    )}?title=${title}&${options}`
  );

  // Wait for page to complete loading
  await page.evaluate("document.fonts.ready");

  // Take screenshot
  const buffer = await page.screenshot();

  return createResponse(buffer);
}

/**
 * Parse a base64 url encoded string of the format
 *
 * $title.png
 *
 */
function parseTitle(file) {
  const extension = `.${ext}`;

  if (!file.endsWith(extension)) {
    return null;
  }

  // Remove the .png extension
  const encodedTitle = file.slice(0, -1 * extension.length);

  const buffer = Buffer.from(encodedTitle, "base64");

  return decodeURIComponent(buffer.toString("ascii"));
}

function createResponse(buffer) {
  return {
    statusCode: 200,
    // Return as binary data
    isBase64Encoded: true,
    body: buffer.toString("base64"),
    headers: { "Content-Type": ContentType },
  };
}

function createErrorResponse() {
  return {
    statusCode: 500,
    body: "Invalid request",
  };
}
Most of the code is pretty straightforward. But let’s look at some of the key points.
-
For parsing the Base64 encoded title, you’ll notice that we also URL decode it. This is because we need to first convert our title to ASCII before Base64 encoding it.
-
We set the browser to the right size of the social card images,
1200x630. -
In the
page.gotocall, we navigate the browser to the templates that are stored locally in the Lambda function. And it follows the same query string parameters as we talked about above. -
We wait for the fonts in our template to load using
document.fonts.ready. This ensures that we take the screenshot at the right time. -
Finally, we take the screenshot and return it as binary data with the right headers.
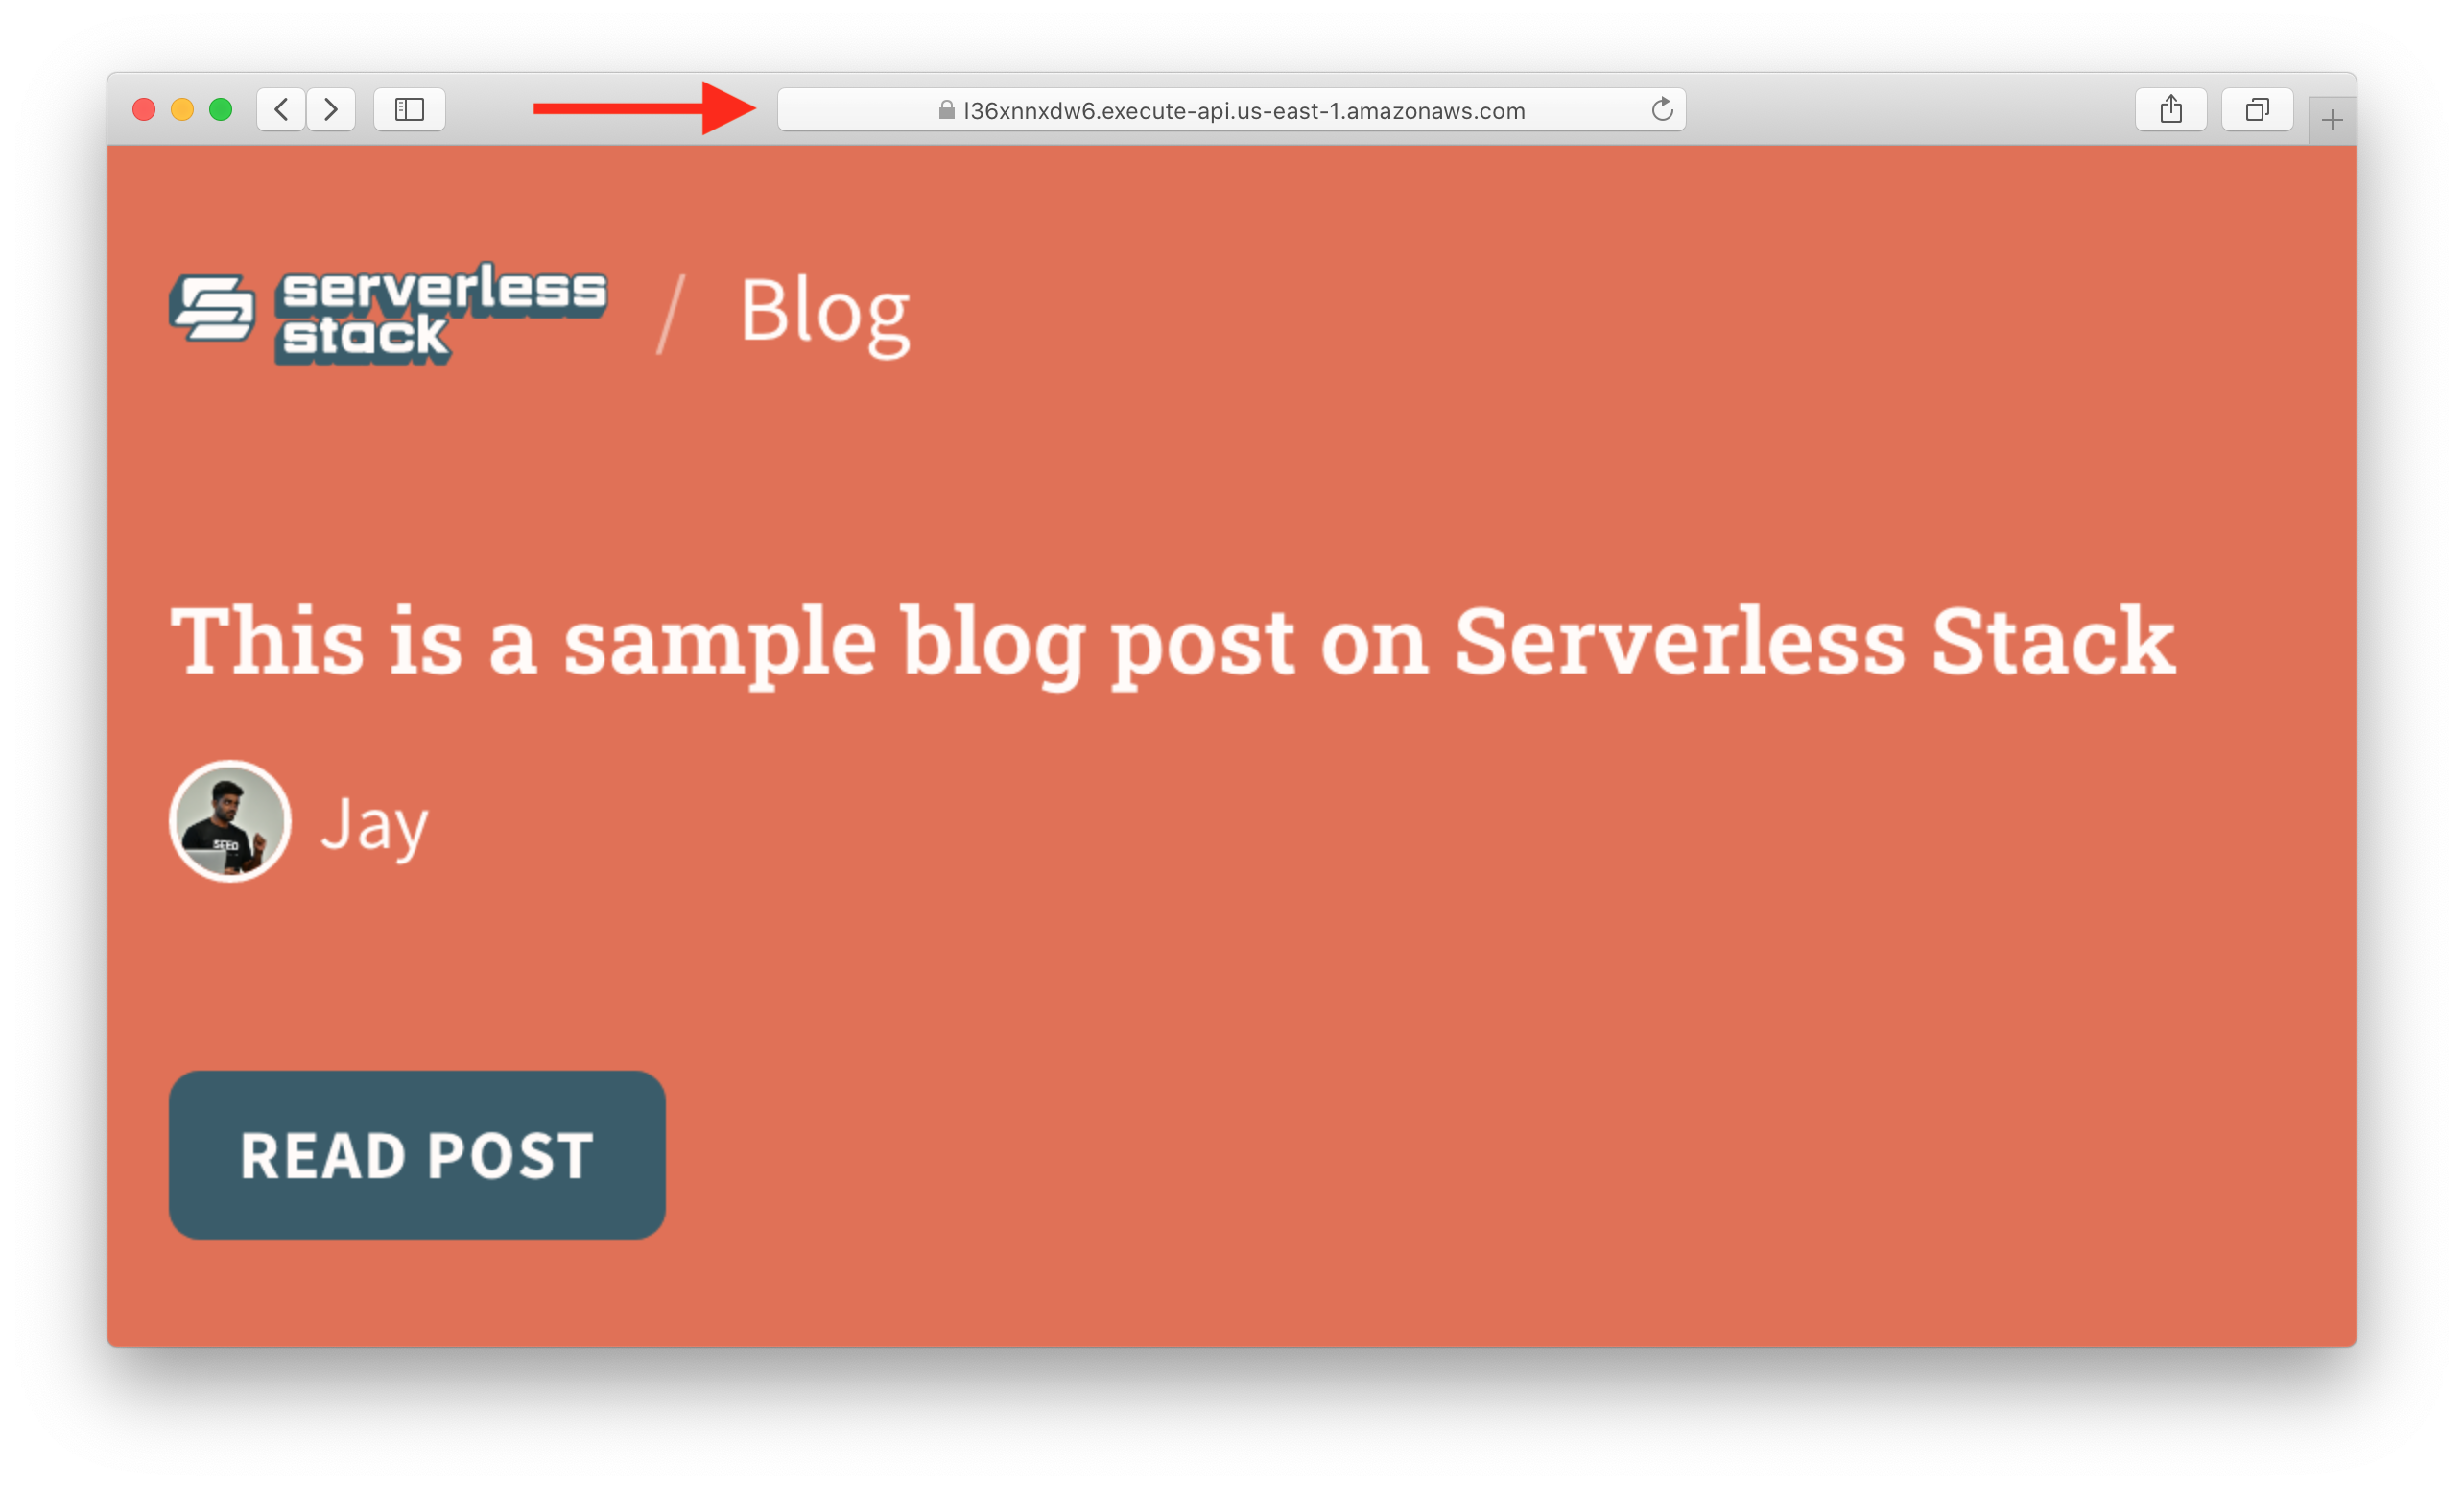
Now to test this, we’ll head over to a URL that looks something like this:
https://l36xnnxdw6.execute-api.us-east-1.amazonaws.com/serverless-stack-blog/VGhpcyUyMGlzJTIwYSUyMHNhbXBsZSUyMGJsb2clMjBwb3N0JTIwb24lMjBTZXJ2ZXJsZXNzJTIwU3RhY2s=.png?author=Jay&avatar=jay
Where the big encoded string is the Base64 encoded version of:
This%20is%20a%20sample%20blog%20post%20on%20Serverless%20Stack
So visiting this page should give a screenshot of our template.
Support Non-Latin Fonts in Lambda
While running SST locally, Puppeteer will pick up the fonts that you have in your system. However, when deployed to Lambda, you might find that some fonts might be missing. And this will render as little boxes.
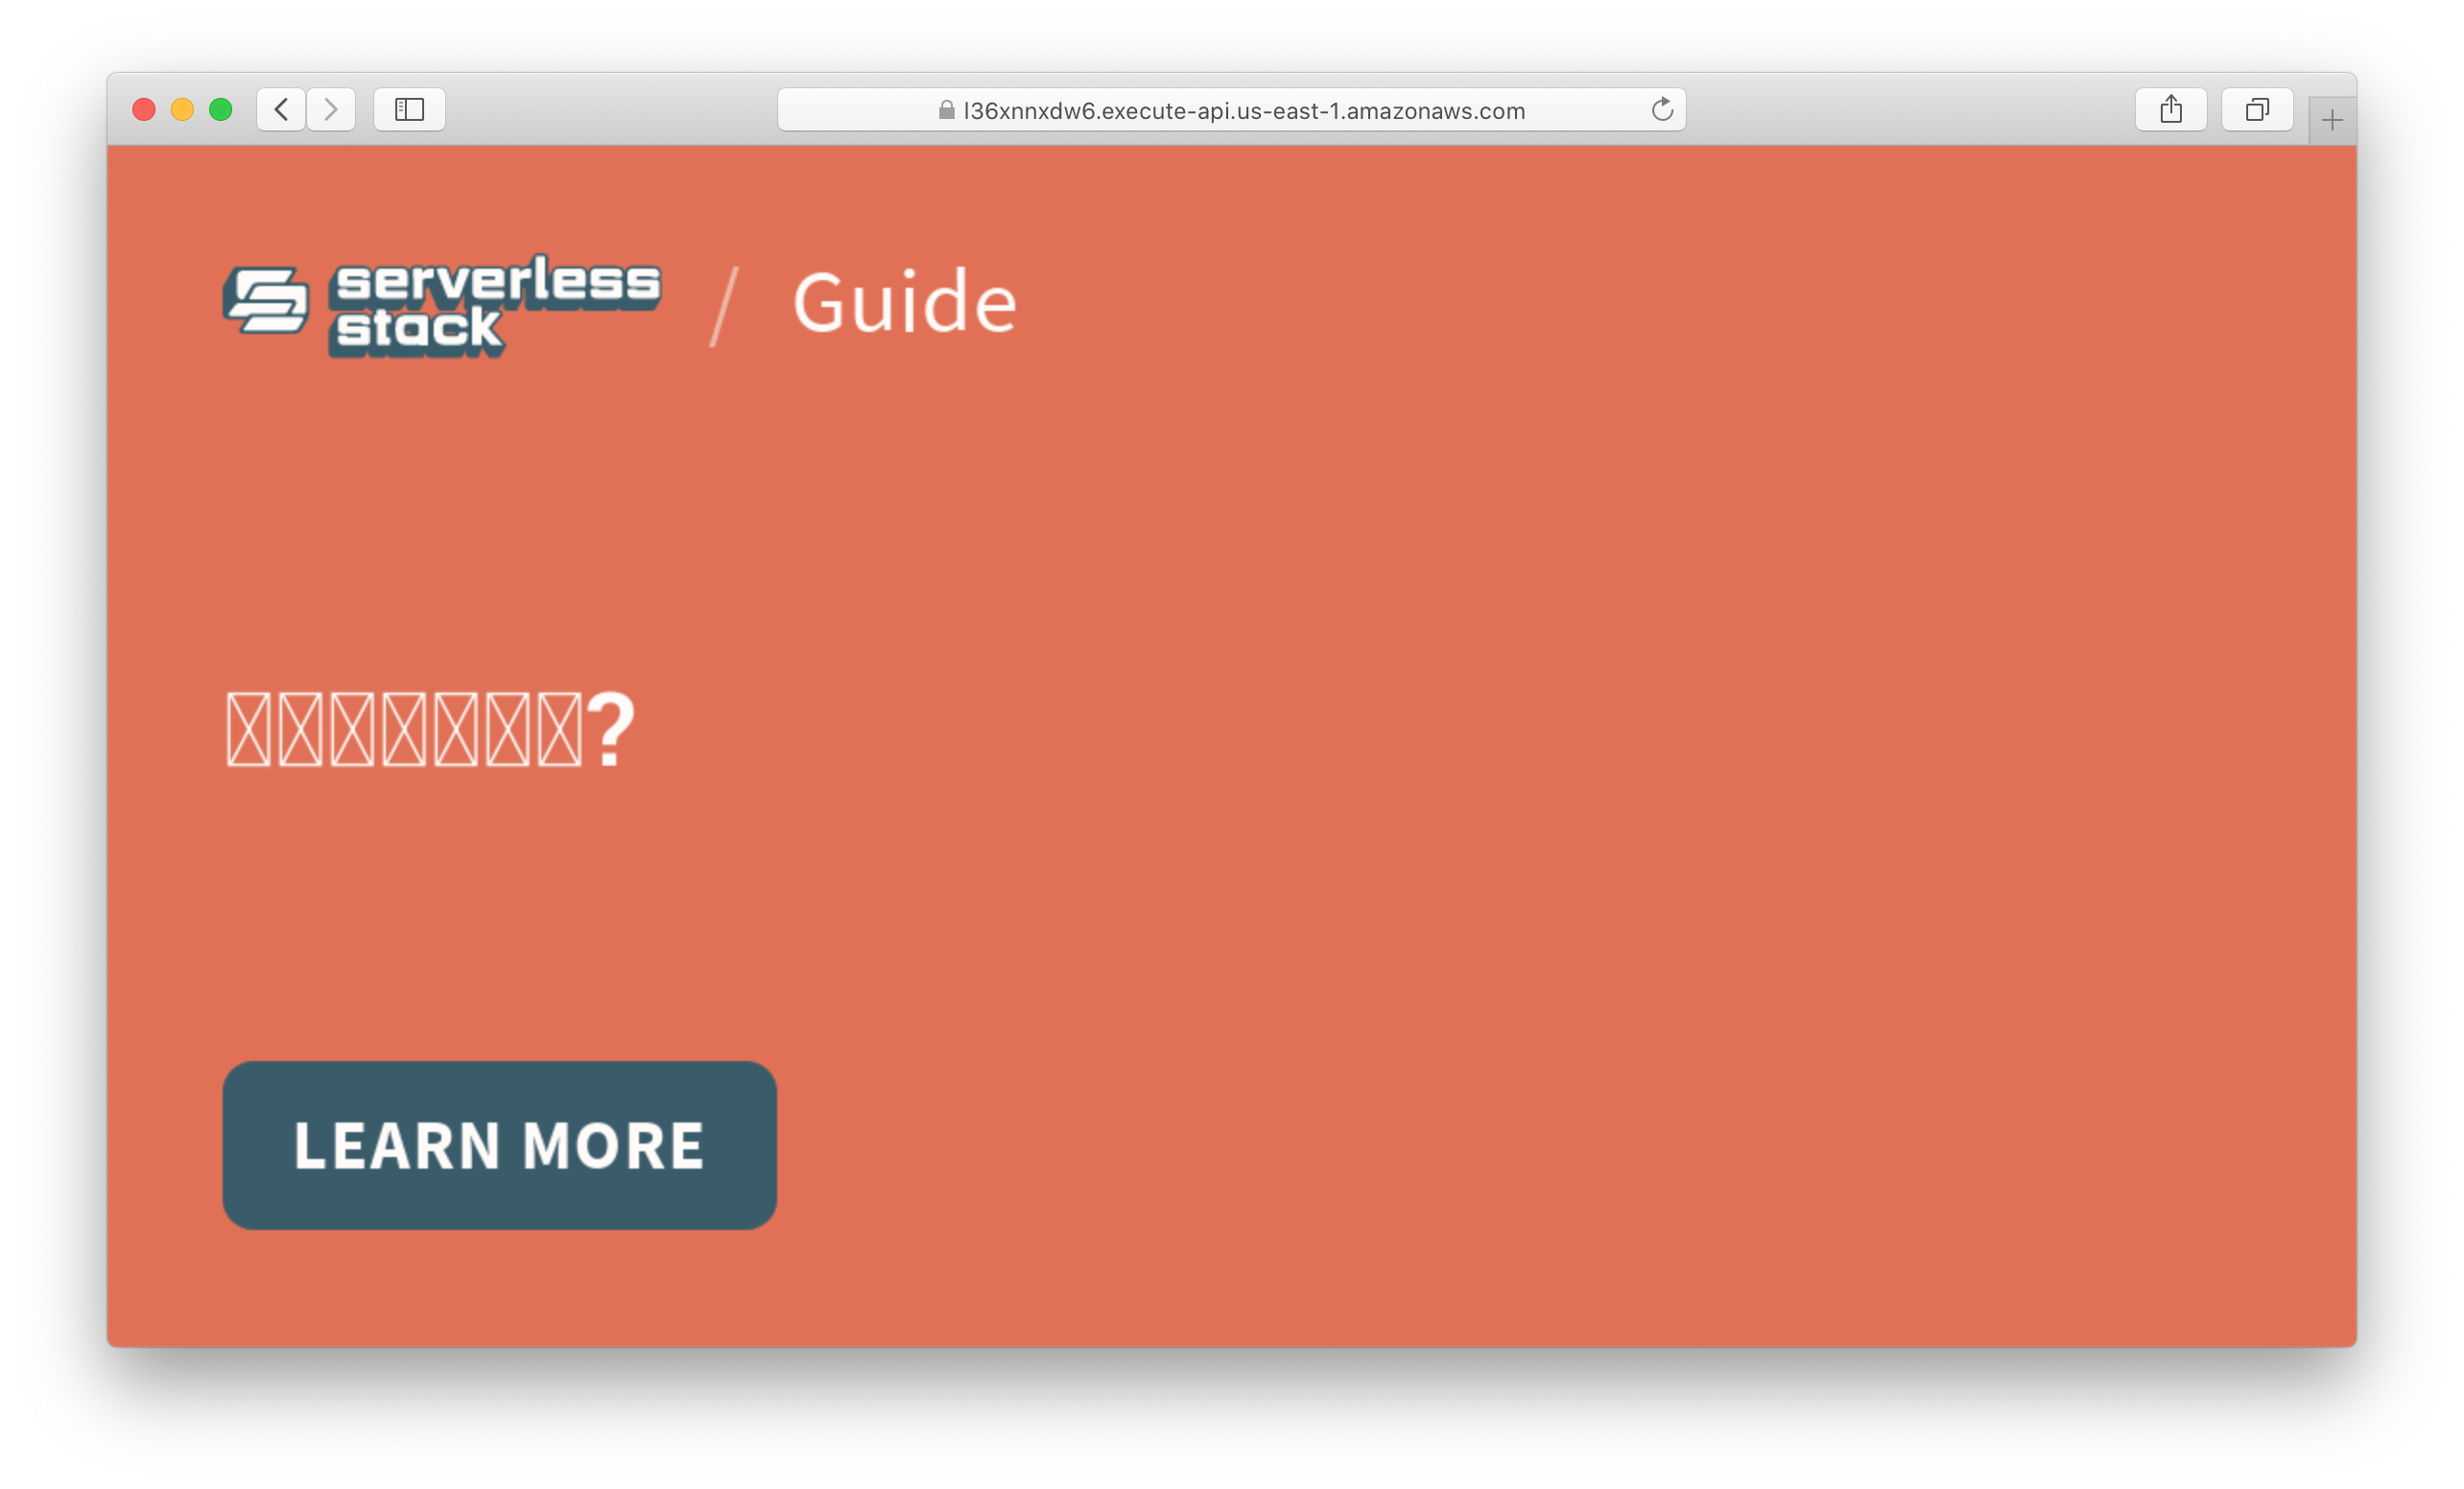
To fix this we’ll need to set the OS that Lambda runs in, with these fonts.
Start by creating a .fonts/ directory in your project root.
$ mkdir .fonts
Here you can download and copy over the font you need from Google’s Noto project. For this example, we are going to copy over NotoSansCJKsc-Regular.otf.
.fonts
└── NotoSansCJKsc-Regular.otf
We’ll also configure our Lambda function to copy this directory. And we set the $HOME environment variable to /var/task (where it’ll be placed) to instruct the OS of the Lambda function to pick it up.
// Create a HTTP API
const api = new sst.Api(this, "Api", {
  routes: {
    "GET /{template}/{file}": {
      function: {
        handler: "src/lambda.handler",

        //...

        environment: {
          // Set $HOME for OS to pick up the non Latin fonts
          // from the .fonts/ directory
          HOME: "/var/task",
        },

        bundle: {
          // Copy over templates and non Latin fonts
          copyFiles: [
            {
              from: "templates",
              to: "templates",
            },
            {
              from: ".fonts",
              to: ".fonts",
            },
          ],
        },

        //...
      },
    },
  },
});
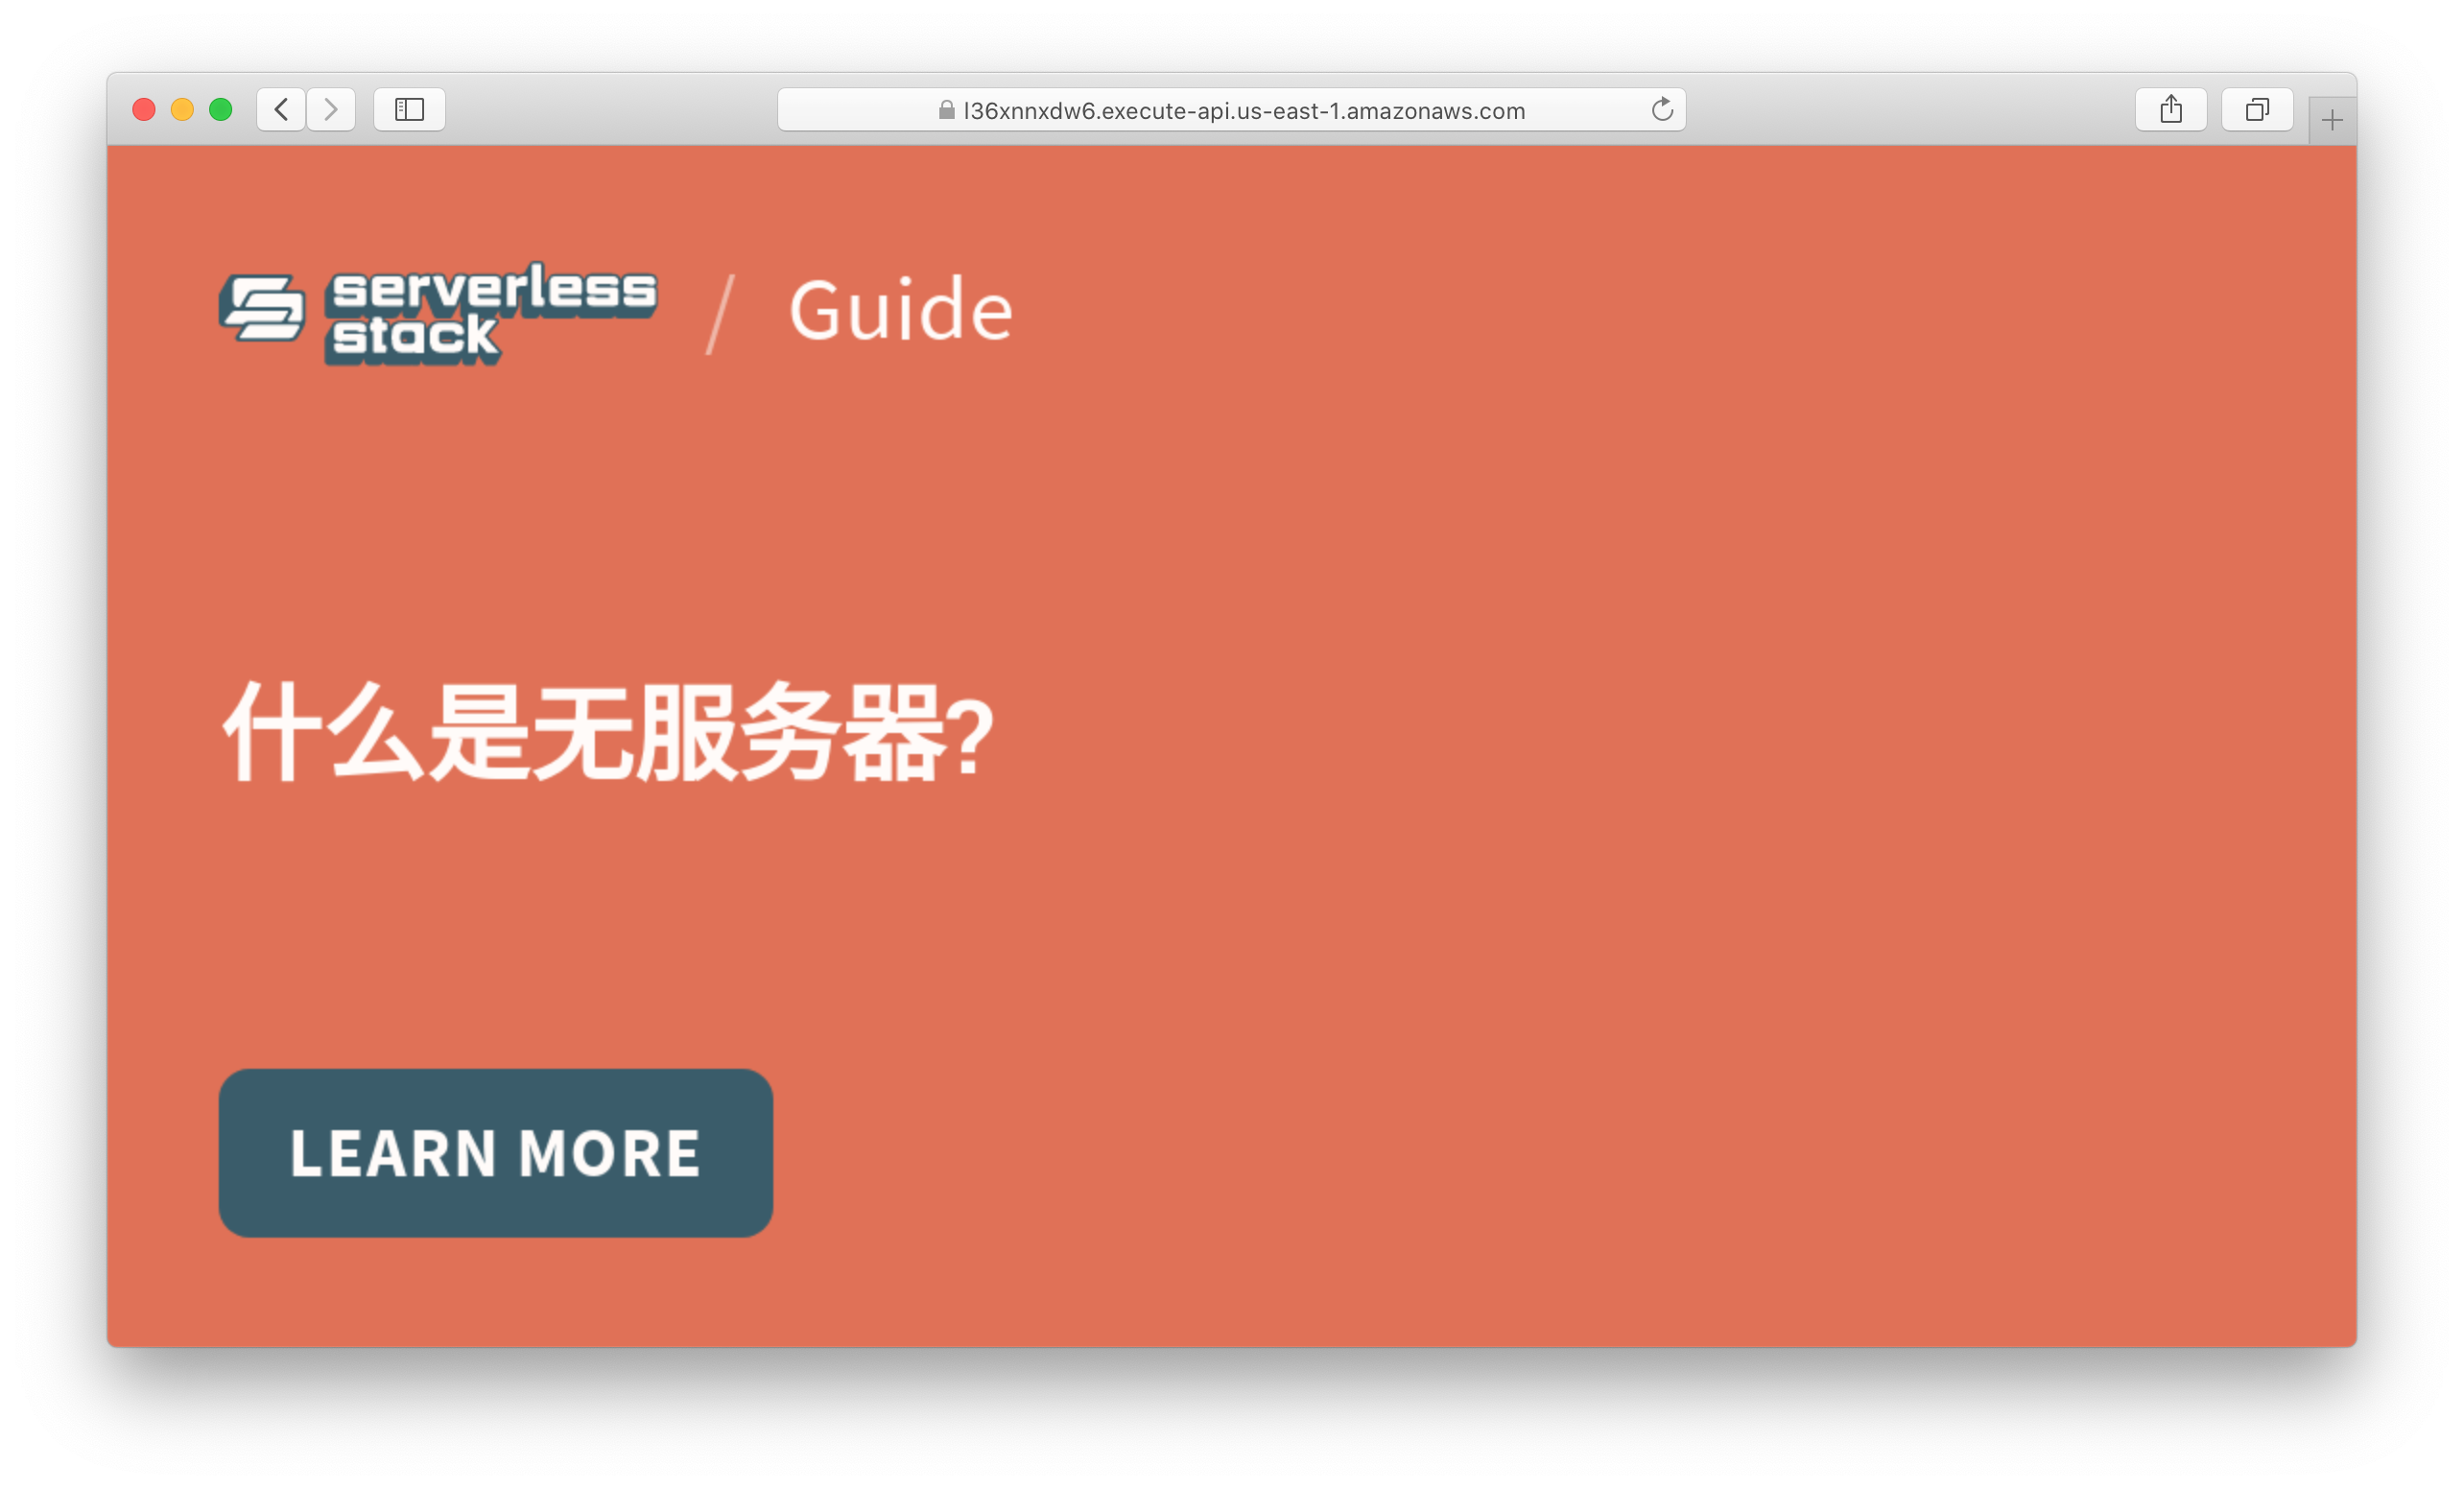
Now you should notice the characters being displayed correctly.
Cache Images in S3
If we visit our API multiple times, it takes a screenshot every time. This is both slow and wasteful. So let’s cache the image in S3.
First, we’ll create our S3 bucket.
In stacks/MyStack.js above our API definition we have.
// Create S3 bucket to store generated images
const bucket = new sst.Bucket(this, "WebsiteBucket", {
  s3Bucket: {
    // Delete everything on remove
    autoDeleteObjects: true,
    removalPolicy: RemovalPolicy.DESTROY,
  },
});
We’ll also update our API definition to pass in the name of this bucket as an environment variable.
// Create a HTTP API
const api = new sst.Api(this, "Api", {
  routes: {
    "GET /{template}/{file}": {
      function: {
        handler: "src/lambda.handler",

        // ...

        environment: {
          HOME: "/var/task",
          BucketName: bucket.bucketName,
        },

        // ...
      },
    },
  },
});
We’ll allow the API to access our S3 bucket.
// Allow API to access bucket
api.attachPermissions([bucket]);
On the Lambda function side, let’s reference the environment variable.
import { S3 } from "aws-sdk";

const Bucket = process.env.BucketName;
const s3 = new S3({ apiVersion: "2006-03-01" });
And after the const options... line in src/lambda.js we’ll do the following.
const key = generateS3Key(template, title, options);

// Check the S3 bucket
const fromBucket = await get(key);

// Return from the bucket
if (fromBucket) {
  return createResponse(fromBucket);
}
Where generateS3Key looks like.
/**
 * Generate a S3 safe key using the path parameters and query string options
 */
function generateS3Key(template, title, options) {
  const parts = [
    template,
    ...(options !== "" ? [encodeURIComponent(options)] : []),
    `${encodeURIComponent(title)}.${ext}`,
  ];

  return parts.join("/");
}
This gives us a S3 safe key that looks like a directory path using our input params. It’ll allow us to easily browse our S3 bucket if necessary.
The get(key) function checks if this key already exists in S3.
async function get(Key) {
  const params = { Key, Bucket };

  try {
    const { Body } = await s3.getObject(params).promise();
    return Body;
  } catch (e) {
    return null;
  }
}
If it does, we return it directly by calling createResponse(fromBucket).
And after we take the screenshot with page.screenshot(), we’ll save it to S3.
// Upload to the bucket
await upload(key, buffer);
Where upload looks like.
async function upload(Key, Body) {
  const params = {
    Key,
    Body,
    Bucket,
    ContentType,
  };

  await s3.putObject(params).promise();
}
Make sure to check out the full src/lambda.js source here — github.com/serverless-stack/social-cards/blob/main/src/lambda.js
Now if you load your API endpoint a couple of times, you’ll notice it is much faster the second time around.
Use CloudFront as a CDN
To make our requests even faster we’ll add a CDN in front of our API. We’ll use CloudFront for this.
In stacks/MyStack.js we’ll define our CloudFront distribution.
// Create CloudFront Distribution
const distribution = new cf.Distribution(this, "WebsiteCdn", {
  defaultBehavior: {
    origin: new HttpOrigin(Fn.parseDomainName(api.url)),
    viewerProtocolPolicy: cf.ViewerProtocolPolicy.REDIRECT_TO_HTTPS,
    cachePolicy: new cf.CachePolicy(this, "WebsiteCachePolicy", {
      // Set cache duration to 1 year
      minTtl: Duration.seconds(31536000),
      // Forward the query string to the origin
      queryStringBehavior: cf.CacheQueryStringBehavior.all(),
    }),
  },
});
We are doing a couple of things here:
- Setting the origin of our CDN as our API.
- Redirecting the
httpvisitors of our CDN tohttps. - Caching our requests for the maximum of 1 year.
- And, making the query string parameters as a part of the cached request.
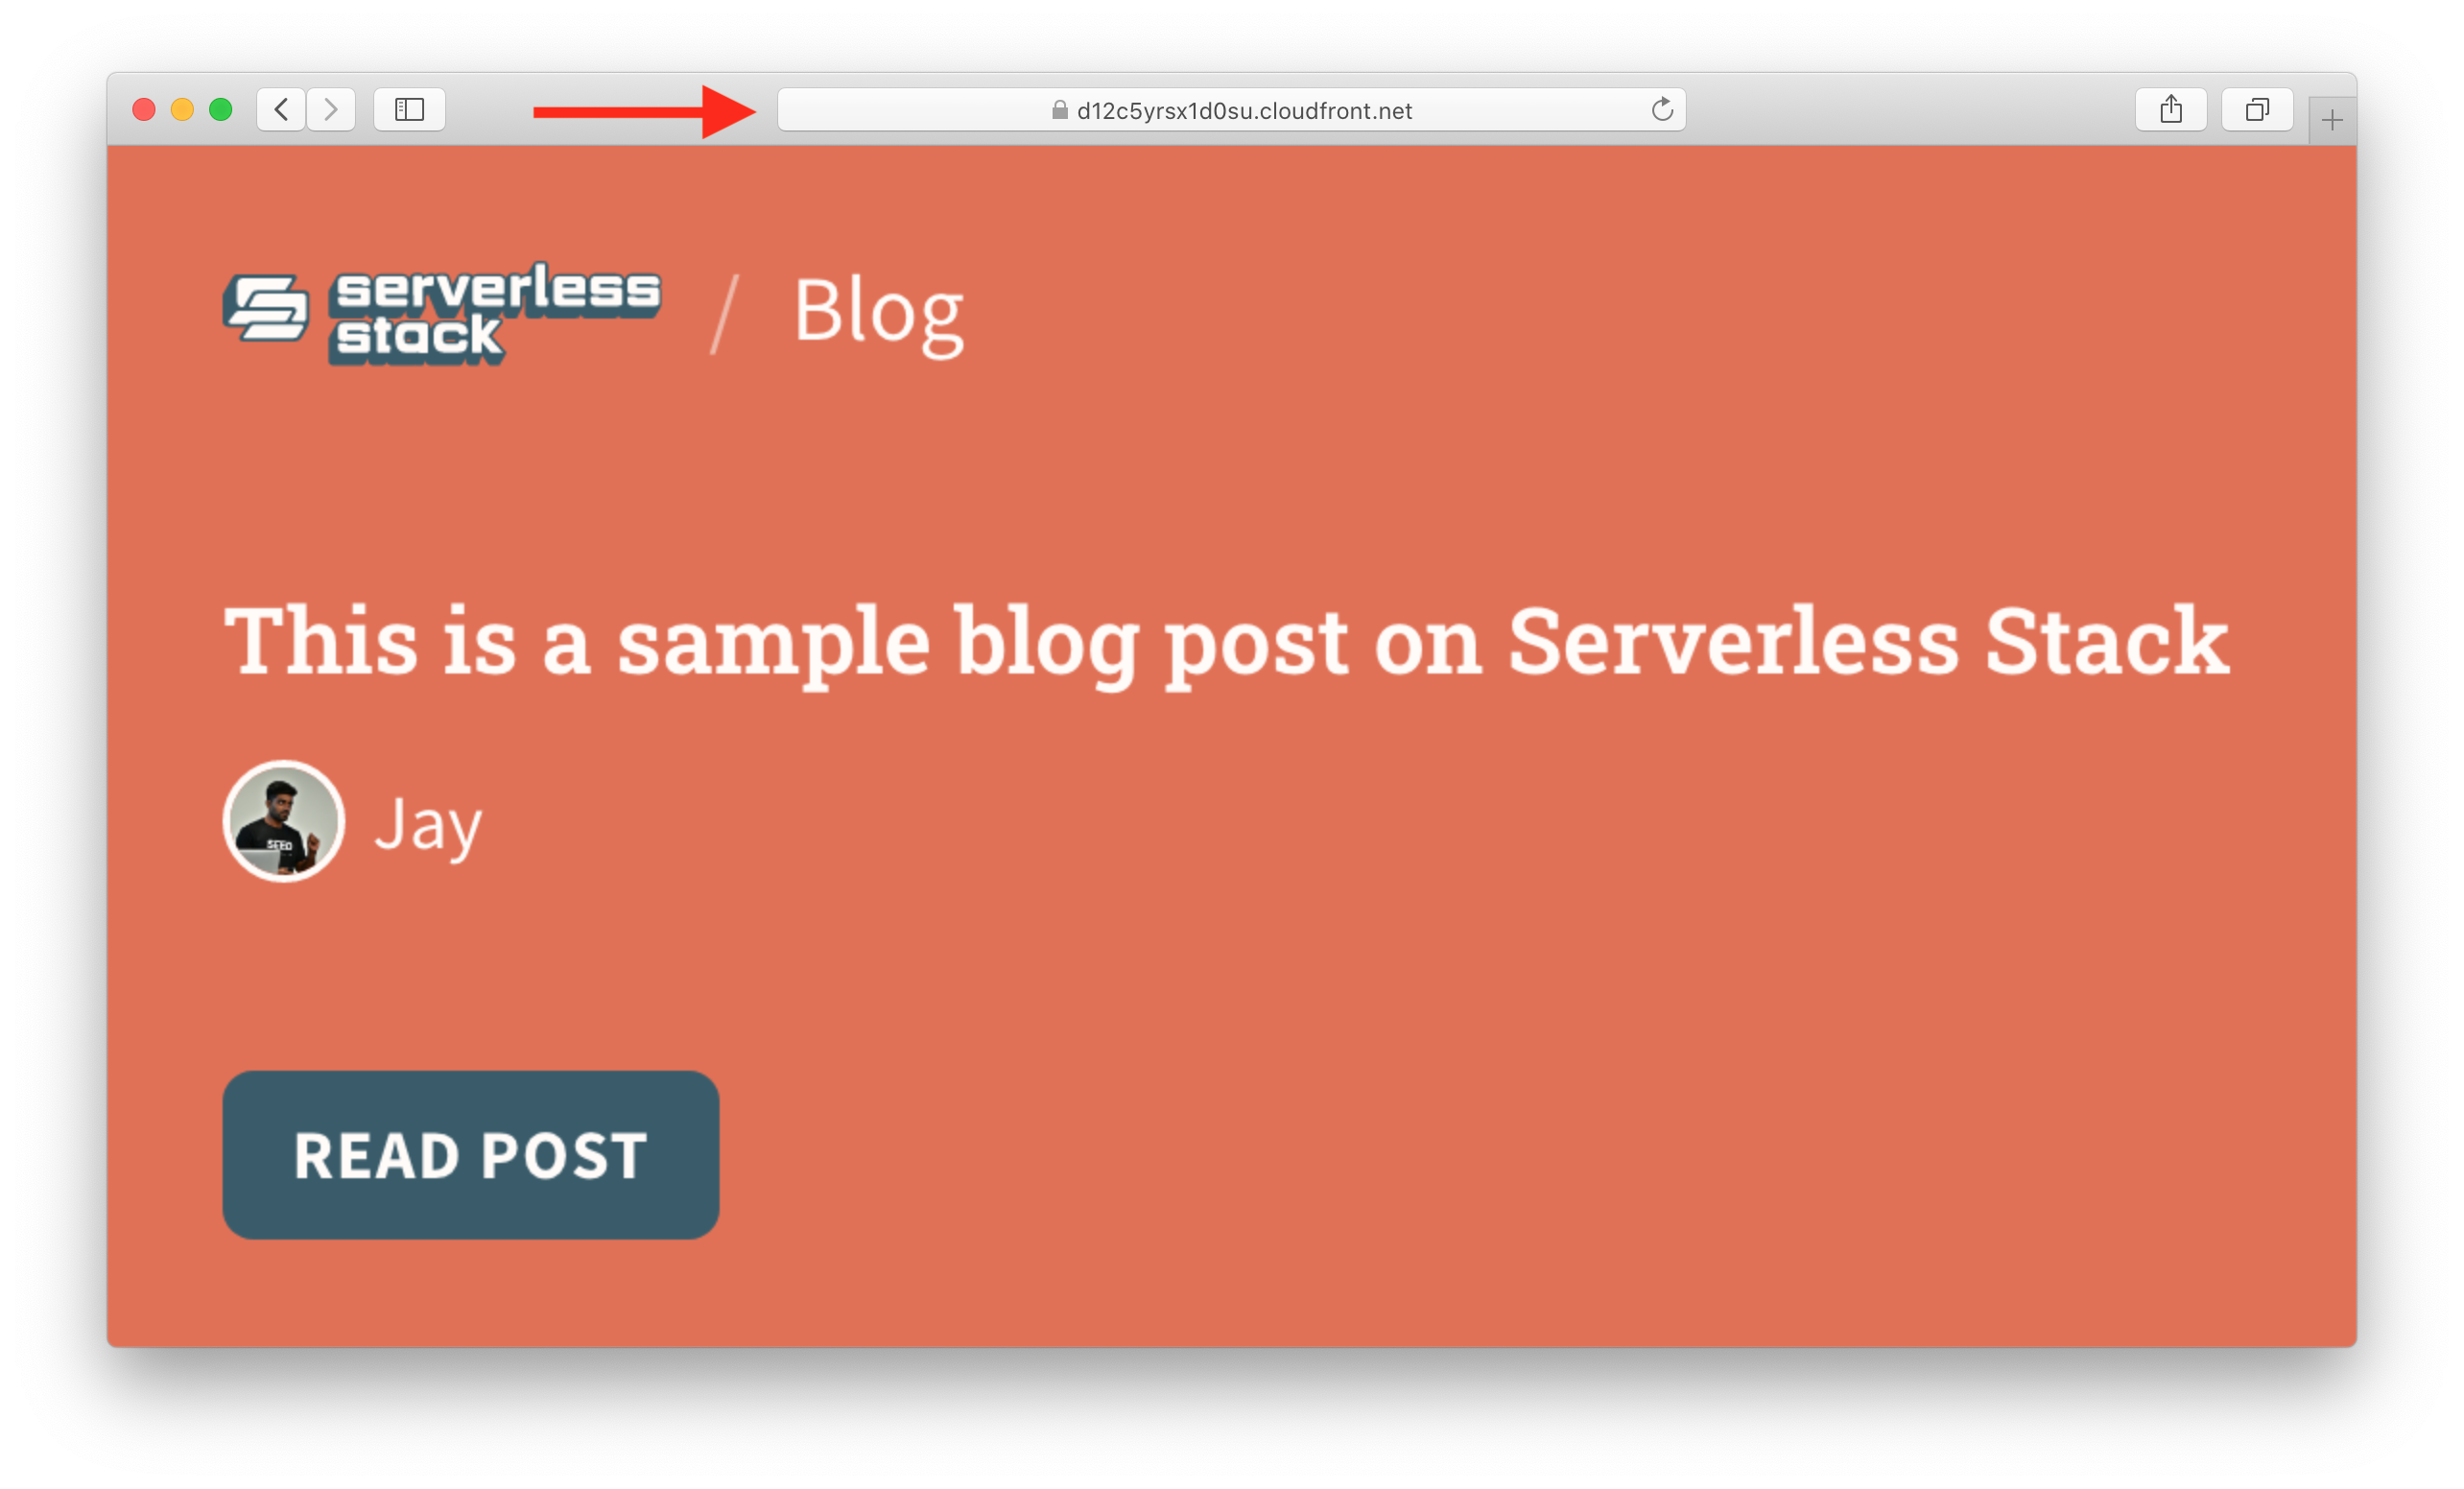
So now you can replace the CloudFront domain in our previously used URL scheme and it should load our images really fast.
https://d12c5yrsx1d0su.cloudfront.net/serverless-stack-blog/VGhpcyUyMGlzJTIwYSUyMHNhbXBsZSUyMGJsb2clMjBwb3N0JTIwb24lMjBTZXJ2ZXJsZXNzJTIwU3RhY2s=.png?author=Jay&avatar=jay
Adding a Custom Domain
We want to host our social cards service on our own custom domain. For this example, we are assuming that you have the domain configure in Route 53.
If you are looking to create a new domain, you can follow this guide to purchase one from Route 53.
Or if you have a domain hosted on another provider, read this to migrate it to Route 53.
We can do this in our stacks/MyStack.js by adding this block above the CloudFront definition.
const rootDomain = "serverless-stack.com";
const domainName = `social-cards.${rootDomain}`;

const useCustomDomain = scope.stage === "prod";

if (useCustomDomain) {
  // Lookup domain hosted zone
  hostedZone = route53.HostedZone.fromLookup(this, "HostedZone", {
    domainName: rootDomain,
  });

  // Create ACM certificate
  const certificate = new DnsValidatedCertificate(this, "Certificate", {
    domainName,
    hostedZone,
    region: "us-east-1",
  });

  domainProps = {
    ...domainProps,
    certificate,
    domainNames: [domainName],
  };
}
This creates a certificate for our domain. Note that, this needs to be in the us-east-1 region.
We then pass in these domainProps to our CloudFront Distribution.
// Create CloudFront Distribution
const distribution = new cf.Distribution(this, "WebsiteCdn", {
  ...domainProps,
  defaultBehavior: {
    origin: new HttpOrigin(Fn.parseDomainName(api.url)),
    // ...
Finally, we configure the domain in Route 53.
if (useCustomDomain) {
  // Create DNS record
  new route53.ARecord(this, "AliasRecord", {
    zone: hostedZone,
    recordName: domainName,
    target: route53.RecordTarget.fromAlias(
      new CloudFrontTarget(distribution)
    ),
  });
}
Make sure to check out the full stacks/MyStack.js source here — github.com/serverless-stack/social-cards/blob/main/stacks/MyStack.js
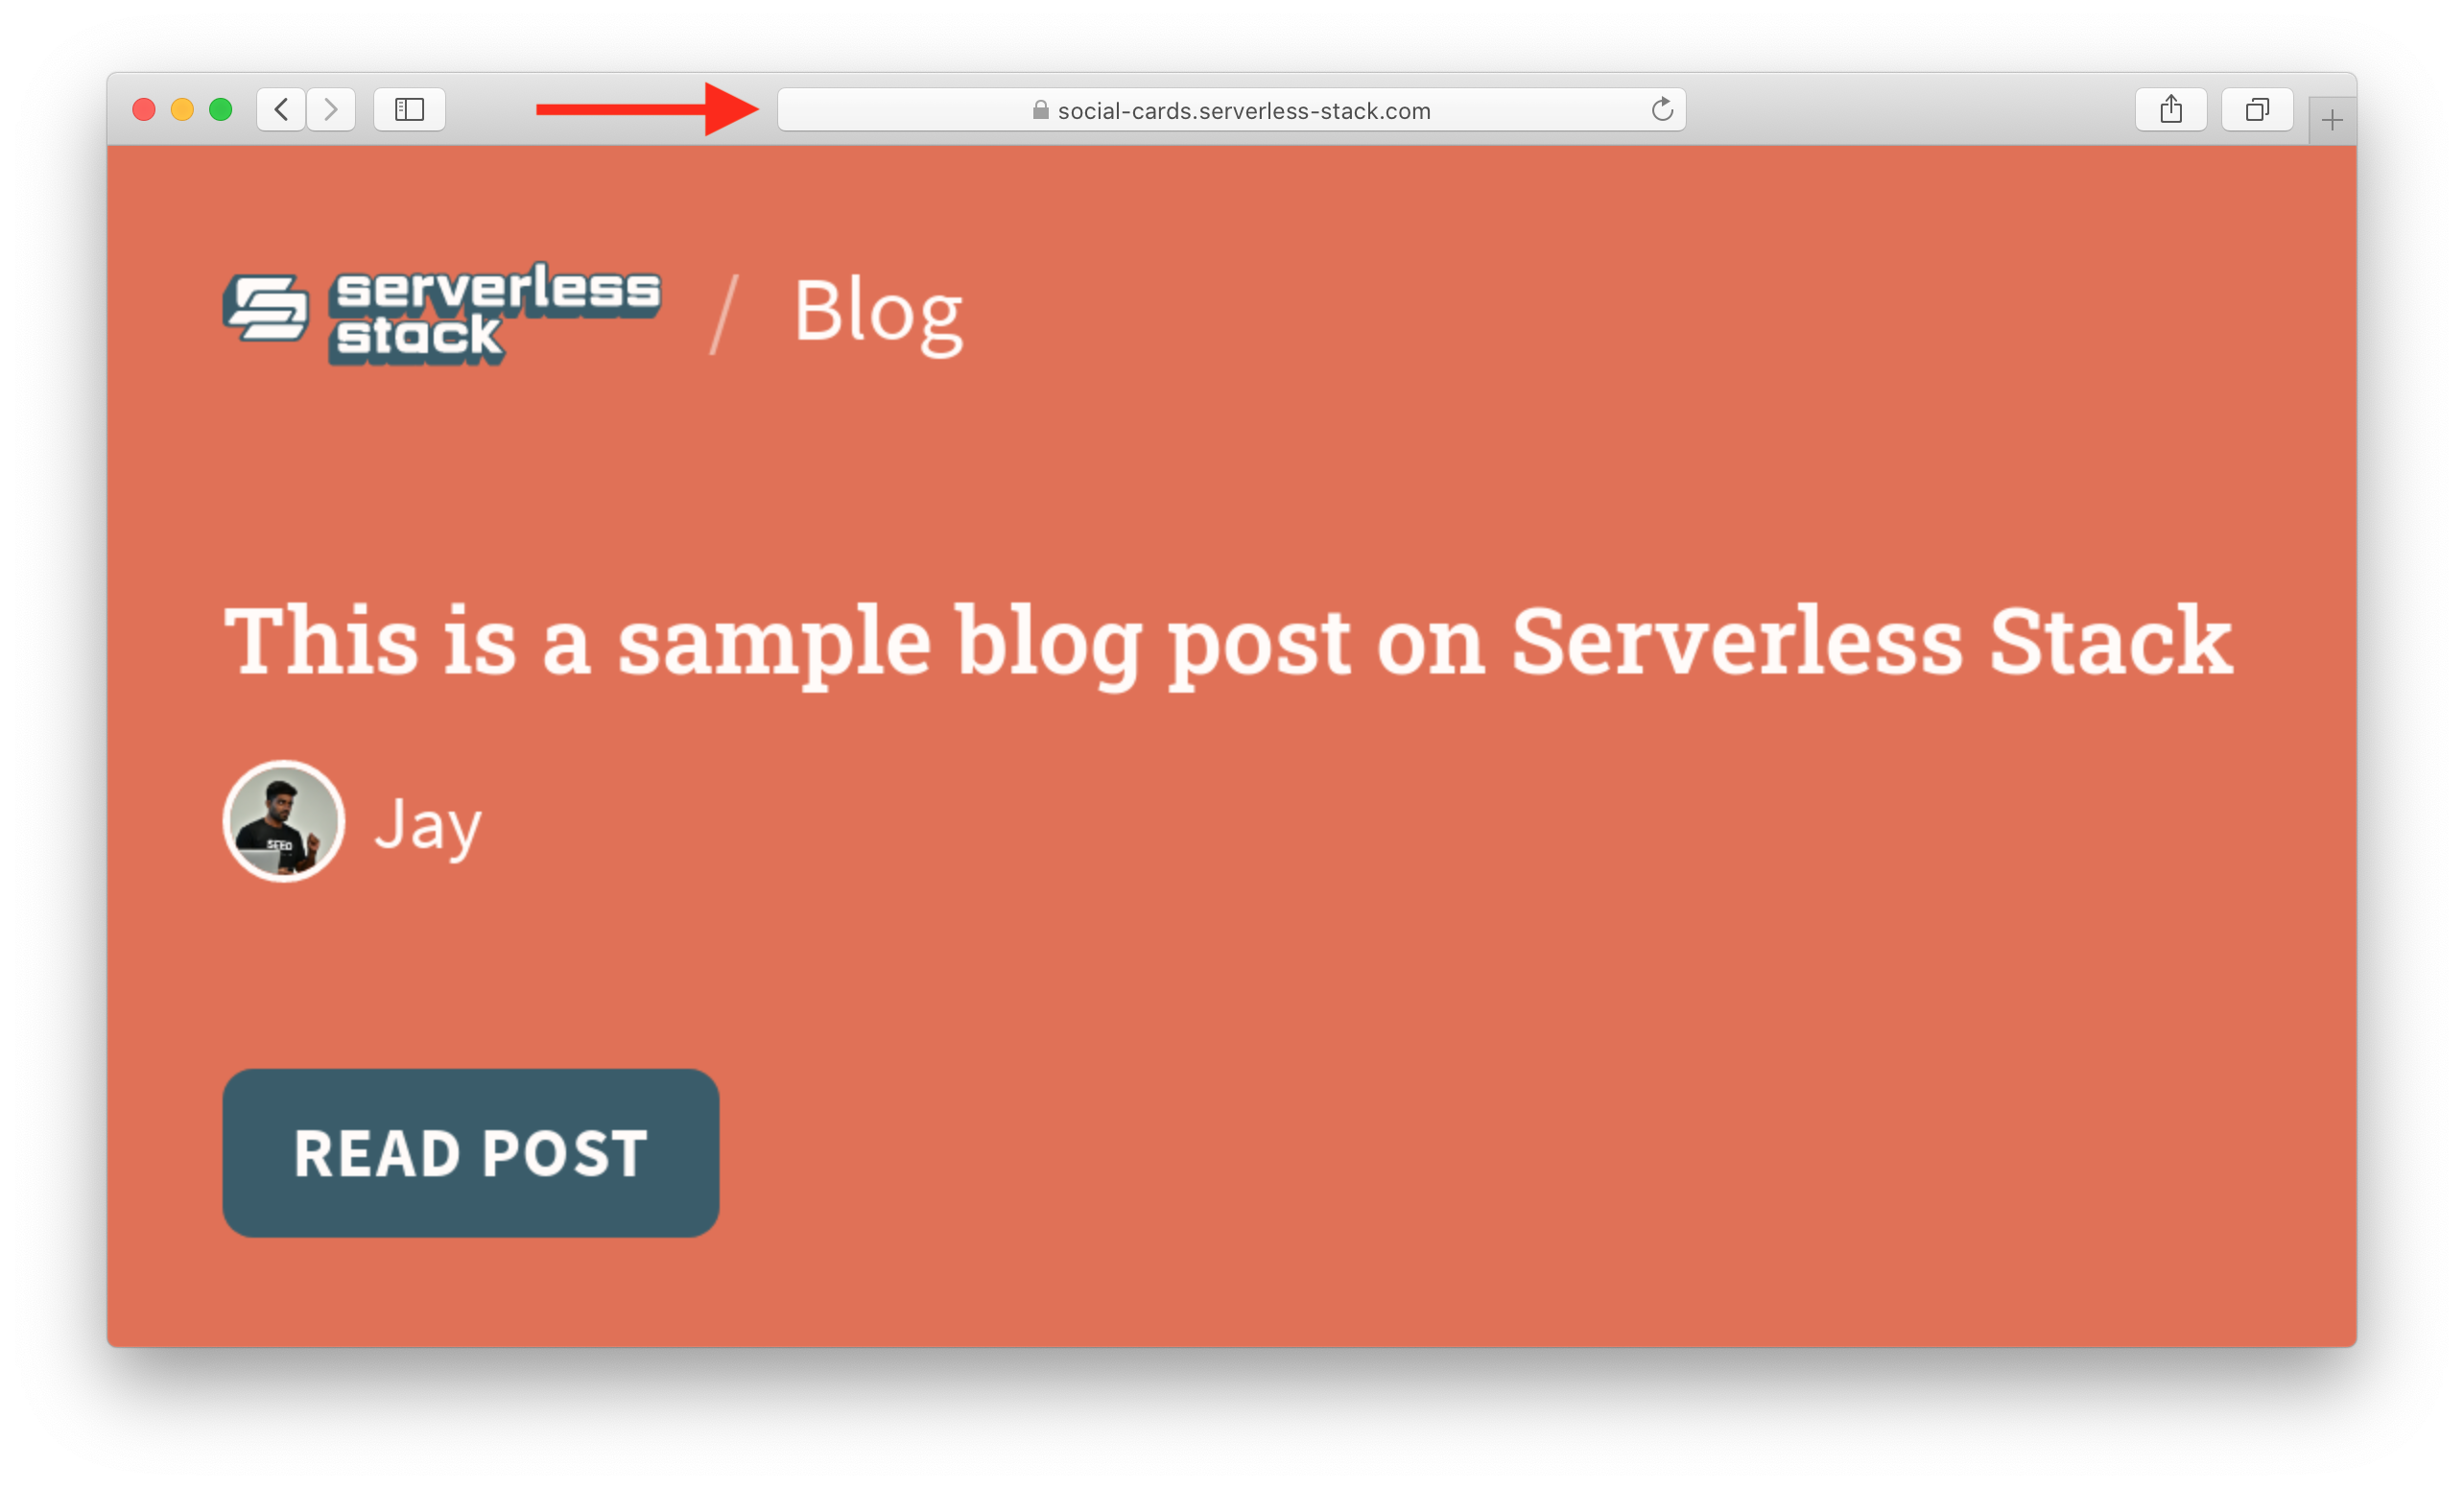
Now you can load our custom domain URL!
https://social-cards.serverless-stack.com/serverless-stack-blog/VGhpcyUyMGlzJTIwYSUyMHNhbXBsZSUyMGJsb2clMjBwb3N0JTIwb24lMjBTZXJ2ZXJsZXNzJTIwU3RhY2s=.png?author=Jay&avatar=jay
Integrate with Static Site Generators
So our social cards service is ready and optimized for production. Let’s look at how to use it in our static websites, starting with Jekyll.
Integrating with Jekyll
We need to Base64 encode our titles. We’ll create a simple plugin to make this easy. Add the following to _plugins/base64_filter.rb in your Jekyll site.
require "base64"

module Base64Filter
  def base64_encode (input)
    Base64.encode64(input)
  end
end

Liquid::Template.register_filter(Base64Filter) # register filter globally
In your layouts where you have the <head> tag, add the following.
{% if page.id %}
  {% assign encoded_title=title | truncate: 700 | url_encode | base64_encode | url_encode %}
  <meta content="https://social-cards.serverless-stack.com/serverless-stack-blog/{{ encoded_title }}.png?author={{ site.data.authors[page.author].name | url_encode }}&avatar={{ page.author }}" property="og:image">
{% endif %}
Here we are adding the og:image tag if the current page is a blog post. We are also doing a couple of things to the title.
- Limiting it to 700 characters. Aside from keeping the length manageable; the reason we do this is because the key that we use to cache our files in S3, is limited to 1024.
- We then URL encode it, this converts it to ASCII. And then Base64 encode.
- Finally, we URL encode it one more time because there are a couple of characters in the Base64 character set that are not URL safe.
In the above code snippet, we are assuming that our blog post has the author set in the front matter.
author: jay
We also have a data file in _data/authors.yml that stores all the authors in our site.
jay:
  name: Jay
Integrating with Docusaurus
For Docusaurus, we’ll need to wrap around the theme to add our og:image tags.
If you are using theme-original, then you can add the following to src/theme/DocItem/index.js.
import React from "react";
import { Base64 } from "js-base64";
import Head from "@docusaurus/Head";
import OriginalDocItem from "@theme-original/DocItem";
import useDocusaurusContext from "@docusaurus/useDocusaurusContext";

export default function DocItem(props) {
  const { siteConfig } = useDocusaurusContext();
  const title = props.content.metadata.title;
  const author = props.content.frontMatter.author;
  const { authors, socialCardsUrl } = siteConfig.customFields;

  const encodedTitle = encodeURIComponent(
    Base64.encode(
      encodeURIComponent(
        title.substring(0, 700)
      )
    )
  );
  const encodedName = encodeURIComponent(authors[author].name);

  const metaImageUrl = `${socialCardsUrl}/serverless-stack-blog/${encodedTitle}.png?author=${encodedName}&avatar=${author}`;

  return (
    <>
      <OriginalDocItem {...props} />
      <Head>
        <meta property="og:image" content={metaImageUrl} />
      </Head>
    </>
  );
}
Here we are wrapping around the original theme component. We are using a Base64 npm package, so it can run on the client and the server.
Just like with the Jekyll case, we limit the size of the title and in our docusaurus.config.js we have a custom field that contains the URL of our social cards service and the author info.
customFields: {
  // Used in "src/theme/DocItem/index.js" to add og:image tags dynamically
  socialCardsUrl: "https://social-cards.serverless-stack.com",
  authors: {
    jay: {
      name: "Jay"
    }
  },
},
And that’s it! Our social cards are now dynamically created for all our pages.
Wrapping Up
You can check out how these images look on Serverless-Stack.com and on our Docs site by sharing a couple of our pages.
Also, make sure to check out the repo that powers our social cards service — github.com/serverless-stack/social-cards
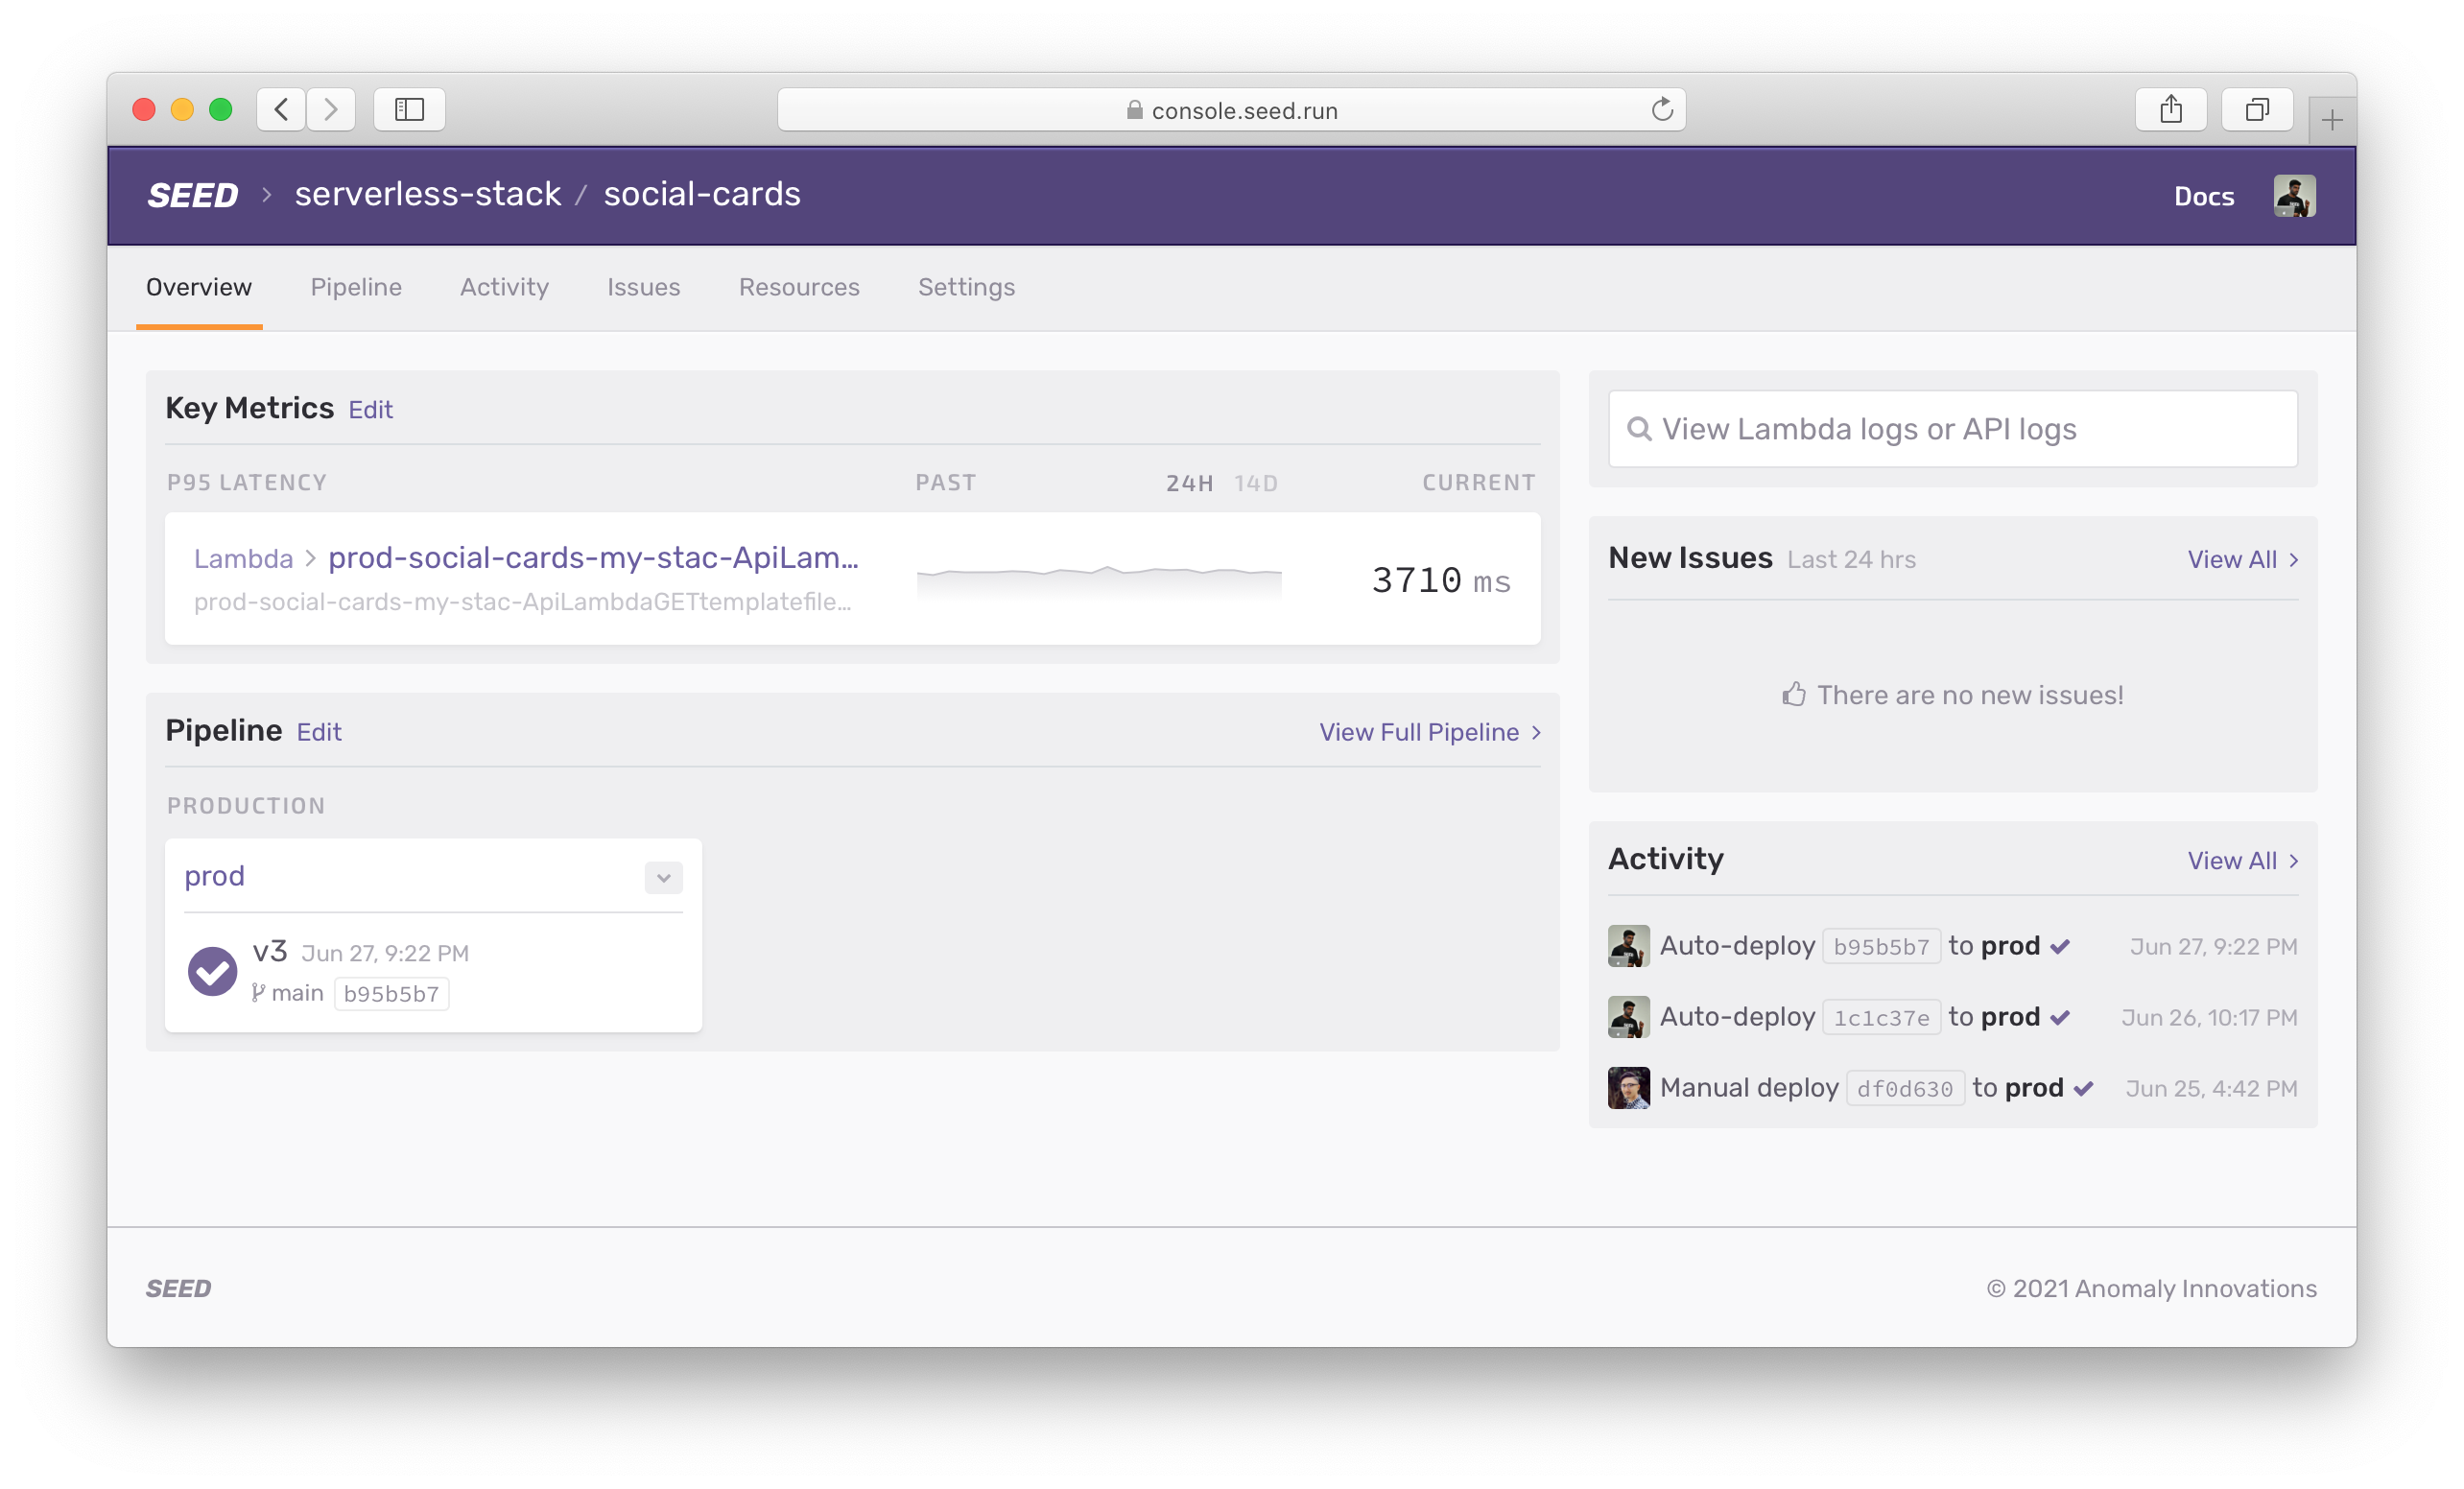
The repo is setup with Seed, so a git push to the main branch pushes to production. It also sends us real-time alerts when there are problems generating screenshots.
We used a couple of SST constructs while building this service. You can read more about them here:
Hope you enjoyed this chapter. Leave a comment below if you have any questions or feedback!
For help and discussion
Comments on this chapter


