Create a New React.js App
We are now ready to work on our frontend. So far we’ve built and deployed our backend API and infrastructure. We are now going to build a web app that connects to our backend.
We are going to create a single page app using React.js. We’ll use the Create React App project to set everything up.
Create a New React App
 Run the following command in your project root.
$ npx create-react-app frontend --use-npm
$ cd frontend
This should take a second to run, and it will create your new project in the frontend/ directory.
Note that we are adding this inside our SST app. Create React App will throw a warning if it is installed inside a directory that uses Jest. And we were using Jest to run our tests. To disable this, we’ll need to set an environment variable.
 Add the following to
 frontend/.env.
SKIP_PREFLIGHT_CHECK=true
Loading SST Environment Variables
We also want to load the environment variables from our backend. To do this, we’ll be using the @serverless-stack/static-site-env package. It’ll find the environment variables from our SST app and load it while starting the React development environment.
 Run the following in the
 frontend/ directory.
$ npm install @serverless-stack/static-site-env --save-dev
Now to use this package, we’ll add it to our package.json scripts.
 Replace the
 start script in your frontend/package.json.
"start": "react-scripts start",
 With.
With.
"start": "sst-env -- react-scripts start",
Add the React App to SST
We are going to be deploying our React app to AWS. To do that we’ll be using the SST ReactStaticSite construct.
 Create a new file in
 stacks/FrontendStack.js and add the following.
import * as sst from "@serverless-stack/resources";

export default class FrontendStack extends sst.Stack {
  constructor(scope, id, props) {
    super(scope, id, props);

    const { api, auth, bucket } = props;

    // Define our React app
    const site = new sst.ReactStaticSite(this, "ReactSite", {
      path: "frontend",
      // Pass in our environment variables
      environment: {
        REACT_APP_API_URL: api.url,
        REACT_APP_REGION: scope.region,
        REACT_APP_BUCKET: bucket.bucketName,
        REACT_APP_USER_POOL_ID: auth.cognitoUserPool.userPoolId,
        REACT_APP_IDENTITY_POOL_ID: auth.cognitoCfnIdentityPool.ref,
        REACT_APP_USER_POOL_CLIENT_ID:
          auth.cognitoUserPoolClient.userPoolClientId,
      },
    });

    // Show the url in the output
    this.addOutputs({
      SiteUrl: site.url,
    });
  }
}
We are creating a new stack in SST. We could’ve used one of the existing stacks but this allows us to show how to connect stacks together.
We are doing a couple of things of note here:
- We are pointing our
ReactStaticSiteconstruct to thefrontend/directory where our React app is. - We are passing in the outputs from our other stacks as environment variables in React. This means that we won’t have to hard code them in our React app. You can read more about this over in our chapter on, Setting serverless environments variables in a React app.
- And finally, we are outputting out the URL of our React app.
Adding to the app
Let’s add this new stack to the rest of our app.
 Replace the
 main function in stacks/index.js with.
export default function main(app) {
  const storageStack = new StorageStack(app, "storage");

  const apiStack = new ApiStack(app, "api", {
    table: storageStack.table,
  });

  const authStack = new AuthStack(app, "auth", {
    api: apiStack.api,
    bucket: storageStack.bucket,
  });

  new FrontendStack(app, "frontend", {
    api: apiStack.api,
    auth: authStack.auth,
    bucket: storageStack.bucket,
  });
}
Here you’ll notice that we are passing in the references from our other stacks into the FrontendStack.
 Also, import the new stack at the top.
import FrontendStack from "./FrontendStack";
Deploy the Changes
If you switch over to your terminal, you’ll notice that you are being prompted to redeploy your changes. Go ahead and hit ENTER.
Note that, you’ll need to have sst start running for this to happen. If you had previously stopped it, then running npx sst start will deploy your changes again.
You should see that the new frontend stack has been deployed.
Stack dev-notes-frontend
  Status: deployed
  Outputs:
    SiteUrl: https://d3j4c16hczgtjw.cloudfront.net
  ReactSite:
    REACT_APP_API_URL: https://5bv7x0iuga.execute-api.us-east-1.amazonaws.com
    REACT_APP_BUCKET: dev-notes-storage-uploadsbucketc4b27cc7-xmqzx69e5bpt
    REACT_APP_IDENTITY_POOL_ID: us-east-1:2d7b425d-eb44-4c42-afbd-645018b37a27
    REACT_APP_REGION: us-east-1
    REACT_APP_USER_POOL_CLIENT_ID: jbf2qe4h17tl2u94fntkjii7n
    REACT_APP_USER_POOL_ID: us-east-1_gll8EbWrr
Start the React App
Let’s start our React development environment.
 In the
 frontend/ directory run.
$ npm start
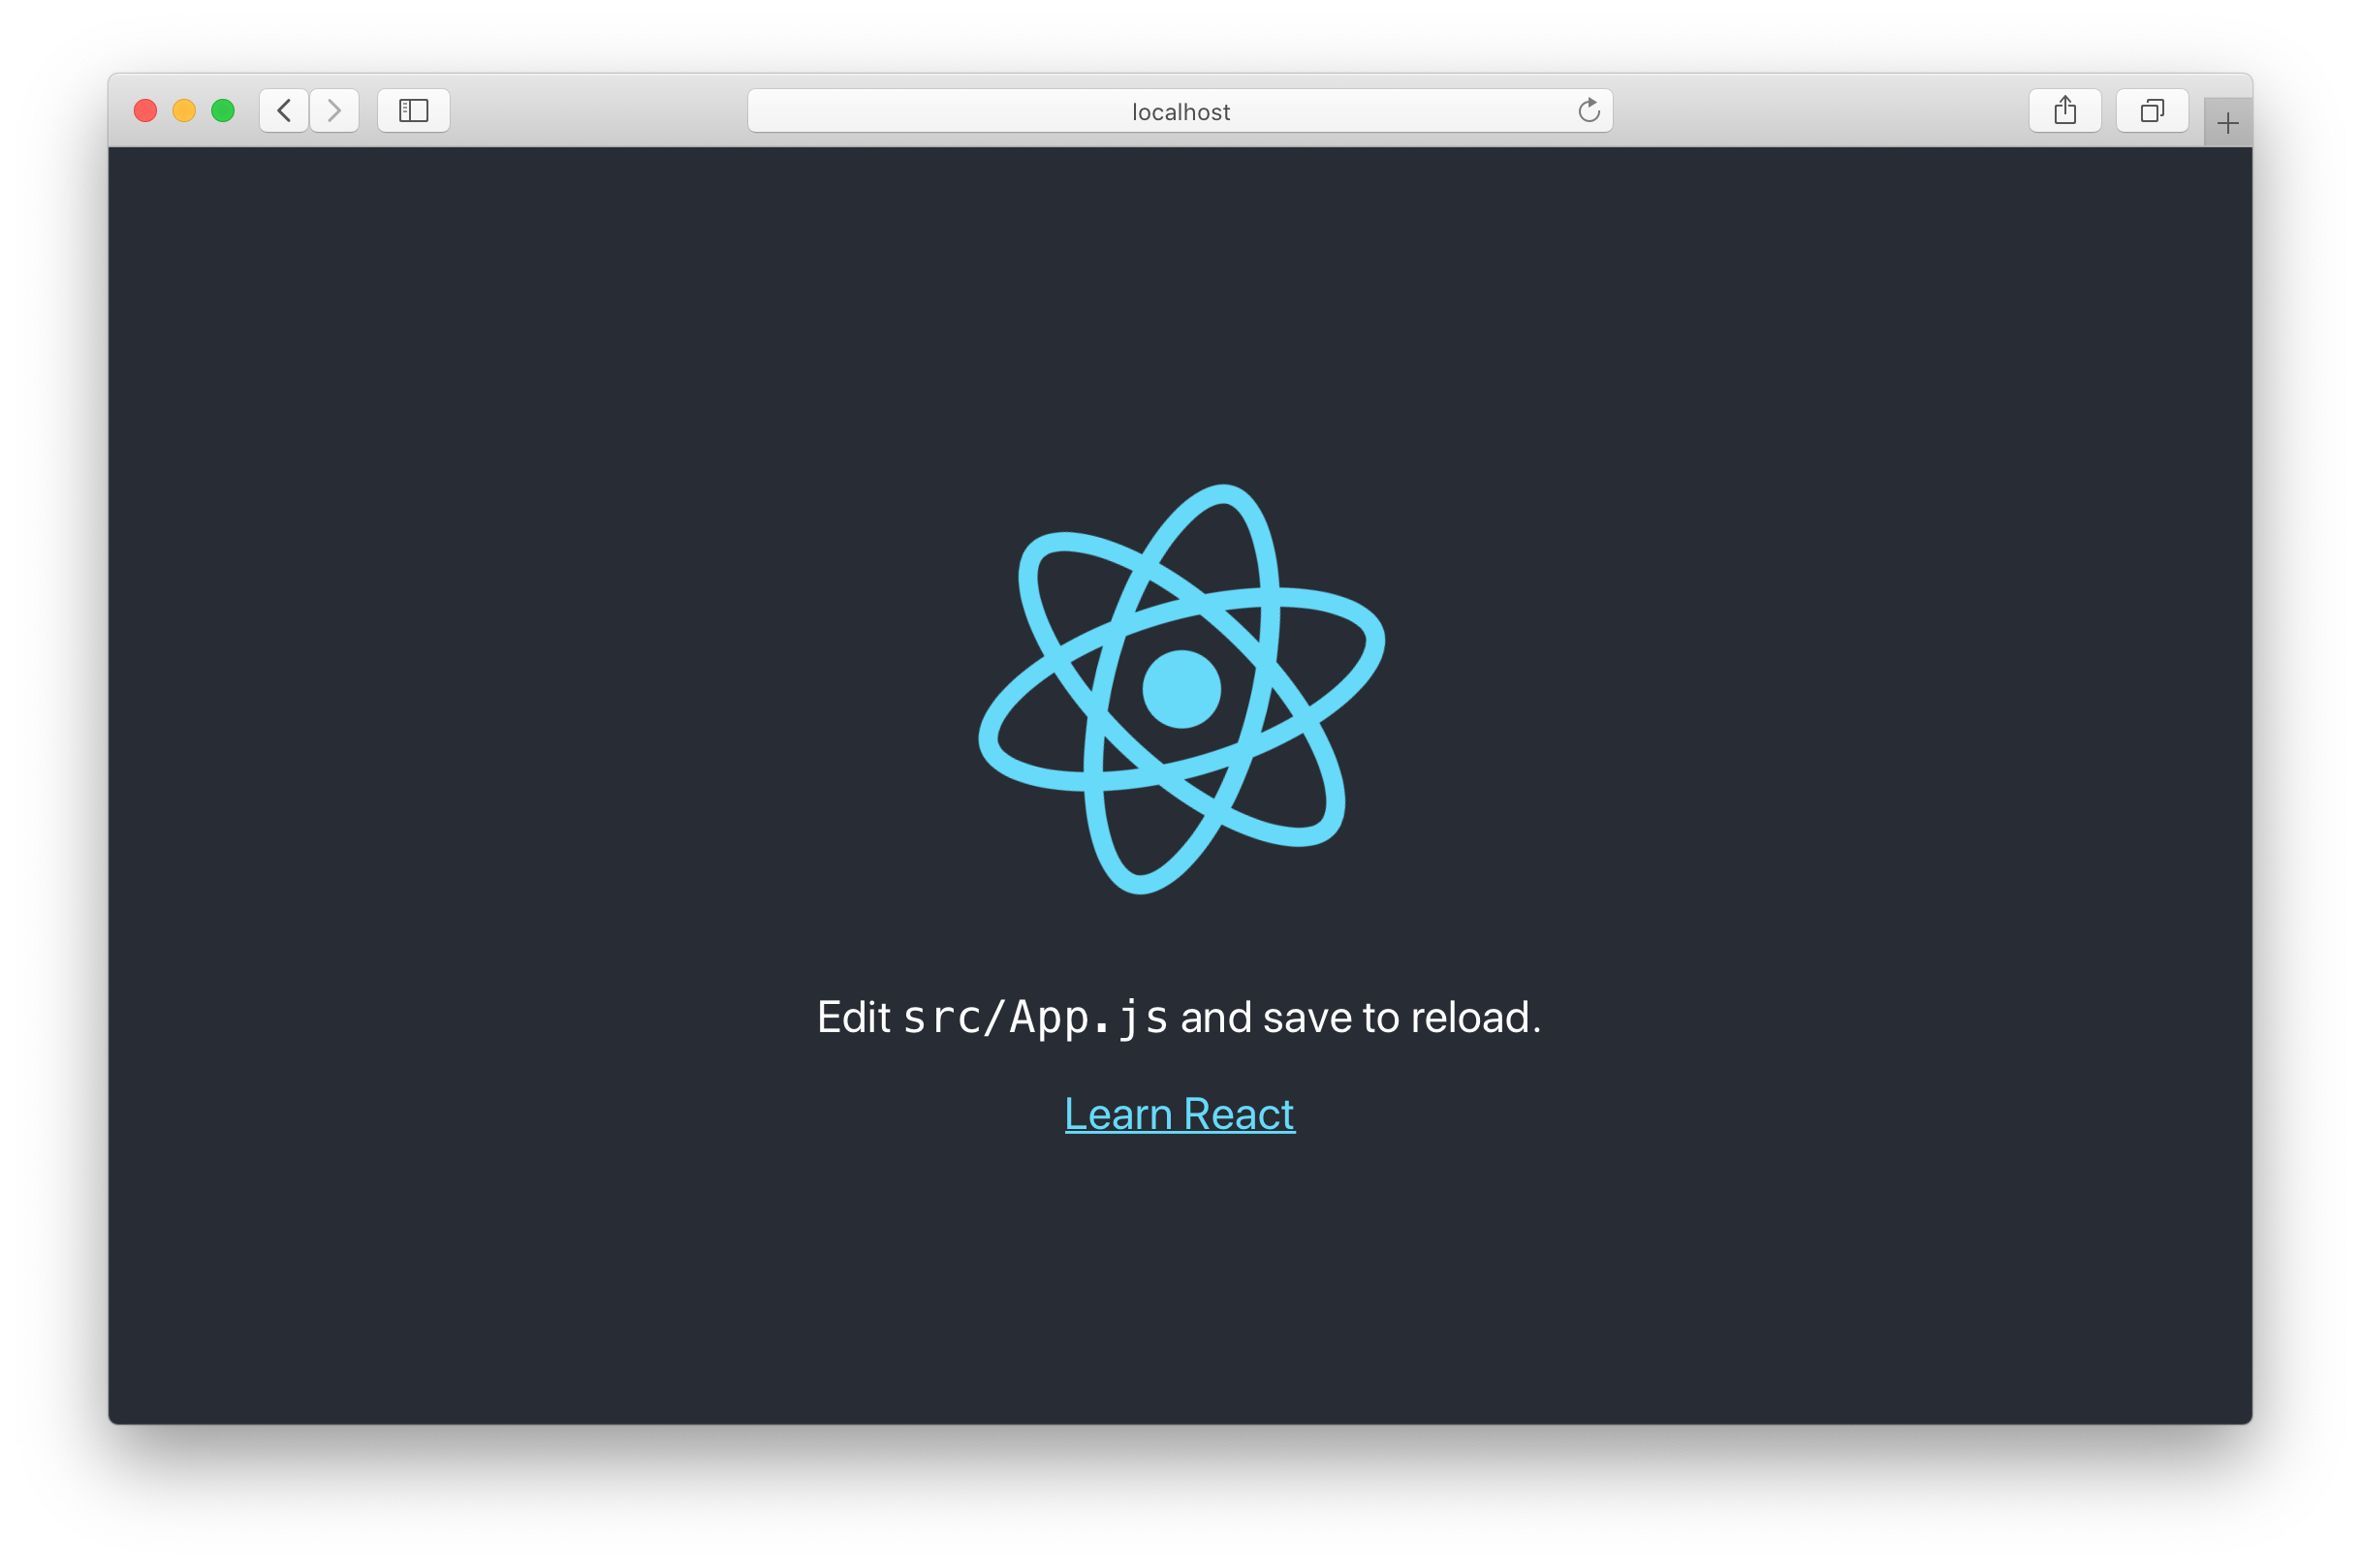
This should fire up the newly created app in your browser.

Change the Title
 Let’s quickly change the title of our note taking app. Open up
 public/index.html and edit the title tag to the following:
<title>Scratch - A simple note taking app</title>
Create React App comes pre-loaded with a pretty convenient yet minimal development environment. It includes live reloading, a testing framework, ES6 support, and much more.
Now we are ready to build our frontend! We are going to start by creating our app icon and updating the favicons.
For help and discussion
Comments on this chapter


