


How to create a React.js app with serverless
In this example we will look at how to use React.js with a serverless API to create a simple click counter app. We’ll be using the Serverless Stack Framework (SST) and the SST ReactStaticSite construct to deploy our app to AWS.
Requirements
- Node.js >= 10.15.1
- We’ll be using Node.js (or ES) in this example but you can also use TypeScript
- An AWS account with the AWS CLI configured locally
Create an SST app
 Let’s start by creating an SST app.
$ npx create-serverless-stack@latest react-app
$ cd react-app
By default our app will be deployed to an environment (or stage) called dev and the us-east-1 AWS region. This can be changed in the sst.json in your project root.
{
  "name": "react-app",
  "stage": "dev",
  "region": "us-east-1"
}
Project layout
An SST app is made up of a couple of parts.
-
stacks/— App InfrastructureThe code that describes the infrastructure of your serverless app is placed in the
stacks/directory of your project. SST uses AWS CDK, to create the infrastructure. -
src/— App CodeThe code that’s run when your API is invoked is placed in the
src/directory of your project. -
frontend/— React AppThe code for our frontend React.js app.
Create our infrastructure
Our app is made up of a simple API and a React.js app. The API will be talking to a database to store the number of clicks. We’ll start by creating the database.
Adding the table
We’ll be using Amazon DynamoDB; a reliable and highly-performant NoSQL database that can be configured as a true serverless database. Meaning that it’ll scale up and down automatically. And you won’t get charged if you are not using it.
Replace the stacks/MyStack.js with the following.
import * as sst from "@serverless-stack/resources";

export default class MyStack extends sst.Stack {
  constructor(scope, id, props) {
    super(scope, id, props);

    // Create the table
    const table = new sst.Table(this, "Counter", {
      fields: {
        counter: sst.TableFieldType.STRING,
      },
      primaryIndex: { partitionKey: "counter" },
    });
  }
}
This creates a serverless DynamoDB table using the SST Table construct. It has a primary key called counter. Our table is going to look something like this:
| counter | tally |
|---|---|
| clicks | 123 |
Creating our API
Now let’s add the API.
Add this below the sst.Table definition in stacks/MyStack.js.
// Create the HTTP API
const api = new sst.Api(this, "Api", {
  defaultFunctionProps: {
    // Pass in the table name to our API
    environment: {
      tableName: table.dynamodbTable.tableName,
    },
  },
  routes: {
    "POST /": "src/lambda.main",
  },
});

// Allow the API to access the table
api.attachPermissions([table]);

// Show the API endpoint in the output
this.addOutputs({
  ApiEndpoint: api.url,
});
We are using the SST Api construct to create our API. It simply has one endpoint (the root). When we make a POST request to this endpoint the Lambda function called main in src/lambda.js will get invoked.
We also pass in the name of our DynamoDB table to our API as an environment variable called tableName. And we allow our API to access (read and write) the table instance we just created.
Setting up our React app
To deploy a React.js app to AWS, we’ll be using the SST ReactStaticSite construct.
Replace the following in stacks/MyStack.js:
// Show the API endpoint in the output
this.addOutputs({
  ApiEndpoint: api.url,
});
With:
// Deploy our React app
const site = new sst.ReactStaticSite(this, "ReactSite", {
  path: "frontend",
  environment: {
    // Pass in the API endpoint to our app
    REACT_APP_API_URL: api.url,
  },
});

// Show the URLs in the output
this.addOutputs({
  SiteUrl: site.url,
  ApiEndpoint: api.url,
});
The construct is pointing to where our React.js app is located. We haven’t created our app yet but for now we’ll point to the frontend directory.
We are also setting up a build time React environment variable REACT_APP_API_URL with the endpoint of our API. The ReactStaticSite allows us to set environment variables automatically from our backend, without having to hard code them in our frontend. You can read more about this over in our chapter on, Setting serverless environments variables in a React app.
You can also optionally configure a custom domain.
// Deploy our React app
const site = new sst.ReactStaticSite(this, "ReactSite", {
  path: "frontend",
  environment: {
    // Pass in the API endpoint to our app
    REACT_APP_API_URL: api.url,
  },
  customDomain: "www.my-react-app.com",
});
But we’ll skip this for now.
Reading from our table
Our API is powered by a Lambda function. In the function we’ll read from our DynamoDB table.
Replace src/lambda.js with the following.
import AWS from "aws-sdk";

const dynamoDb = new AWS.DynamoDB.DocumentClient();

export async function main() {
  const getParams = {
    // Get the table name from the environment variable
    TableName: process.env.tableName,
    // Get the row where the counter is called "clicks"
    Key: {
      counter: "clicks",
    },
  };
  const results = await dynamoDb.get(getParams).promise();

  // If there is a row, then get the value of the
  // column called "tally"
  let count = results.Item ? results.Item.tally : 0;

  return {
    statusCode: 200,
    body: count,
  };
}
We make a get call to our DynamoDB table and get the value of a row where the counter column has the value clicks. Since we haven’t written to this column yet, we are going to just return 0.
Let’s install the aws-sdk.
$ npm install aws-sdk
And let’s test what we have so far.
Starting your dev environment
SST features a Live Lambda Development environment that allows you to work on your serverless apps live.
$ npx sst start
The first time you run this command it’ll take a couple of minutes to deploy your app and a debug stack to power the Live Lambda Development environment.
===============
 Deploying app
===============

Preparing your SST app
Transpiling source
Linting source
Deploying stacks
dev-react-app-my-stack: deploying...

 ✅  dev-react-app-my-stack


Stack dev-react-app-my-stack
  Status: deployed
  Outputs:
    ApiEndpoint: https://51q98mf39e.execute-api.us-east-1.amazonaws.com
    SiteUrl: https://d8lnp7p95pfac.cloudfront.net
The ApiEndpoint is the API we just created. While the SiteUrl is where our React.js app will be hosted. For now it’s just a placeholder website.
Let’s test our endpoint. Run the following in your terminal.
$ curl -X POST https://51q98mf39e.execute-api.us-east-1.amazonaws.com
You should see a 0 printed out.
Setting up our React app
We are now ready to use the API we just created. Let’s use Create React App to setup our React.js app.
Run the following in the project root.
$ npx create-react-app frontend --use-npm
$ cd frontend
This sets up our React app in the frontend/ directory. Recall that, earlier in the guide we were pointing the ReactStaticSite construct to this path.
Create React App will throw a warning if it is installed inside a repo that uses Jest. To disable this, we’ll need to set an environment variable.
Add the following to frontend/.env.
SKIP_PREFLIGHT_CHECK=true
We also need to load the environment variables from our SST app. To do this, we’ll be using the @serverless-stack/static-site-env package.
Install the static-site-env package by running the following in the frontend/ directory.
$ npm install @serverless-stack/static-site-env --save-dev
We need to update our start script to use this package.
Replace the start script in your frontend/package.json.
"start": "react-scripts start",
With the following:
"start": "sst-env -- react-scripts start",
Let’s start our React development environment.
In the frontend/ directory run.
$ npm run start
This should open up our React.js app in your browser.
Add the click button
We are now ready to add the UI for our app and connect it to our serverless API.
Replace frontend/src/App.js with.
import { useState } from "react";
import "./App.css";

export default function App() {
  const [count, setCount] = useState(null);

  function onClick() {
    fetch(process.env.REACT_APP_API_URL, {
      method: "POST",
    })
      .then((response) => response.text())
      .then(setCount);
  }

  return (
    <div className="App">
      {count && <p>You clicked me {count} times.</p>}
      <button onClick={onClick}>Click Me!</button>
    </div>
  );
}
Here we are adding a simple button that when clicked, makes a request to our API. We are getting the API endpoint from the environment variable, process.env.REACT_APP_API_URL.
The response from our API is then stored in our app’s state. We use that to display the count of the number of times the button has been clicked.
Let’s add some styles.
Replace frontend/src/App.css with.
body, html {
  height: 100%;
  display: grid;
}
#root {
  margin: auto;
}
.App {
  text-align: center;
}
p {
  margin-top: 0;
  font-size: 20px;
}
button {
  font-size: 48px;
}
Now if you head over to your browser, your React app should look something like this.

Of course if you click on the button multiple times, the count doesn’t change. That’s because we are not updating the count in our API. We’ll do that next.
Making changes
Let’s update our table with the clicks.
Add this above the return statement in src/lambda.js.
const putParams = {
  TableName: process.env.tableName,
  Key: {
    counter: "clicks",
  },
  // Update the "tally" column
  UpdateExpression: "SET tally = :count",
  ExpressionAttributeValues: {
    // Increase the count
    ":count": ++count,
  },
};
await dynamoDb.update(putParams).promise();
Here we are updating the clicks row’s tally column with the increased count.
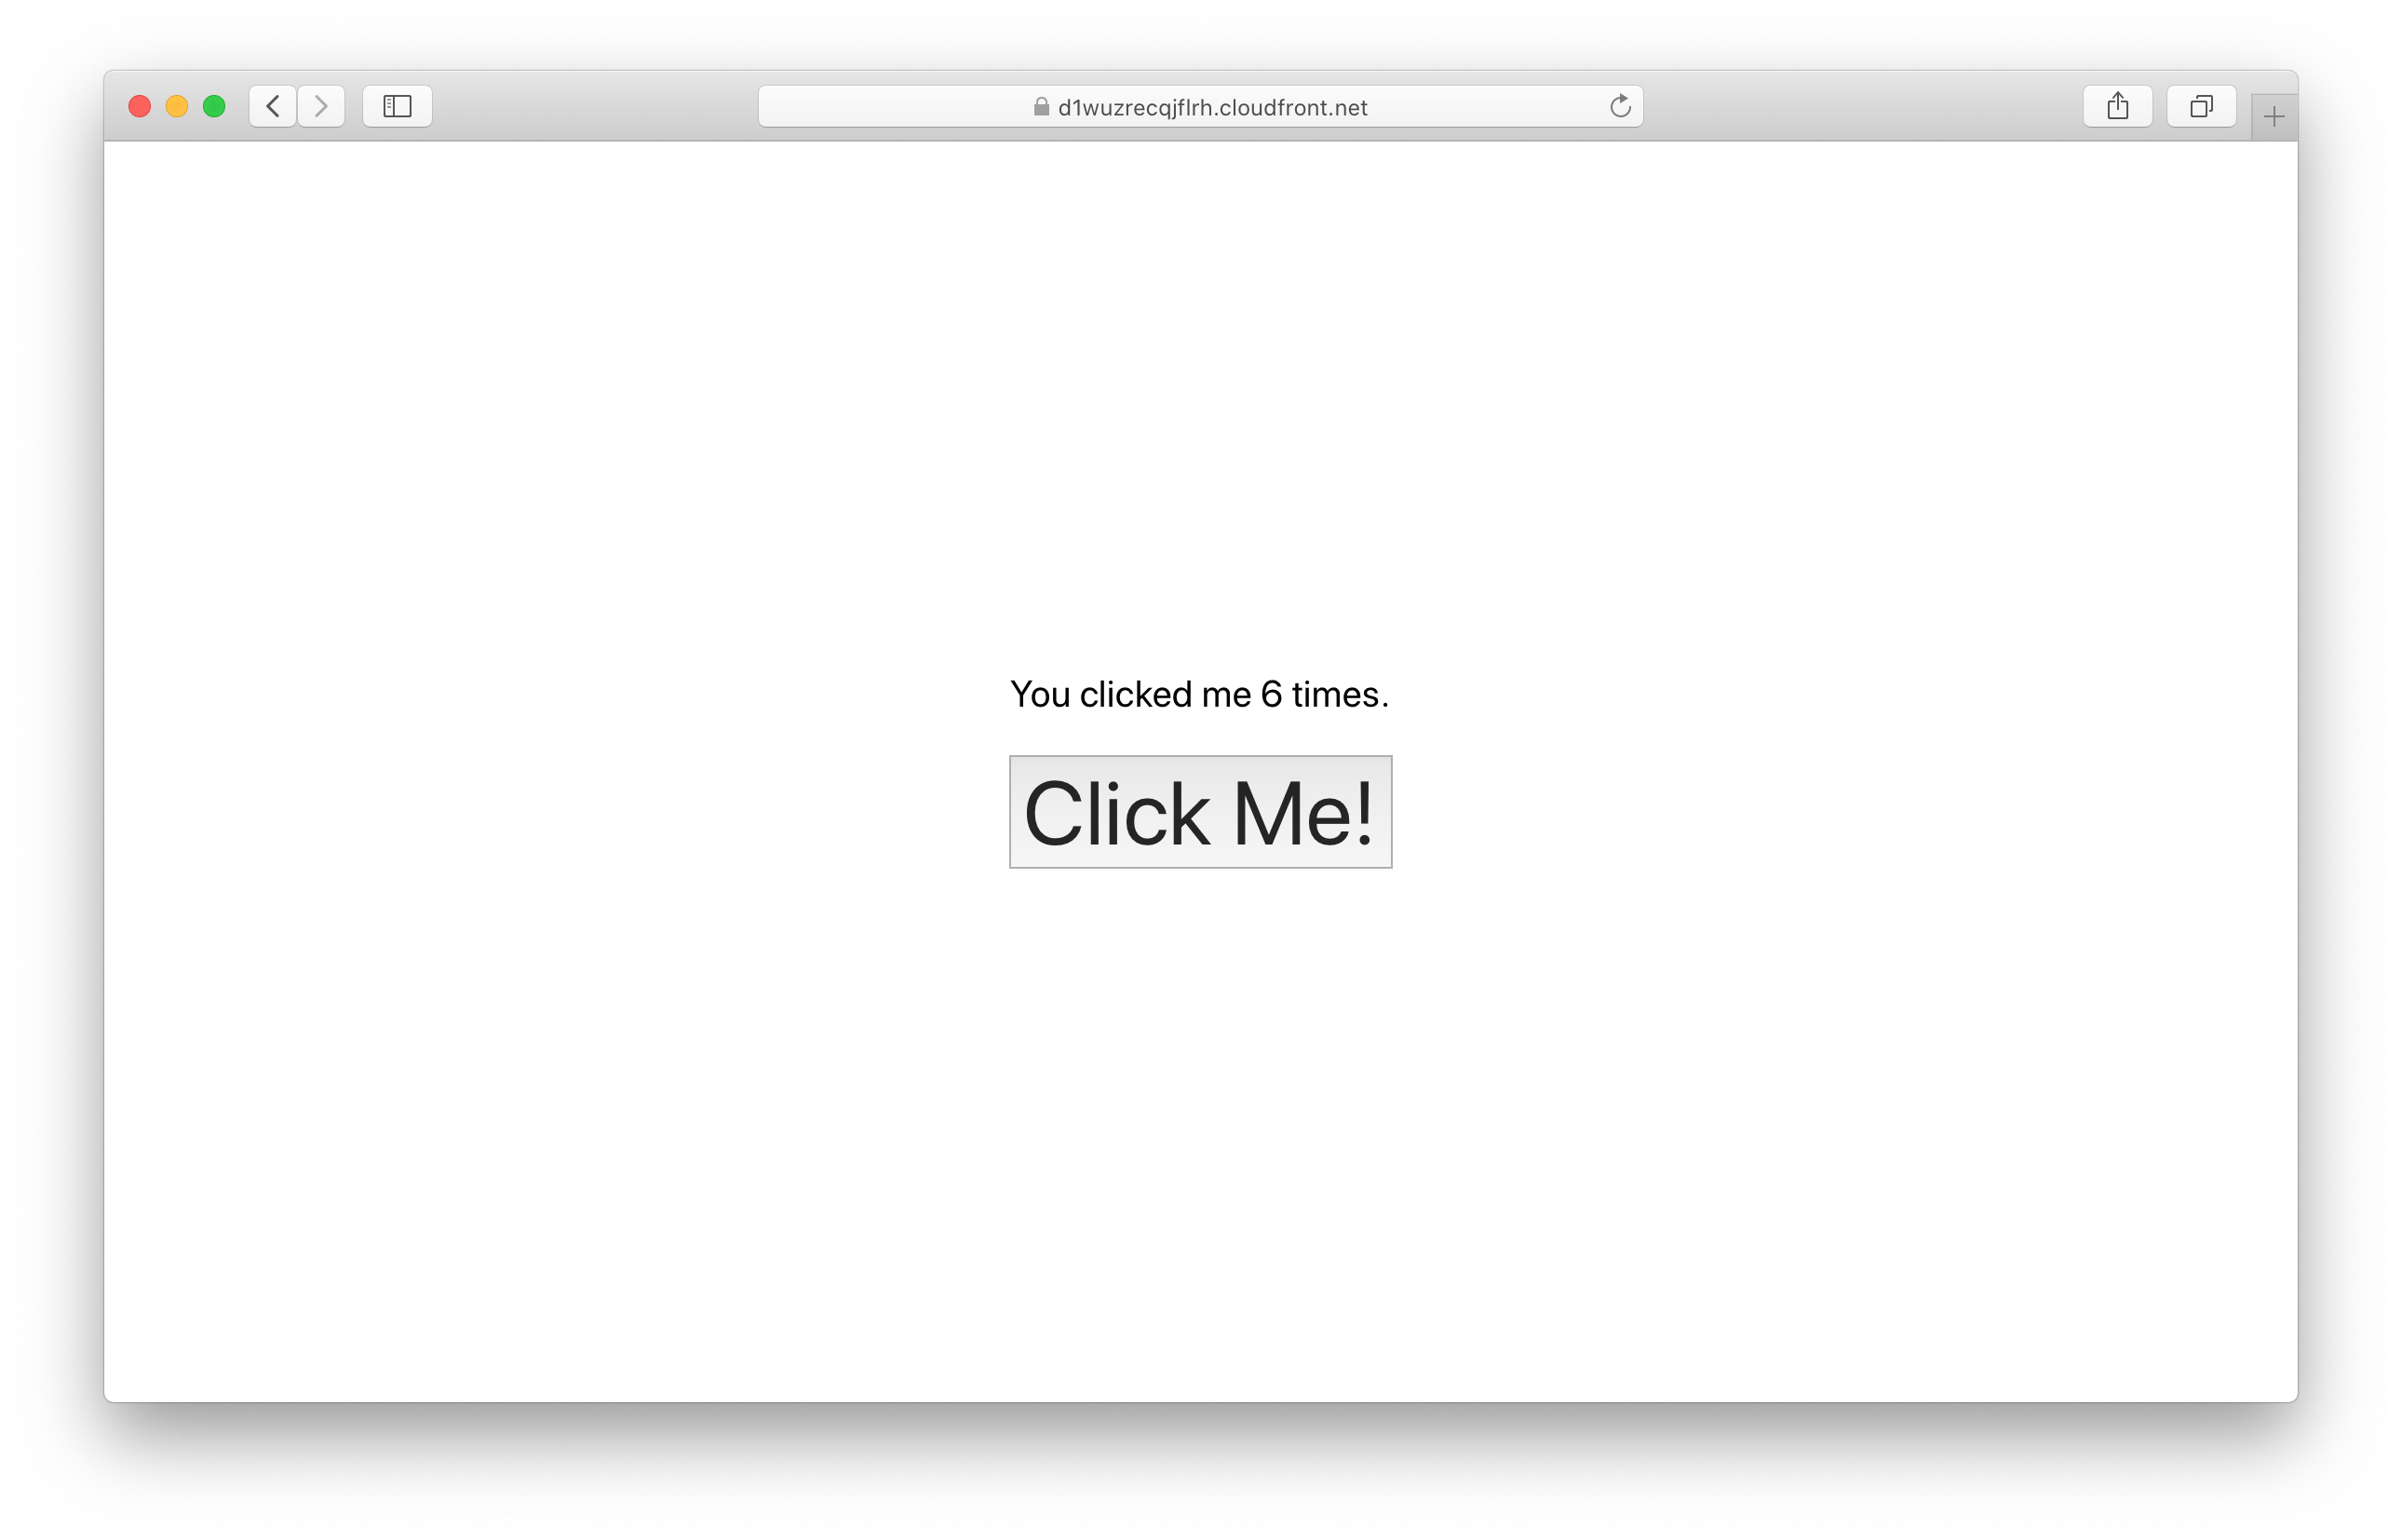
And if you head over to your browser and click the button again, you should see the count increase!

Deploying to prod
To wrap things up we’ll deploy our app to prod.
$ npx sst deploy --stage prod
This allows us to separate our environments, so when we are working in dev, it doesn’t break the app for our users.
Once deployed, you should see something like this.
 ✅  prod-react-app-my-stack


Stack prod-react-app-my-stack
  Status: deployed
  Outputs:
    ApiEndpoint: https://ck198mfop1.execute-api.us-east-1.amazonaws.com
    SiteUrl: https://d1wuzrecqjflrh.cloudfront.net
If you head over to the SiteUrl in your browser, you should see your new React app in action!
Cleaning up
Finally, you can remove the resources created in this example using the following commands.
$ npx sst remove
$ npx sst remove --stage prod
Conclusion
And that’s it! We’ve got a completely serverless click counter in React.js. A local development environment, to test and make changes. And it’s deployed to production as well, so you can share it with your users. Check out the repo below for the code we used in this example. And leave a comment if you have any questions!
Example repo for reference
github.com/serverless-stack/serverless-stack/tree/master/examples/react-appFor help and discussion
Comments on this exampleMore Examples
APIs
-
REST API
Building a simple REST API.
-
WebSocket API
Building a simple WebSocket API.
-
TypeScript REST API
Building a REST API with TypeScript.
-
Go REST API
Building a REST API with Golang.
-
Custom Domains
Using a custom domain in an API.
Web Apps
Mobile Apps
GraphQL
Databases
-
DynamoDB
Using DynamoDB in a serverless API.
-
MongoDB Atlas
Using MongoDB Atlas in a serverless API.
-
PostgreSQL
Using PostgreSQL and Aurora in a serverless API.
-
CRUD DynamoDB
Building a CRUD API with DynamoDB.
Authentication
Using AWS IAM
-
Cognito IAM
Authenticating with Cognito User Pool and Identity Pool.
-
Facebook Auth
Authenticating a serverless API with Facebook.
-
Google Auth
Authenticating a serverless API with Google.
-
Twitter Auth
Authenticating a serverless API with Twitter.
-
Auth0 IAM
Authenticating a serverless API with Auth0.
Using JWT
-
Cognito JWT
Adding JWT authentication with Cognito.
-
Auth0 JWT
Adding JWT authentication with Auth0.
Async Tasks
-
Cron
A simple serverless Cron job.
-
Queues
A simple queue system with SQS.
-
Pub/Sub
A simple pub/sub system with SNS.
-
Resize Images
Automatically resize images uploaded to S3.
Editors
-
Debug With VS Code
Using VS Code to debug serverless apps.
-
Debug With WebStorm
Using WebStorm to debug serverless apps.
-
Debug With IntelliJ
Using IntelliJ IDEA to debug serverless apps.
Monitoring
Miscellaneous
-
Lambda Layers
Using the chrome-aws-lambda layer to take screenshots.
-
Middy Validator
Use Middy to validate API request and responses.